If you’re craving a quick, sweet fix, these No-Bake Peanut Butter Bars are just what you need! You’ll whip them up in no time with simple ingredients like creamy peanut butter and oats. They’re not only delicious but also perfect for both kids and adults. Let me share my best tips and tricks to make these tasty treats a hit in your home! Ready to dig in?
Ingredients
Essential Ingredients for No-Bake Peanut Butter Bars
To make yummy no-bake peanut butter bars, you need a few key ingredients. Here is the list:
– 1 cup creamy peanut butter
– 1/2 cup honey or maple syrup
– 1 1/2 cups rolled oats
– 1/2 cup almond flour (or any nut flour)
These ingredients create a rich, chewy base. The creamy peanut butter gives a great texture and taste. Honey or maple syrup adds sweetness, while rolled oats provide fiber. Almond flour adds a nice nutty flavor and helps bind everything together.
Optional Ingredients for Enhanced Flavor
You can add extra ingredients to boost the taste of your bars. Here are some options:
– 1/4 cup unsweetened cocoa powder
– 1/2 teaspoon vanilla extract
– 1/3 cup dark chocolate chips (for drizzling)
Cocoa powder gives a chocolatey kick. Vanilla extract adds a warm, sweet note. If you love chocolate, drizzle melted dark chocolate on top for a treat! These enhancements make your bars even more delightful.
Step-by-Step Instructions
Preparation of the Base Mixture
To start, grab a large mixing bowl. In this bowl, combine 1 cup of creamy peanut butter and 1/2 cup of honey (or maple syrup). Stir the mixture until it’s smooth and well-blended. This step is crucial. It creates a sweet and nutty base for your bars.
Next, add 1 1/2 cups of rolled oats and 1/2 cup of almond flour to the bowl. Stir these ingredients into the peanut butter mix until everything is combined. You want a thick dough that holds together well. If it feels too sticky, a little more almond flour can help.
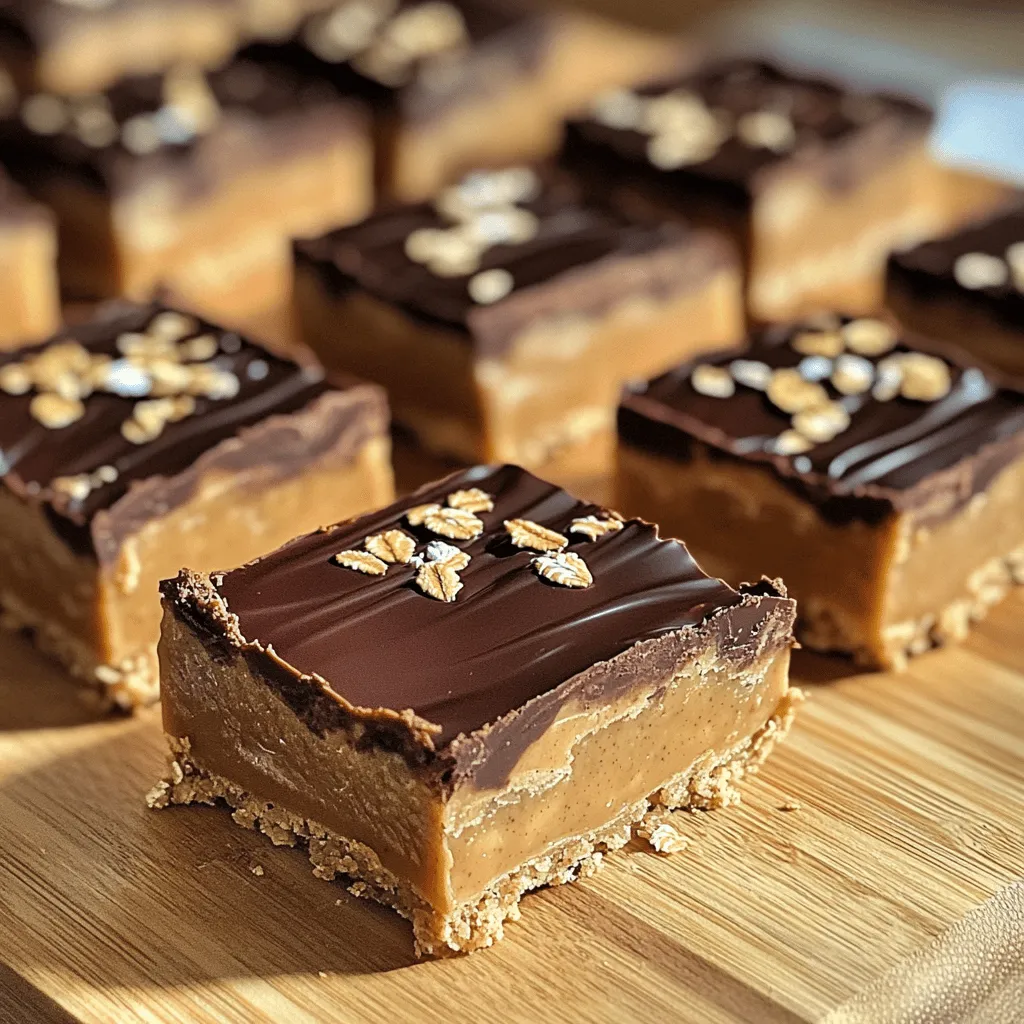
Forming the Bars
Now, it’s time to shape your bars. Take an 8×8 inch baking dish and line it with parchment paper. Make sure to leave some overhang. This makes it easy to pull the bars out later.
Transfer your peanut butter mixture into the dish. Use your hands or a spatula to press the mixture firmly into the dish. Aim for an even layer. Pressing down hard helps the bars hold their shape when you cut them later.
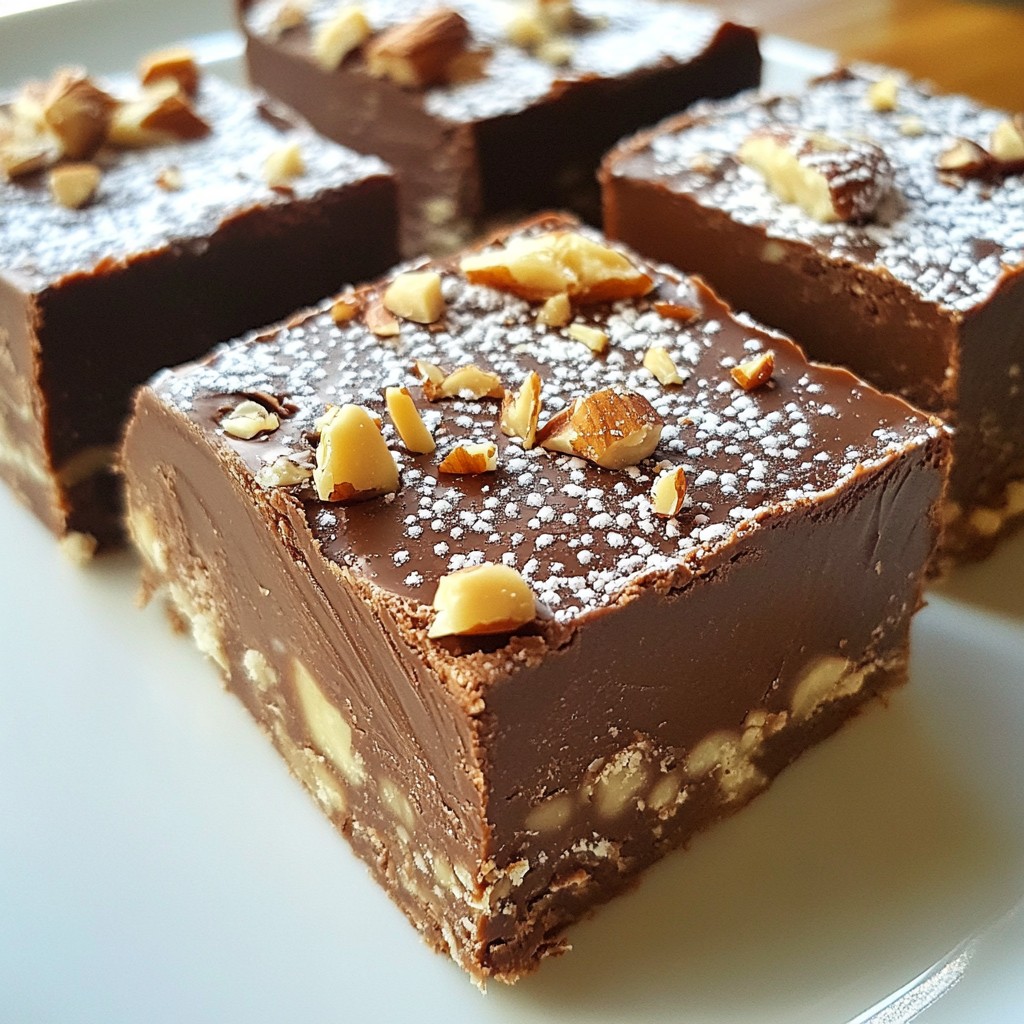
Adding Final Touches
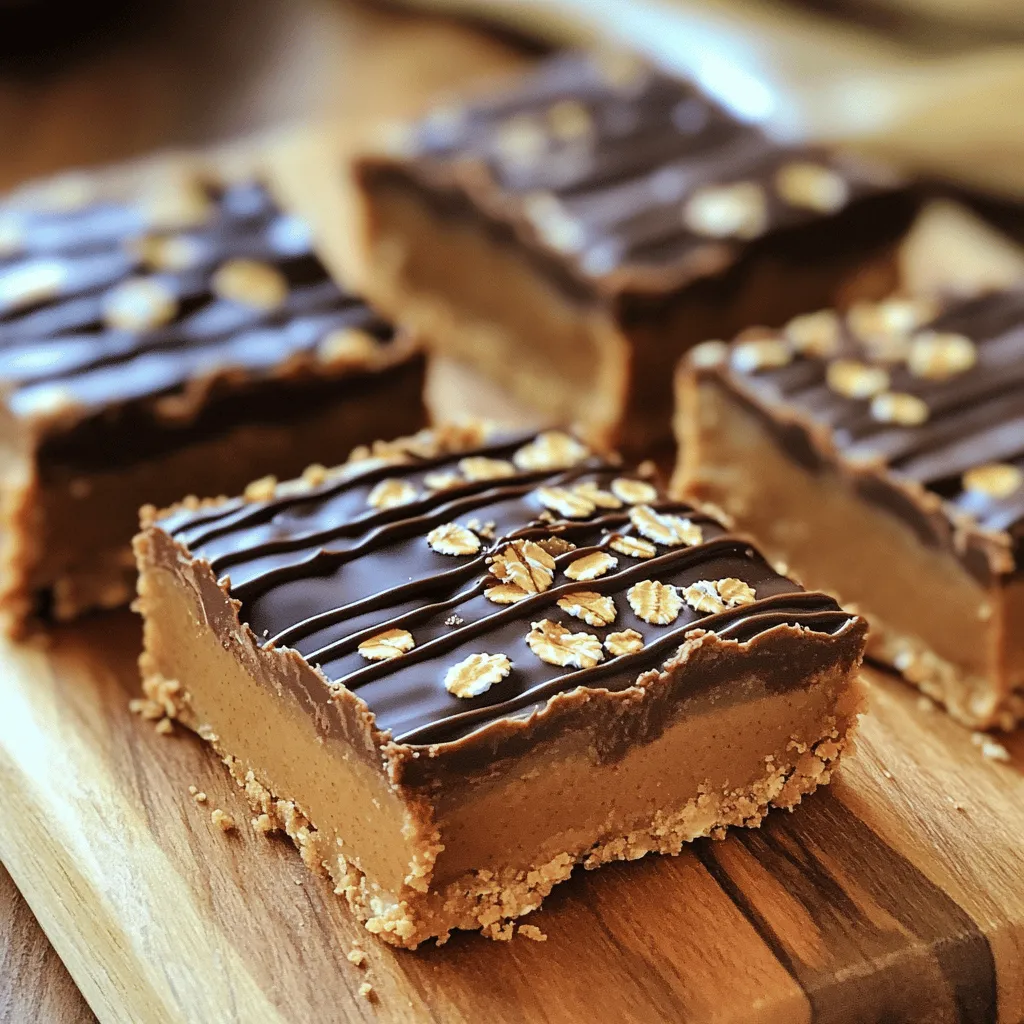
For a special touch, you can melt 1/3 cup of dark chocolate chips. Use a microwave or a double boiler to melt the chocolate. Once it’s smooth, drizzle it over your pressed mixture. This step is optional but adds a nice chocolate layer on top.
After you finish drizzling, place the baking dish in the refrigerator. Let it chill for 1 to 2 hours. This allows the bars to set and firm up. Once they are ready, lift them out using the parchment paper. Cut them into bars or squares, and enjoy!
Tips & Tricks
Expert Tips for Perfect Bars
– Ensure smooth peanut butter consistency: Use creamy peanut butter. This makes mixing easier. If it’s too thick, the bars can turn out dry.
– Use parchment paper for easy removal: Line your baking dish with parchment paper. This helps lift the bars out easily once they set.
Common Mistakes to Avoid
– Overmixing the ingredients: Mix just until combined. Overmixing can make the bars tough and chewy.
– Not pressing the mixture firmly enough: Press the mixture down hard in the dish. This helps the bars hold their shape when cut.
Customization Tips
– Substitute with different nut butters: Try almond or cashew butter. Each will give a unique taste and texture.
– Add-ins like nuts or dried fruit: Toss in some chopped nuts or dried fruit. This adds extra flavor and crunch.
Variations
No-bake peanut butter bars are fun to customize. You can change them to fit your diet or taste. Here are some great ideas.
Gluten-Free No-Bake Peanut Butter Bars
Use gluten-free oats to make these bars safe for those who can’t eat gluten. Most rolled oats are naturally gluten-free. Just check the label. You can also swap regular flour with nut or seed flours. Almond flour works great, but you can use sunflower seed flour for a nut-free option. This keeps your bars both tasty and gluten-free.
Vegan-Friendly Options
If you want a vegan treat, replace honey with plant-based sweeteners. Maple syrup works well and keeps the sweetness. For chocolate, choose vegan chocolate chips. They melt nicely and add a rich flavor to your bars. These small changes make your bars fit a vegan lifestyle.
Flavor Variations
Want to spice things up? Add a little cinnamon or nutmeg for warmth. These spices bring a new layer of flavor. You can also try flavored protein powders. Chocolate or vanilla powder can boost taste and nutrition. These additions keep your no-bake peanut butter bars exciting and different every time you make them.
Storage Info
Proper Storage Techniques
To keep your no-bake peanut butter bars fresh, store them in an airtight container. This prevents air from getting in and keeps the bars from drying out. I like to use glass containers with tight lids. They are great for keeping food fresh.
Place the container in the fridge. This helps maintain the bars’ texture and taste. Avoid leaving them at room temperature for long. Heat can make them too soft to enjoy.
Shelf Life of No-Bake Peanut Butter Bars
In the fridge, these bars stay fresh for about a week. After that, they may begin to lose flavor and texture. If you want to keep them longer, freezing is a great option.
You can freeze the bars for up to three months. Just wrap them well in plastic wrap or foil before placing them in a freezer bag. This protects them from freezer burn. When you’re ready to eat, let them thaw in the fridge overnight. This way, they will be ready when you want a tasty treat.
FAQs
How long do no-bake peanut butter bars need to set?
No-bake peanut butter bars need about 1 to 2 hours to set in the fridge. This chilling time is key for a good texture. If you let them sit longer, they will be firmer and easier to cut. I recommend checking them after an hour. If they are not firm enough, give them more time.
Can I replace peanut butter with another nut butter?
Yes, you can swap peanut butter for other nut butters. Almond butter, cashew butter, or sunflower seed butter all work well. Each nut butter will change the taste a bit. Almond butter has a milder flavor. Cashew butter is creamier and sweeter. Sunflower seed butter is great for nut-free options and has a unique taste. Just keep in mind that the texture may change slightly.
Are no-bake peanut butter bars healthy?
No-bake peanut butter bars can be a healthy treat. They are full of protein and healthy fats from peanut butter. The oats provide fiber, which is good for digestion. However, consider any allergies. Some may be allergic to peanuts or nuts. If you need a nut-free version, use sunflower seed butter. Overall, these bars can fit into a balanced diet when enjoyed in moderation.
No-bake peanut butter bars are simple and delicious. We covered important ingredients, like peanut butter and oats. I shared step-by-step instructions for making your bars and tips to avoid common mistakes. You can also customize flavors and store them properly.
These bars are perfect for a quick snack. They taste great and have healthy benefits. Enjoy your cooking and feel proud of your tasty creation!