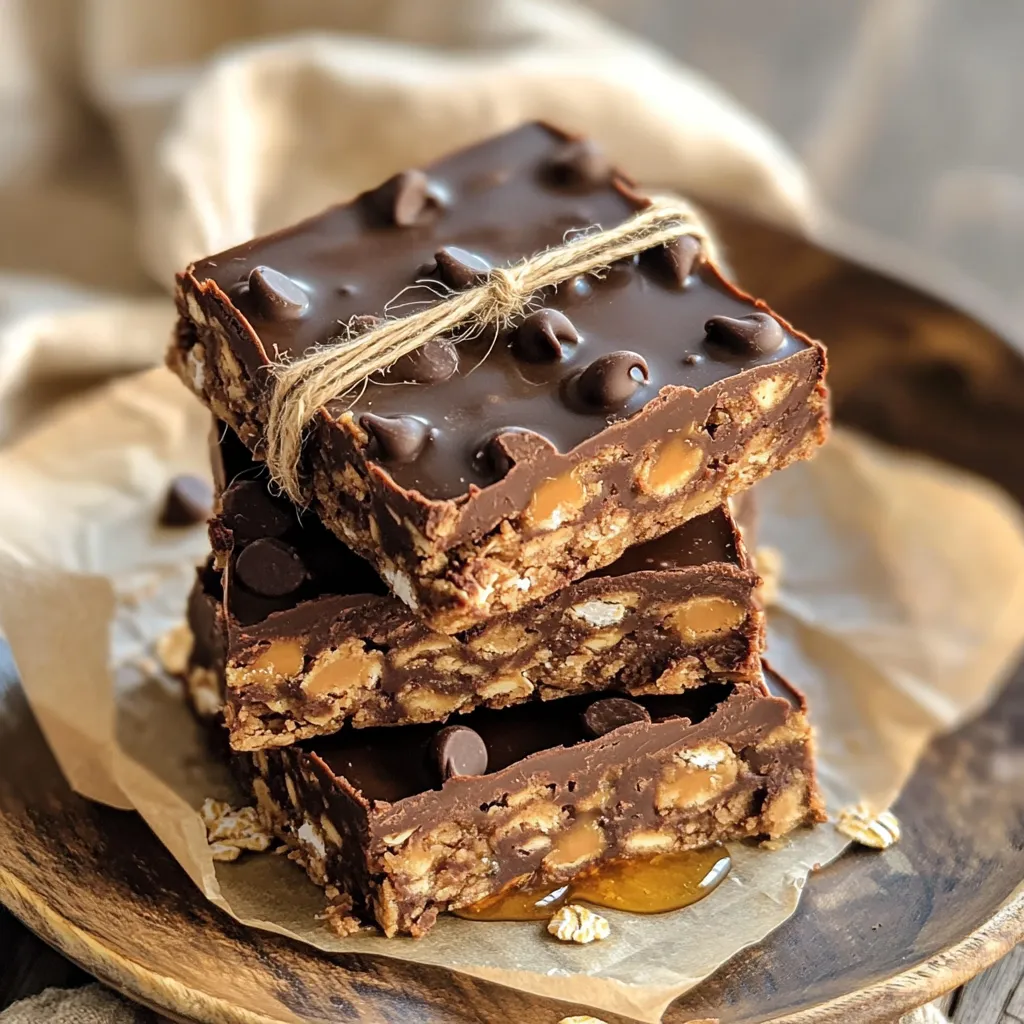
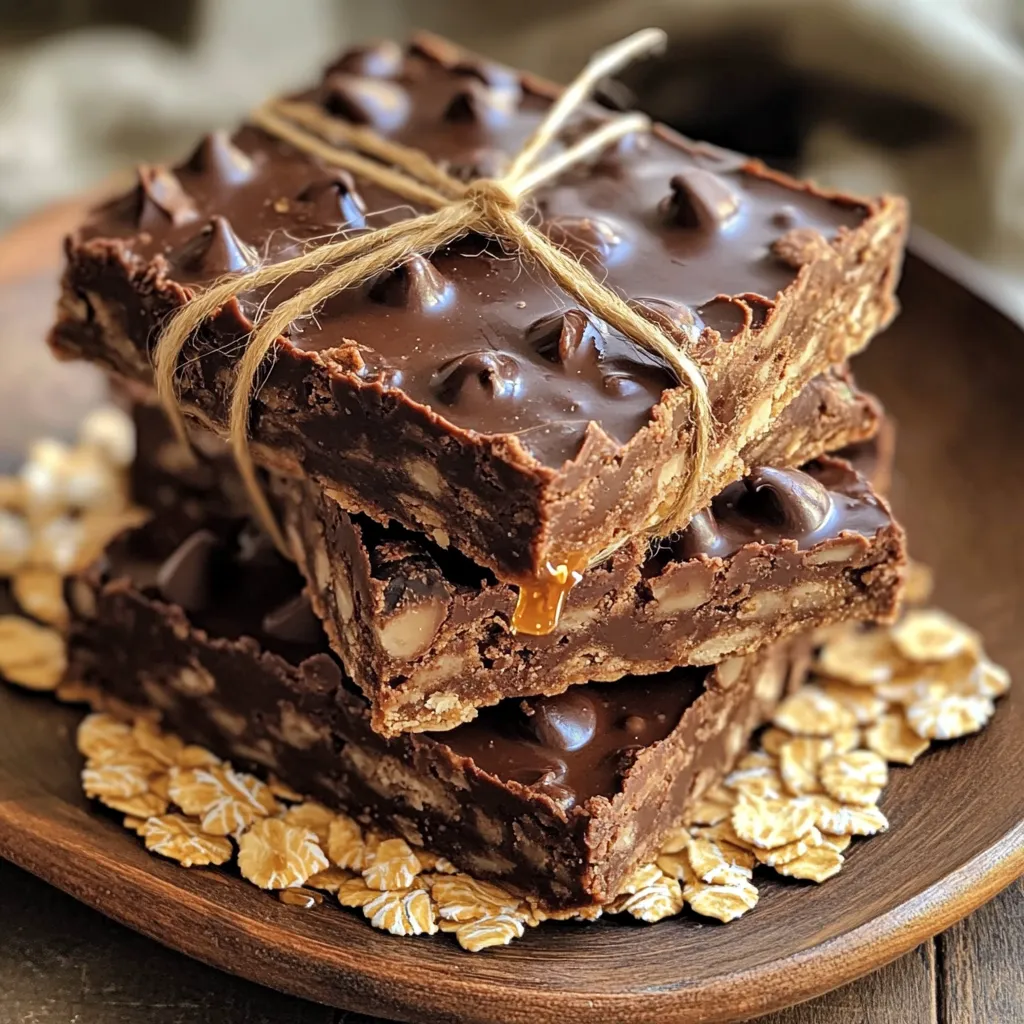
Craving a quick and tasty treat? These No-Bake Chocolate Peanut Butter Oat Bars are your answer! With simple ingredients and no baking required, they’ll delight your taste buds in no time. Perfect for busy days, school snacks, or a sweet pick-me-up. Join me as I guide you through easy steps to create this delicious, healthy snack. Get ready to enjoy a guilt-free dessert that everyone will love!
Ingredients
Here’s what you need to make these tasty bars:
– 1 cup rolled oats
– 1 cup natural peanut butter
– 1/2 cup honey or maple syrup
– 1/2 cup dark chocolate chips
– 1/4 cup unsweetened cocoa powder
– 1 teaspoon vanilla extract
– Pinch of salt
– Optional: 1/4 cup chopped nuts or seeds
These ingredients blend well to create a chewy and sweet treat. Rolled oats add fiber and texture. Natural peanut butter gives a rich and nutty flavor. Honey or maple syrup provides the perfect sweetness to tie everything together. Dark chocolate chips add a delightful chocolatey bite, while cocoa powder deepens that flavor. A dash of vanilla and a pinch of salt enhance all the tastes. If you want a crunch, toss in some nuts or seeds. This mix of ingredients makes for a great snack or dessert.
Step-by-Step Instructions
Melting the Peanut Butter and Sweetener
In a medium saucepan, add 1 cup of natural peanut butter and 1/2 cup of honey or maple syrup. Place the pan over low heat. Stir often until the mixture is smooth and well combined. This step helps blend the sweetener and peanut butter, making it easier to mix later.
Mixing the Dry Ingredients
Take a large bowl and combine 1 cup of rolled oats, 1/4 cup of unsweetened cocoa powder, and 1/2 cup of dark chocolate chips. If you want, add 1/4 cup of chopped nuts or seeds for extra crunch. Mix these ingredients well to ensure even distribution of flavors.
Combining Ingredients
Pour the melted peanut butter mixture over the dry ingredients in the bowl. Stir gently until everything is well combined. You want each oat to be coated in that rich, chocolatey peanut butter mix. Once mixed, prepare an 8×8 inch baking dish by lining it with parchment paper. Press the mixture firmly into the dish. Use a spatula or your hands to compact it well.
Setting the Bars
Now, place the baking dish in the refrigerator. Let it chill for at least 1 hour, or until the mixture is set. After it hardens, lift the bars out using the parchment paper. Cut them into squares or bars. Enjoy your tasty, no-bake chocolate peanut butter oat bars!
Tips & Tricks
Perfecting the Texture
To make sure your bars hold together well, use an even mix of wet and dry ingredients. When you melt the peanut butter and honey, stir them until smooth. This helps them blend well with the oats and cocoa. After mixing, press the mixture firmly into your baking dish. The tighter you pack it, the better the bars will hold once set. If your mixture feels too crumbly, add a splash more honey or peanut butter.
Best Storage Practices
Store your bars in an airtight container to keep them fresh. If you stack them, use parchment paper between layers. This prevents sticking and helps maintain their shape. Keep them in the refrigerator for up to two weeks. If you want them to last longer, consider freezing them. Just wrap each bar in plastic wrap and place them in a freezer bag.
Serving Suggestions
For a fun presentation, serve the bars chilled on a decorative plate. You can stack them or arrange them in a neat row. For a rustic touch, wrap individual bars in parchment paper and tie them with twine. This makes them look special and is great for gifts. You can also drizzle melted chocolate on top for extra flair. Enjoy them with a glass of cold milk or your favorite non-dairy drink!
Variations
Flavor Additions
You can change the taste of these bars by using different nut butters. Try almond, cashew, or sunflower seed butter for a twist. You can also add flavored extracts. A drop of almond or mint extract can add a fun touch. Experiment to find your favorite flavor.
Dietary Substitutions
If you want a vegan version, swap honey for maple syrup. Use a nut-free butter if you have allergies. Sunflower seed butter is a great choice. For gluten-free needs, make sure your oats are certified gluten-free. These swaps keep everyone happy and safe.
Mix-Ins
Mix-ins can bring more variety to your bars. Add chopped dried fruits like cranberries or apricots for sweetness. You can also toss in seeds like chia or flax. These extras boost nutrition and taste. Customize your bars to fit your mood or pantry!
Storage Info
How to Store Bars
To keep your no-bake chocolate peanut butter oat bars fresh, use airtight containers. This step helps prevent moisture and air from ruining their texture. Place a layer of parchment paper between the bars if stacking them. This keeps them from sticking together.
Shelf Life
These bars last in the refrigerator for up to two weeks. Store them well to enjoy them for longer. Keep an eye on their freshness, and try to eat them before the two weeks are up for the best flavor.
Freezing Options
You can freeze these bars for later enjoyment. Cut them into squares before freezing. Wrap each bar in plastic wrap, then place them in a freezer-safe bag. This way, they stay fresh. When you’re ready to enjoy, thaw them in the fridge for a few hours. They taste great even after freezing!
FAQs
Can I use different sweeteners?
Yes, you can use different sweeteners. If you don’t have honey or maple syrup, try agave syrup. You can also use brown rice syrup or coconut nectar. Each option gives a unique taste. Keep in mind that the texture may change slightly.
What is the best way to cut the bars?
To cut neat squares, use a sharp knife. First, chill the bars well. Once set, lift them out using the parchment paper. Place them on a cutting board. Cut the bars with straight, even strokes. Wipe the knife with a damp cloth between cuts for cleaner edges.
How can I make these bars healthier?
To make these bars healthier, consider using natural peanut butter without added sugar or oils. Swap honey for a low-calorie sweetener, like stevia or erythritol. You can add seeds like chia or flax for extra fiber. Use dark chocolate with a higher cocoa percentage to reduce sugar.
You learned how to make tasty peanut butter bars with simple ingredients. We covered step-by-step instructions, helpful tips, and fun variations to try. These bars are easy to customize based on your taste and diet. Store them well for maximum freshness. Enjoy these treats as a snack or dessert. Make your own today and share them with friends and family. You’ll love how simple and delicious they are!