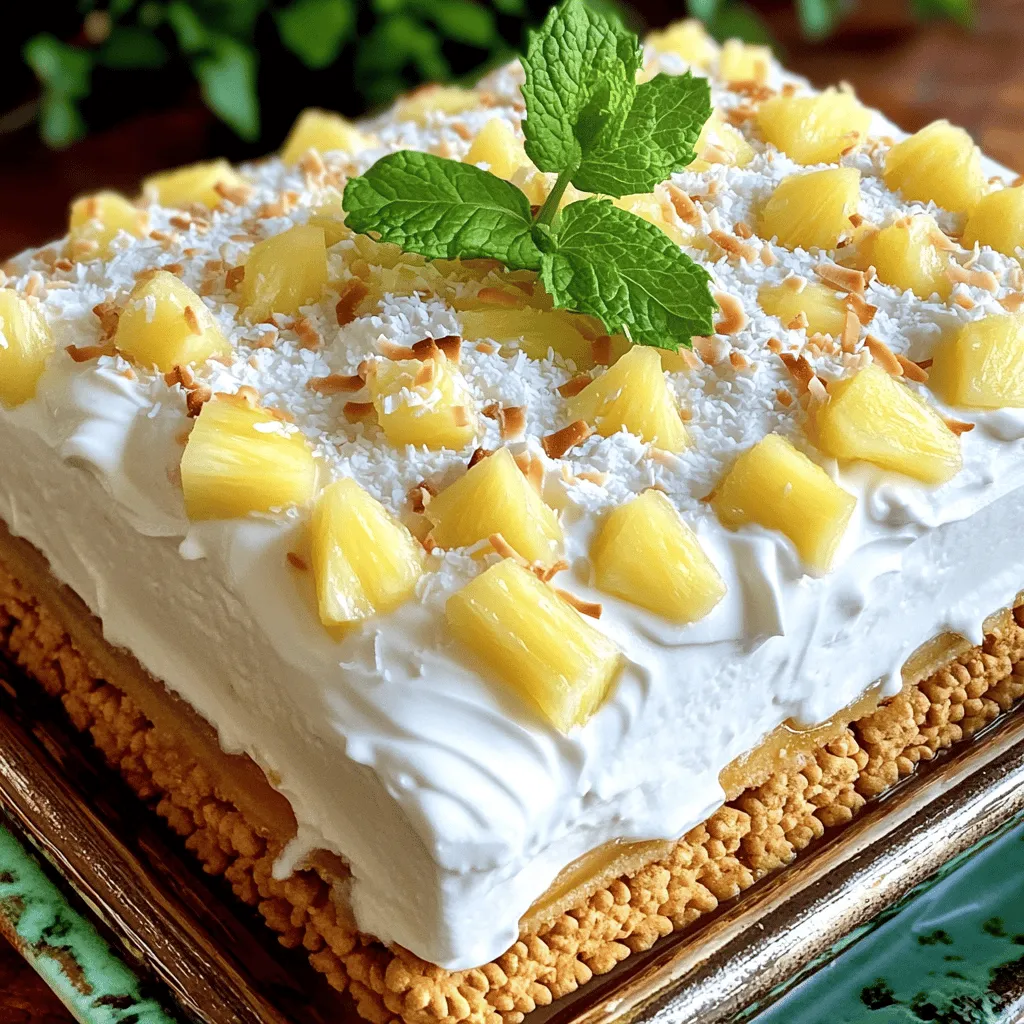
Do you crave a cool treat for those hot summer days? Look no further! This Coconut Icebox Cake is easy to make and full of delicious flavor. With layers of creamy coconut goodness, it’s the perfect way to impress your friends and family. Plus, I’ll share tips to help you choose the best ingredients and variations to suit your taste. Let’s dive into this delightful summer dessert!
Ingredients
List of Ingredients for Coconut Icebox Cake
To make this tasty Coconut Icebox Cake, gather these simple ingredients:
– 1 cup heavy whipping cream
– 1/2 cup sweetened condensed milk
– 1 teaspoon pure vanilla extract
– 1/2 cup shredded sweetened coconut
– 12-15 honey graham crackers
– 1 cup fresh pineapple, diced
– 1/2 cup toasted coconut flakes (for garnish)
– Fresh mint leaves (for garnish, optional)
Ingredient Substitutions
You can swap some ingredients if you need to. Here are a few ideas:
– Use coconut cream instead of heavy cream for a richer taste.
– Replace sweetened condensed milk with coconut milk for a lighter option.
– If you want, use unsweetened coconut instead of sweetened.
– Try any fruit you like, such as mango or strawberries, instead of pineapple.
Tips for Choosing Fresh Ingredients
Fresh ingredients make a big difference in flavor. Here are my tips:
– Heavy Cream: Look for thick cream with a high fat content. This helps create stable peaks.
– Pineapple: Choose ripe fruit that smells sweet. Avoid any that look brown or soft.
– Coconut: Check that the coconut is fresh and has a nice aroma. It should not be stale.
– Graham Crackers: Look for honey graham crackers that are crisp and not broken.
By following these tips, you can ensure that your Coconut Icebox Cake tastes amazing.
Step-by-Step Instructions
Detailed Instructions for Preparing Coconut Icebox Cake
To make this Coconut Icebox Cake, start by gathering your ingredients. You will need heavy whipping cream, sweetened condensed milk, vanilla extract, shredded coconut, honey graham crackers, fresh pineapple, toasted coconut flakes, and fresh mint leaves.
1. Whip the Cream: In a bowl, mix heavy whipping cream, sweetened condensed milk, and vanilla extract. Use an electric mixer to whip until you see stiff peaks. This should take about 3-4 minutes.
2. Add Coconut: Carefully fold in the shredded coconut into the whipped cream mixture. Make sure it is evenly mixed.
3. Layer the Crackers: Grab a 9×9 inch baking dish. Lay down a single layer of honey graham crackers at the bottom.
4. Spread the Cream: Take about one-third of the coconut whipped cream mixture and spread it over the graham crackers.
5. Add Pineapple: Next, layer diced fresh pineapple over the cream. Spread it out evenly.
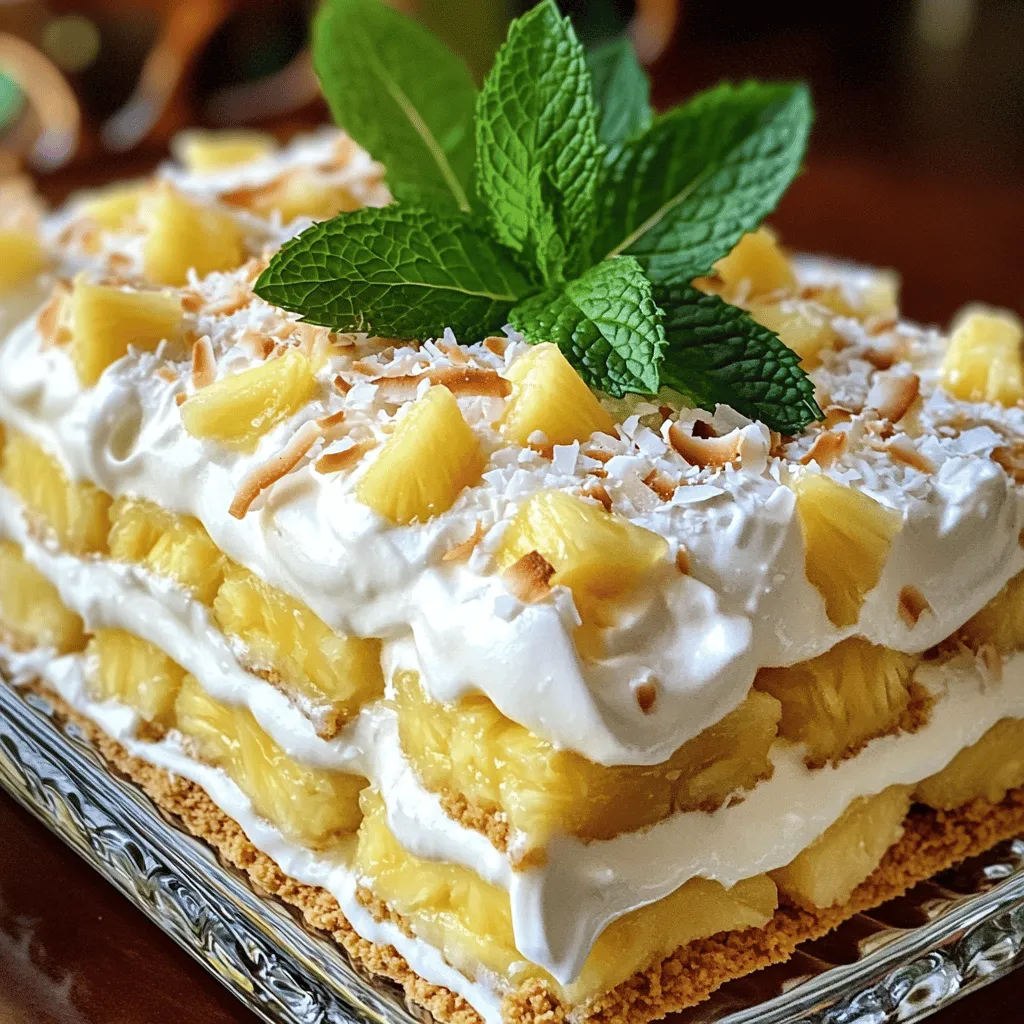
6. Repeat the Layers: Continue layering: add more graham crackers, then more coconut whipped cream, followed by pineapple. Do this two more times. End with a layer of coconut whipped cream on top.
7. Chill: Cover your dish with plastic wrap. Place it in the fridge for at least 4 hours, or overnight if you can wait. This helps the flavors mix and the crackers soften.
8. Garnish and Serve: Before you serve, sprinkle the toasted coconut flakes on top. If you like, add fresh mint leaves for a nice touch.
Visual Guides or Video Links for Each Step
While I can’t provide direct links, you can find helpful video guides on cooking sites or platforms like YouTube. Search for “Coconut Icebox Cake” to see visual steps that match the instructions.
Tips for Perfecting Each Layer
– Whipping Cream: Be sure to use cold cream for best results. Cold tools help create stiff peaks faster.
– Layering: Don’t rush the layering. Spread evenly for the best taste and look.
– Chilling Time: The longer you chill, the softer your crackers will be. Overnight is best.
– Garnishing: Toast your coconut flakes lightly for extra flavor. It adds a nice crunch.
Once you master these steps, you will have a delightful Coconut Icebox Cake ready to impress!
Tips & Tricks
Best Practices for Whipping Cream
Whipping cream is key to a great Coconut Icebox Cake. Start with cold cream. Use a chilled bowl for the best results. This keeps the cream cold and helps it whip faster.
– Use heavy whipping cream. It has a higher fat content.
– Whip at medium speed to avoid splatters.
– Watch for stiff peaks. This means it’s ready.
How to Achieve the Right Consistency
To get the perfect texture, you must combine the whipped cream with the other ingredients gently. Fold the shredded coconut into the whipped cream carefully.
– Use a spatula to fold, not a whisk.
– This keeps air in the cream.
– The mixture should be thick and creamy.
If it seems too loose, whip a little more until it thickens.
Serving Suggestions for Coconut Icebox Cake
When you are ready to serve the cake, make it look beautiful.
– Sprinkle toasted coconut flakes on top for crunch.
– Add fresh mint leaves for a pop of color.
– Serve with extra pineapple on the side for a fruity touch.
Cut the cake with a sharp knife for clean slices. This cake tastes best cold, so keep it in the fridge until you serve.Enjoy!
Variations
Tropical Variations
You can switch up the flavors of your coconut icebox cake with tropical fruits. Mango and passion fruit work great! Just replace the pineapple in the recipe with diced mango or passion fruit pulp. Both fruits add a sweet, tangy twist. You will enjoy the bright colors and fresh taste. You can even mix different fruits for extra fun!
Vegan Options for Coconut Icebox Cake
If you want a vegan version, it’s easy to make changes. Use coconut cream instead of heavy whipping cream. Look for a vegan condensed milk for sweetness. It gives a creamy texture without dairy. For the graham crackers, choose vegan ones to stay true. Your vegan coconut icebox cake will taste just as delightful!
Gluten-Free Alternatives
For a gluten-free icebox cake, you can use gluten-free graham crackers. Many brands offer tasty options that work well in this recipe. Check the label to ensure they are safe for your diet. You can also use crushed gluten-free cookies as a base. This keeps the cake delicious while meeting your needs.
Storage Info
How to Store Leftover Coconut Icebox Cake
To keep your Coconut Icebox Cake fresh, wrap it tightly in plastic wrap. Place it in the fridge. This will help hold in moisture and flavor. I suggest using a container with a lid if you have one. The cake will stay tasty for a few days this way.
Freezing Instructions and Tips
You can freeze Coconut Icebox Cake for later enjoyment. First, slice the cake into portions. Wrap each piece in plastic wrap tightly. Then, place the slices in a freezer-safe bag or container. This keeps them safe from freezer burn. When you’re ready to eat, thaw a slice in the fridge overnight.
Shelf Life and Freshness Guidelines
Coconut Icebox Cake is best when fresh. If stored correctly in the fridge, it lasts about 3-5 days. You may notice the graham crackers soften over time, which is normal. For frozen cake, aim to use it within 2-3 months for best flavor.
FAQs
What is Coconut Icebox Cake?
Coconut icebox cake is a no-bake dessert. It layers graham crackers with a creamy coconut mixture. This cake uses heavy whipping cream, sweetened condensed milk, and shredded coconut. The flavors blend together as it chills. Each bite is a burst of tropical goodness. It’s light, sweet, and perfect for summer.
Can I make Coconut Icebox Cake in advance?
Yes, you can make coconut icebox cake ahead of time. It requires chilling for at least four hours. For the best taste, chill it overnight. This allows the flavors to meld. The graham crackers soften and absorb moisture. Preparing it early gives you time to relax before serving.
What other fruits complement Coconut Icebox Cake?
Many fruits go well with coconut icebox cake. Fresh pineapple is a classic choice. You can also use mango, strawberries, or kiwi. These fruits add sweetness and a beautiful color. Try mixing different fruits for a fun twist. Each fruit brings its own flavor, making it unique.
Coconut Icebox Cake is a fun and tasty dessert you can enjoy all year. We covered key ingredients, easy steps to prepare it, and tips for getting it just right. You can even change it up with tropical fruits or make it vegan and gluten-free. Remember to store leftovers correctly so they stay fresh. With these insights, you can create a dessert everyone loves. Enjoy making your Coconut Icebox Cake and impress your friends and family!