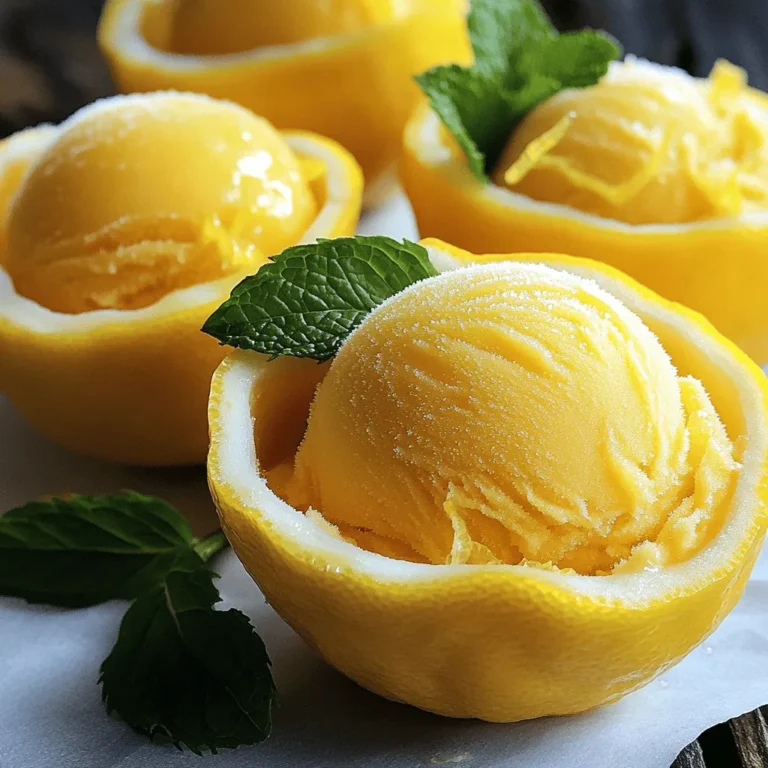
Summer is here, and what better way to cool down than with refreshing lemon sorbet in lemon shells? This vibrant treat not only captivates the eye but also awakens the taste buds. I’ll guide you through each simple step, from preparing zesty lemon shells to creating smooth sorbet at home. Join me as we explore tips, variations, and creative serving ideas that turn this classic into your go-to summer delight!
Ingredients
List of Ingredients
To make lemon sorbet in lemon shells, you need a few simple items:
- 4 large lemons (for the shells)
- 1 cup water
- 1 cup granulated sugar
- 1 cup freshly squeezed lemon juice (about 4-5 lemons)
- 1 tablespoon lemon zest
- A pinch of salt
- Fresh mint leaves for garnish (optional)
For the lemon shells, you will prepare the lemons by slicing off the tops and scooping out the pulp. This leaves you with a sturdy shell to hold the sorbet. Be careful not to poke holes in the shells; they should be firm enough to hold the sorbet.
If you don’t have enough lemons or want to mix it up, you can use other citrus fruits. Oranges or limes also work great. Just adjust the sugar and juice amounts to match the sweetness of the fruit you choose. You can also try using a sugar alternative if you want a healthier version.
These ingredients work together to create a bright and zesty treat. When you pick your lemons, look for ones that are firm and heavy for their size. This means they are juicy. Fresh ingredients will give you the best flavor.
Step-by-Step Instructions
Preparing the Lemon Shells
To make the lemon shells, first, slice off the tops of the lemons. Use a small spoon or melon baller to scoop out the insides. Be careful to leave a thin shell. This will hold the sorbet nicely.
To keep the shells intact, work slowly and gently. If you press too hard, the shell may break.
After scooping, squeeze the pulp to get juice. Strain the juice to remove seeds. Save this juice for the sorbet. You want to use every bit of flavor!
Making the Sorbet Base
Start by making a simple syrup. In a small saucepan, mix one cup of water and one cup of sugar. Heat it on medium. Stir until the sugar dissolves completely.
Once it simmers, remove it from heat. Let it cool down.
Next, combine the cooled syrup with the lemon juice, lemon zest, and a pinch of salt in a bowl. Mix well until everything blends. This mix is the base for your sorbet.
Chilling this mixture is key. Cover it with plastic wrap and refrigerate for about an hour. The colder it is, the better the sorbet will turn out.
Churning the Sorbet
Now, it’s time to churn the sorbet. If you have an ice cream maker, pour in the chilled mixture. Follow the machine’s instructions until it becomes a soft-serve texture.
If you lack an ice cream maker, don’t worry! Just pour the mixture into a shallow dish. Freeze it, stirring every 30 minutes. This will take about 3-4 hours.
You’ll know the sorbet is ready when it’s smooth and fluffy. You want a light and airy texture for the best experience.
Once it’s done, scoop the sorbet into your prepared lemon shells. Pack it in gently but firmly.
Then, place the filled lemon shells in the freezer for about 30 minutes. This will help them firm up nicely.
Tips & Tricks
Best Practices for Success
Making lemon sorbet can be easy, but a few tips help. Here are some common mistakes to avoid:
- Over-chilling the mixture: If it’s too cold, it won’t churn well.
- Not measuring sugar properly: Too little sugar makes it icy, while too much makes it too sweet.
To enhance the flavor, consider adding a splash of limoncello or a hint of vanilla extract. Both bring out the citrus taste nicely. You can also add a few fresh basil leaves for a twist.
For a smooth texture, make sure to chill the mixture well before churning. After churning, don’t skip the freezing step. This helps the sorbet firm up nicely.
Serving Suggestions
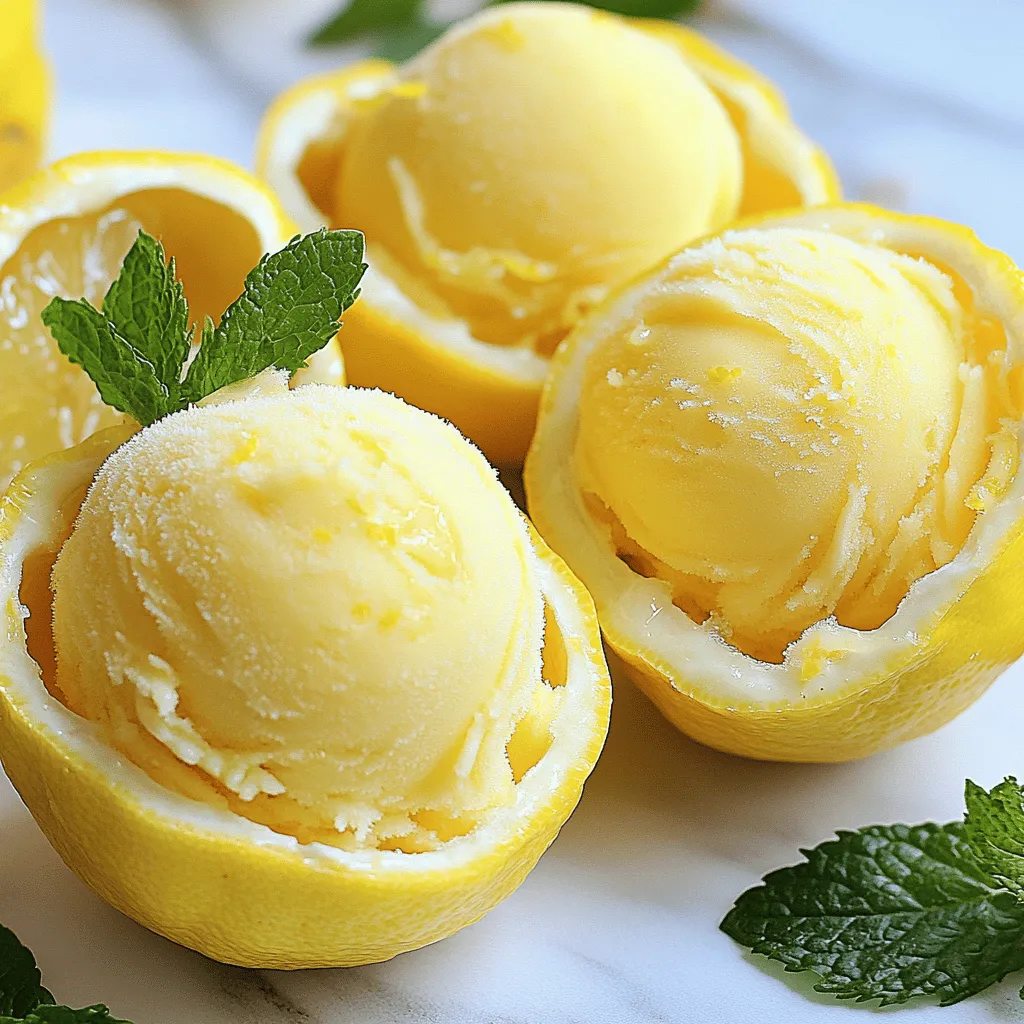
Presenting lemon sorbet in lemon shells adds fun to your dessert. Start by placing the filled shells on a colorful plate. You can also add some crushed ice beneath for a frosty look.
Pair lemon sorbet with fresh berries or a light cake. Both options balance the tartness well.
For garnishing, fresh mint leaves not only look nice but also add a pop of color. You can also use thin lemon slices or edible flowers for a fancy touch.Enjoy your refreshing summer treat!
Variations
Flavor Variations
You can easily change the flavor of your lemon sorbet. Try adding other citrus fruits like lime or orange. This gives a fresh twist to the classic lemon taste. You can also mix in herbs like basil or mint. Fresh herbs add a unique flavor and a new depth to your sorbet. If you want a vegan option, swap the simple syrup with agave syrup. This keeps it light and sweet without using refined sugar.
Presentation Variations
Serving your lemon sorbet in lemon shells is fun, but you can try other vessels too. Small glass cups or hollowed-out oranges work well. They add color and style to your dessert table. For garnishes, think about fun options like colorful edible flowers or candied citrus slices. These make the dish eye-catching and festive. You can also change the presentation based on the season. In winter, serve warm spices like cinnamon on top. In summer, fresh berries add a bright touch.
Storage Info
Proper Storage Techniques
To keep leftover sorbet fresh, store it in an airtight container. This helps to avoid ice crystals. If you have extra lemon shells, wrap them tightly in plastic wrap. This keeps them from drying out.
For freezing, the sorbet should be in a good container. I suggest using a shallow dish. It helps the sorbet freeze evenly. After filling the shells, place them in the freezer. Aim for 30 minutes to firm up before serving.
Shelf Life
Homemade lemon sorbet typically lasts about one week in the freezer. After this time, it may lose its taste and texture. If you see ice crystals or a grainy texture, it’s time to toss it.
To prolong freshness, always store the sorbet in an airtight container. You can also cover the surface with parchment paper before sealing. This extra layer helps keep the air out and keeps your sorbet tasting great.
FAQs
Common Questions about Lemon Sorbet
How to achieve the best texture in homemade sorbet?
To get a smooth texture, chill your mixture well before churning. The colder the mix, the better it freezes. If using an ice cream maker, follow the instructions carefully. Stirring regularly while freezing can help too. This keeps ice crystals small and makes the sorbet creamy.
Can I make sorbet without an ice cream maker?
Yes, you can! Pour the mixture into a shallow dish and freeze it. Every 30 minutes, stir it well to break up ice crystals. Repeat this for about 3-4 hours until the sorbet is firm but scoopable. It’s easy and works great!
What are potential allergen concerns with this recipe?
This recipe mainly uses lemons, water, and sugar. These are safe for most people. However, check for any allergies to citrus fruits. Always be cautious with cross-contamination if you have food allergies.
Specific Ingredient Queries
Can I substitute sugar for a sugar alternative?
Yes, you can use sugar alternatives like agave syrup or honey. Just adjust the amount based on the sweetness level of the substitute. Keep in mind that some may affect the texture, so taste as you go.
What can I use instead of lemon for this recipe?
If you want to try something new, use lime or orange juice instead. Adjust the sugar to taste, as different fruits have different sweetness levels. This can give you a fun twist on the classic sorbet.
How can I make this recipe diabetic-friendly?
Use a sugar substitute that is safe for diabetics, like stevia or monk fruit. Ensure you check the sweetener’s label for proper measurements. This will help keep the sorbet tasty while lowering the sugar content.
Lemon sorbet is a fun and easy treat to make. We covered the key ingredients, how to prepare lemon shells, and step-by-step instructions for the perfect sorbet. I shared tips to improve your sorbet’s flavor and texture, plus creative presentation ideas. Remember, practice makes perfect, and experimenting is part of the joy. Enjoy this refreshing dessert for any occasion!

