Looking for a fresh take on pesto that skips nuts? You’ve come to the right place! In this quick and simple guide, I’ll walk you through an easy nut-free pesto recipe that’s bursting with flavor. From gathering the right ingredients to blending them perfectly, I’ll share tips to help you create a delicious sauce that enhances any dish. Let’s get started on your new favorite pesto!
Ingredients
List of Ingredients for Nut-Free Pesto
– 2 cups fresh basil leaves, packed
– 1/2 cup grated pecorino cheese (or your preferred hard cheese)
– 1/4 cup nutritional yeast
– 2 garlic cloves, minced
– 1/4 cup lemon juice
– 1/2 cup extra virgin olive oil
– Salt and pepper to taste
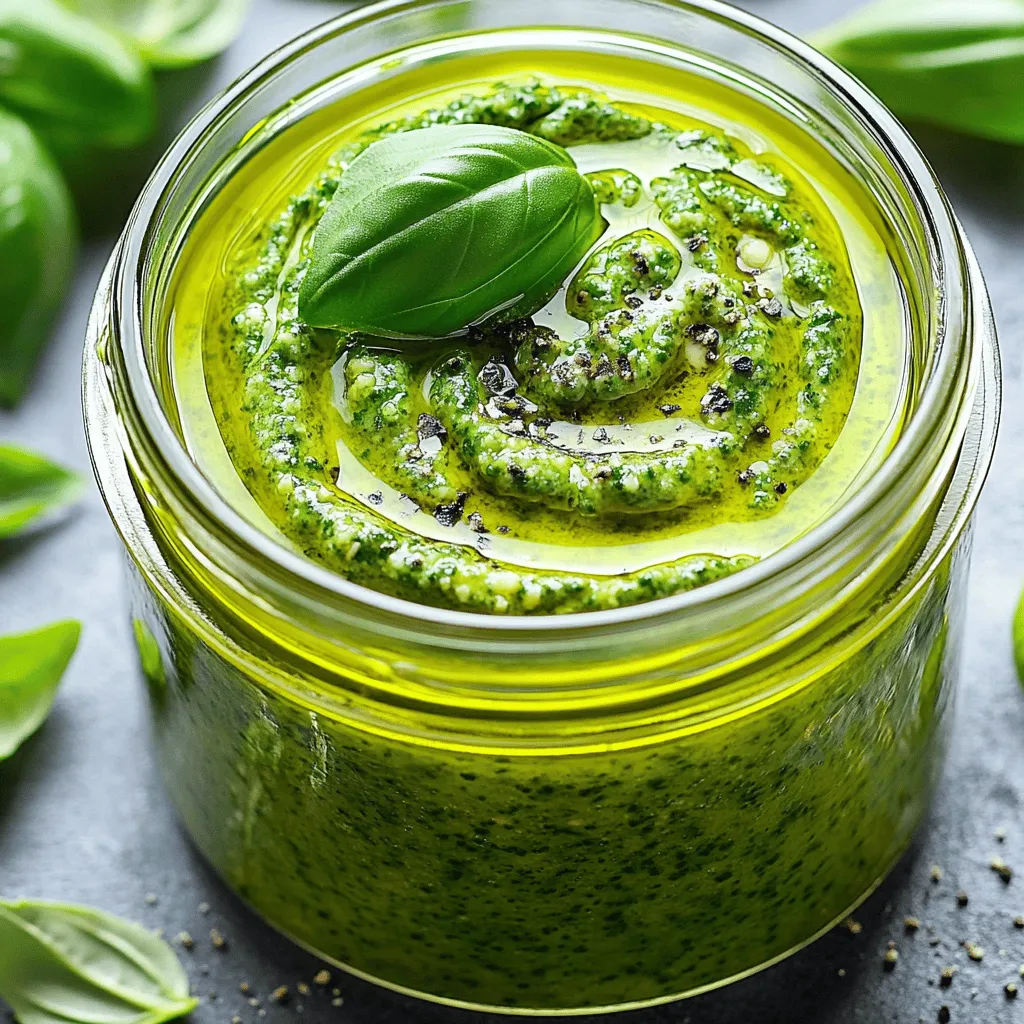
To create a nut-free pesto, you need fresh basil. I love using packed basil leaves. They give a bright, fresh taste. Grated pecorino cheese adds a salty kick. If you want a dairy-free option, try a hard cheese alternative. Nutritional yeast is a great nut substitute. It brings a cheesy flavor without the nuts.
Garlic cloves are a must for depth. Use fresh, minced garlic for the best taste. Lemon juice gives the pesto a tangy note. It also helps keep the color bright. Extra virgin olive oil binds everything together. It adds richness and smoothness. Finally, season with salt and pepper to taste. This will enhance all the flavors.Get ready to blend your way to a delicious pesto!
Step-by-Step Instructions
Preparation of Ingredients
To start, you need to clean the basil leaves. Rinse them under cool water to remove dirt. Then, gently pat them dry with a clean towel. This step is key to keeping your pesto fresh. Next, mince the garlic cloves. You can use a knife or a garlic press. Mincing releases the flavor and aroma of the garlic.
Blending the Pesto
Now, it’s time to blend the ingredients. In a food processor, add the fresh basil leaves, grated pecorino cheese, nutritional yeast, and minced garlic. Pulse the mixture until it is finely chopped. Don’t forget to scrape down the sides as you blend. This helps everything mix well. With the processor running, slowly drizzle in the olive oil. This makes the pesto creamy and smooth.
Final Touches
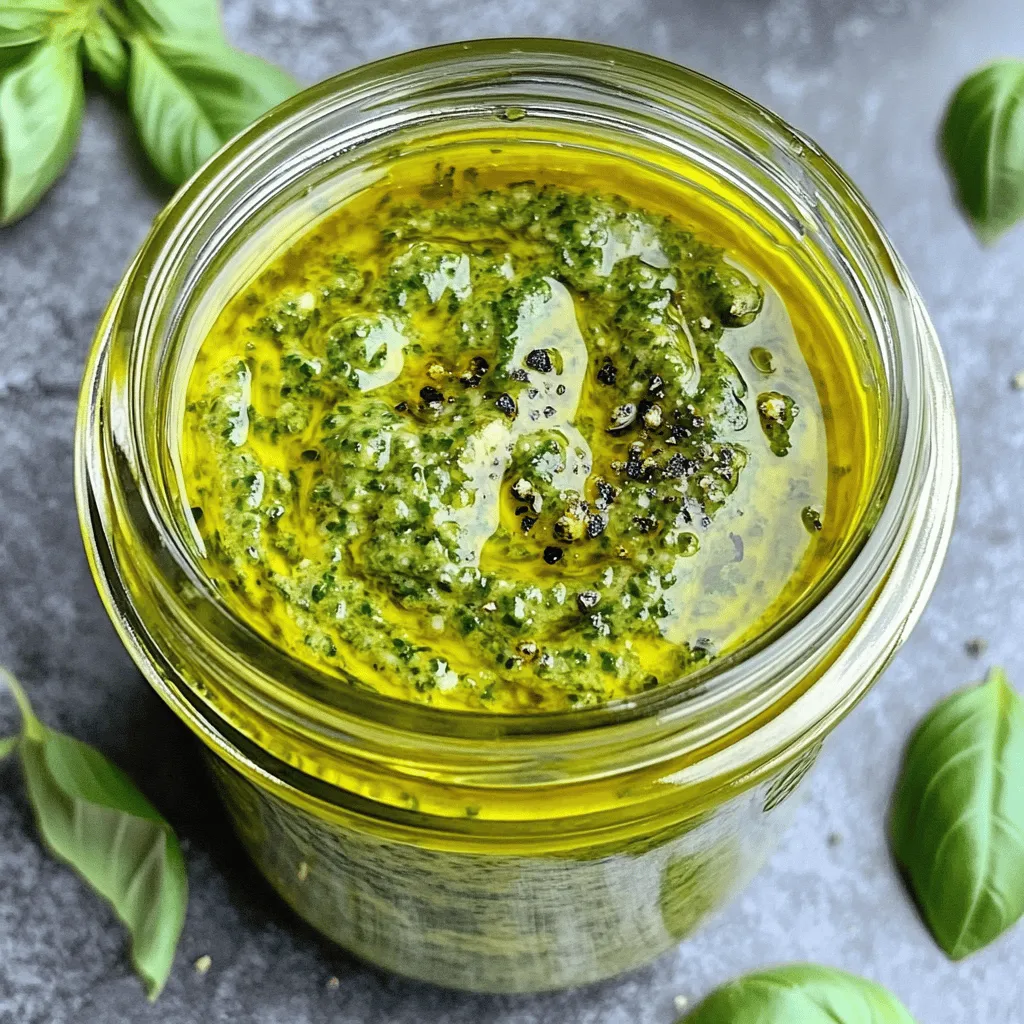
After blending, add lemon juice for a fresh zing. Season with salt and pepper to taste. Pulse again to mix everything. Taste your pesto and adjust the seasoning or lemon juice if needed. If the pesto feels too thick, drizzle in a bit more olive oil. Keep blending until you reach your desired consistency. Transfer your pesto to a container. Press plastic wrap directly on the surface to stop it from browning. Store it in the fridge for up to one week.
Tips & Tricks
Achieving the Best Flavor
Using the best ingredients makes a big difference. Fresh basil gives the pesto its bright taste. Choose ripe, fragrant basil for the best flavor. Grated pecorino cheese adds a salty kick. Nutritional yeast gives a cheesy flavor without nuts. If you want a stronger taste, add more garlic or lemon juice. Taste your pesto while mixing. Adjust salt and pepper to fit your taste.
Avoiding Common Mistakes
Blending is key. If you over-blend, your pesto may turn watery. Keep an eye on the texture. You want it smooth but not too runny. On the other hand, under-blending leaves you with big chunks. Olive oil is crucial, too. Use high-quality extra virgin olive oil for the best taste. Poor-quality oil can ruin your pesto.
Serving Suggestions
Pesto is very versatile. You can mix it into pasta for a quick meal. Try spreading it on sandwiches for extra flavor. Pesto also works great as a dip. Serve it with veggies or crackers for a tasty snack.
Variations
Herb Variations
You can change the herbs in your pesto. Try using parsley or spinach instead of basil. Both add a fresh flavor. You can mix herbs too! For a unique taste, use arugula or mint. Each herb brings a different twist. Make it your own!
Cheese Alternatives
If you want a dairy-free option, use vegan cheese. Nutritional yeast works great here. It gives a cheesy flavor without the dairy. You can also skip the cheese entirely. Just add more lemon juice and salt for taste. Experiment to find what you enjoy!
Additional Flavor Enhancements
Want to spice things up? Add red pepper flakes for heat. You can also roast garlic for a sweeter taste. Roasted vegetables like bell peppers can add depth too. Try blending in sun-dried tomatoes for a richer flavor. The options are endless!
Storage Info
Best Practices for Storage
To keep your nut-free pesto fresh, use a few simple tricks. First, I recommend pressing plastic wrap directly on the surface of the pesto. This method helps to prevent browning. Next, choose an airtight container. Glass jars work well, but any tight-sealing container will do. Make sure to fill it with pesto, leaving little air space.
Shelf Life of Nut-Free Pesto
Your nut-free pesto stays fresh in the fridge for up to one week. If you want it to last longer, freezing is a great option. To freeze pesto, put it in ice cube trays. Once frozen, pop out the cubes and store them in a freezer bag. This way, you can use just what you need. Frozen pesto lasts for about three months.
FAQs
Can I make pesto without cheese?
Yes, you can make pesto without cheese. Just leave it out or use nutritional yeast. Nutritional yeast gives a cheesy taste without dairy. This option is great for vegans or those with lactose intolerance.
How to adjust pesto consistency?
If your pesto is too thick, add more olive oil. You can also add a bit of water or lemon juice. Blend until you reach your desired smoothness. For thicker pesto, blend less. This way, you can create the perfect texture for your dish.
What are ideal dishes to use pesto on?
Pesto works well on pasta, sandwiches, or salads. You can also use it as a dip for veggies. Try it on grilled meats or fish too. Pesto enhances flavors and adds a fresh touch to any meal.
How do I store leftover pesto?
Store leftover pesto in an airtight container. Press plastic wrap on the surface to keep it fresh. You can keep it in the fridge for up to one week. If you want it to last longer, freeze it in ice cube trays. This way, you can use small amounts later.
In this post, I covered how to make nut-free pesto. We explored each ingredient, from fresh basil to olive oil. You learned step-by-step methods for preparation and blending. I shared tips for flavor and avoiding common mistakes. We also discussed variations, storage, and answered common questions.
Pesto is easy to customize and delicious to use. Make it your own with fresh herbs or spices. Enjoy your healthy, nut-free pesto on pasta, sandwiches, or as a dip.