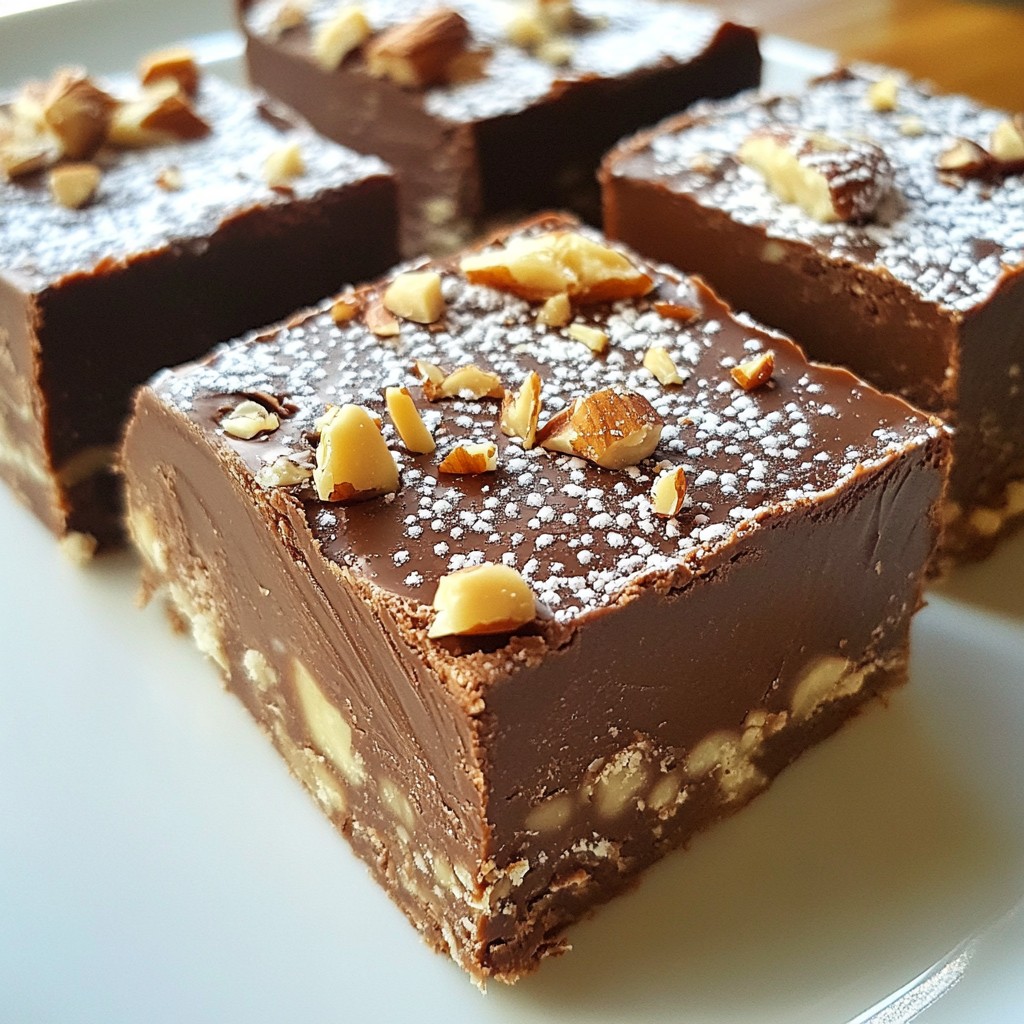
Are you craving a sweet treat without the fuss of baking? No-Bake Peanut Butter Bars are the answer! These simple, tasty bars come together quickly and require just a few ingredients. Whether you’re a busy parent or a snack lover, this recipe will satisfy your sweet tooth. Join me as we explore how to make these delicious treats and uncover tips, tricks, and tasty variations to enjoy. Let’s dive in!
Ingredients
Main Ingredients for No-Bake Peanut Butter Bars
To make these tasty no-bake peanut butter bars, you need a few main ingredients:
– 1 cup creamy peanut butter
– 1 cup rolled oats
– 1/2 cup honey or maple syrup
– 1/2 cup graham cracker crumbs
– 1/4 cup chocolate chips (dark or milk chocolate)
– 1/4 teaspoon vanilla extract
– Pinch of salt
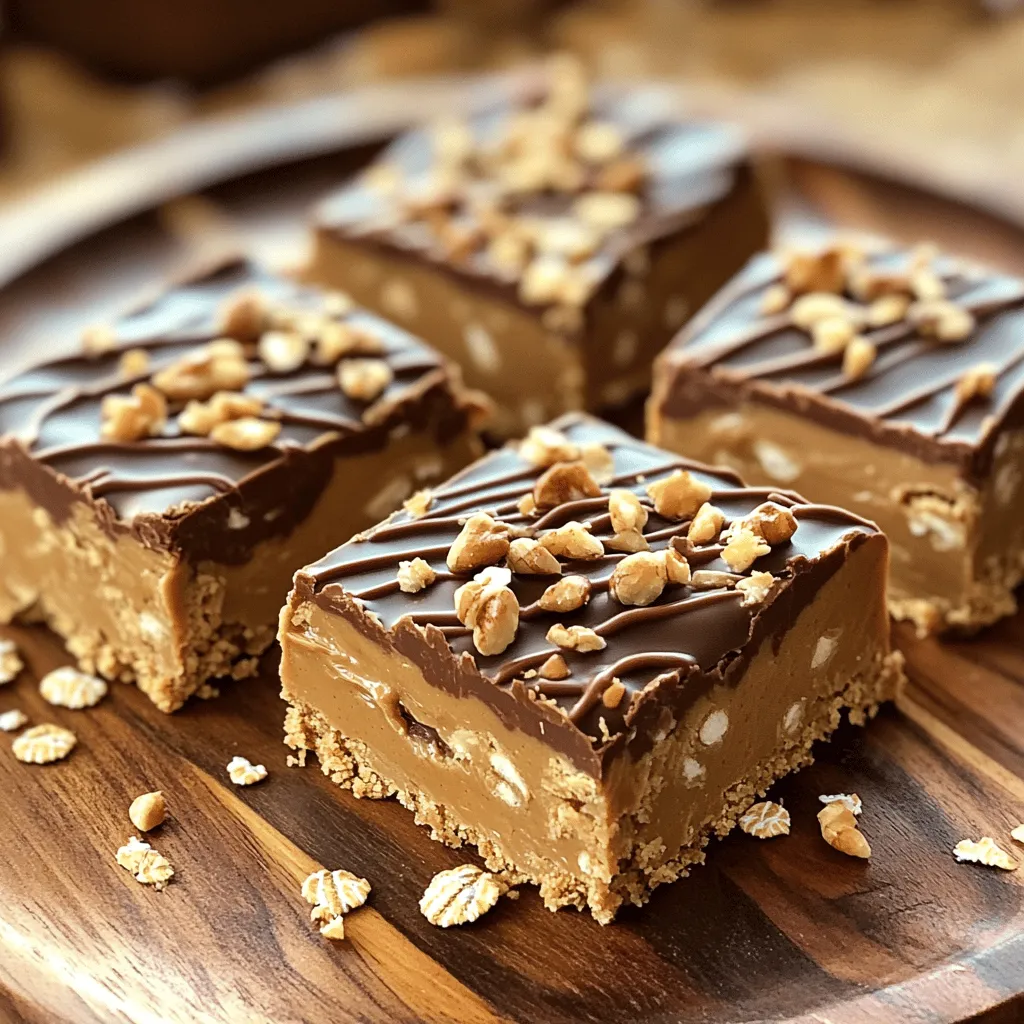
These ingredients create a rich, sweet, and chewy bar. The peanut butter gives a nutty flavor. The oats add some texture and fiber. Honey or maple syrup acts as a natural sweetener. Graham cracker crumbs help bind everything together. The chocolate chips add a delightful touch.
Optional Ingredients for Customization
You can customize these bars with fun optional ingredients:
– Chopped nuts (like almonds or walnuts)
– Dried fruits (like raisins or cranberries)
– Coconut flakes
– Protein powder for an extra boost
– Different flavor extracts (like almond or chocolate)
Feel free to play with these additions. They can make your bars unique and even tastier!
Nutritional Information Overview
These no-bake peanut butter bars provide a balance of protein and healthy fats. Here’s a quick look at the nutritional benefits:
– Calories: A serving (1 bar) has about 180 calories.
– Protein: Each bar offers around 5 grams of protein.
– Fats: Healthy fats come from the peanut butter and nuts.
– Carbohydrates: The oats and sweetener keep your energy up.
These bars are great for a quick snack or a dessert. They satisfy your sweet tooth while providing nutrition.
Step-by-Step Instructions
Preparation Steps
First, gather all your ingredients. You will need:
– 1 cup creamy peanut butter
– 1 cup rolled oats
– 1/2 cup honey or maple syrup
– 1/2 cup graham cracker crumbs
– 1/4 cup chocolate chips
– 1/4 teaspoon vanilla extract
– Pinch of salt
Make sure you have a large mixing bowl and a spatula ready. Line an 8×8 inch baking pan with parchment paper. This helps with easy removal later.
Mixing the Ingredients
In the large mixing bowl, add the creamy peanut butter and honey. Stir them together until smooth. Next, add the rolled oats, graham cracker crumbs, vanilla extract, and a pinch of salt. Mix all these ingredients well until you form a sticky dough.
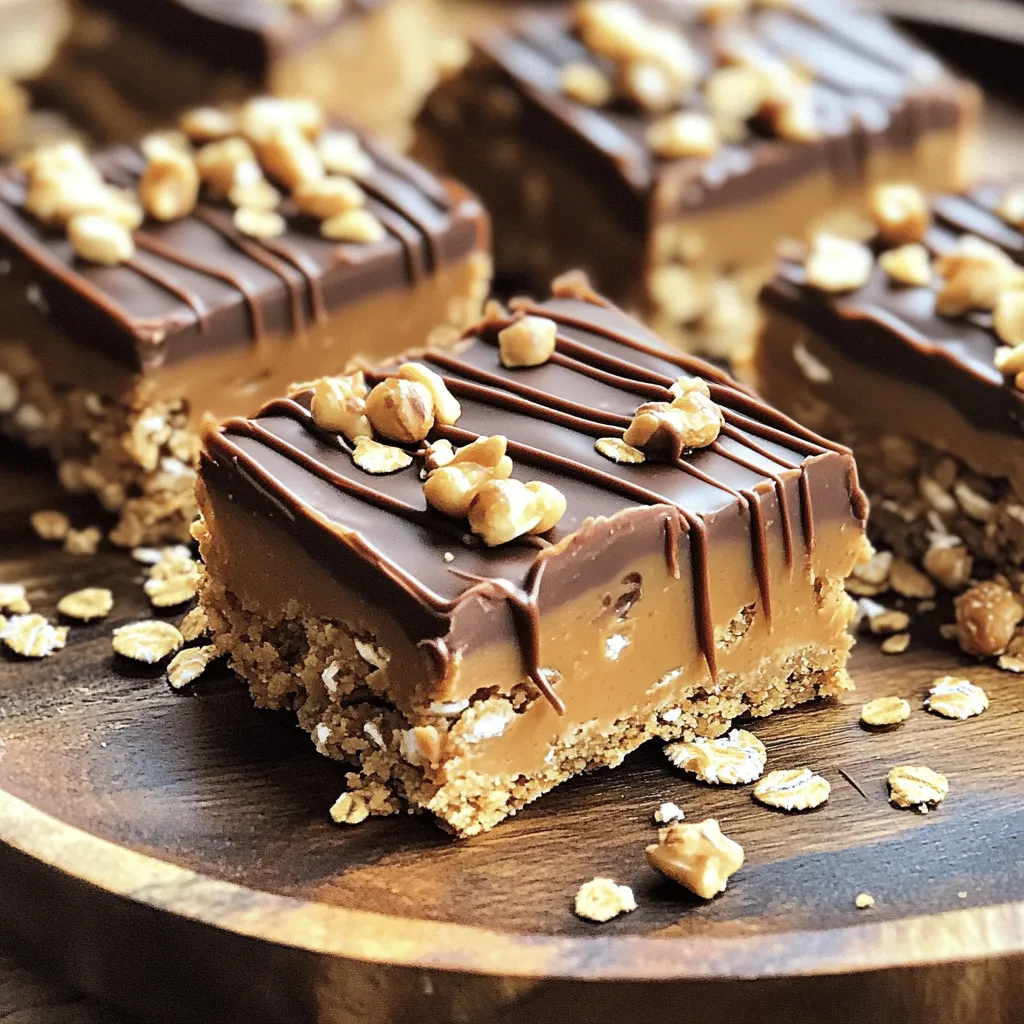
Now, gently fold in the chocolate chips. Make sure they get mixed in evenly. This adds a nice touch of sweetness to your bars.
Setting the Bars in the Refrigerator
After mixing, transfer the peanut butter mixture into the prepared baking pan. Press it down firmly with a spatula. Ensure it’s packed tightly to form a solid layer.
Now, place the pan in the refrigerator. Let it chill for at least one hour. This helps the bars set properly. Once they are firm, lift them out using the parchment paper. Cut them into squares or rectangles as you like.Enjoy your no-bake peanut butter bars!
Tips & Tricks
Common Mistakes to Avoid
When making no-bake peanut butter bars, avoid using dry ingredients. If you add too many oats or crumbs, the bars may fall apart. Always measure your ingredients carefully. Mixing the dough too much can also make it tough. Stir until just combined for the best texture. Lastly, don’t skip the refrigeration step. If you don’t chill them long enough, the bars won’t hold their shape.
Perfecting Texture and Flavor
To get the smoothest texture, use creamy peanut butter. It mixes better and spreads easily. Adding a pinch of salt enhances the flavor of the bars. You can adjust the sweetness by adding more or less honey or maple syrup. If you like a richer taste, try using dark chocolate chips. They balance the sweetness and add depth. For extra crunch, fold in some chopped nuts or seeds.
Serving Suggestions and Garnishes
Serve these bars chilled for the best taste. You can drizzle melted chocolate on top for a fancy touch. A sprinkle of chopped nuts or oats adds a nice texture. Cut the bars into fun shapes for a party. They make a great snack for kids and adults alike. For a refreshing twist, add a side of fresh fruit. These bars pair well with apples or bananas.
Variations
Different Nut Butters to Use
You can switch up the nut butters in this recipe. Almond butter adds a mild flavor. Cashew butter gives a creamy texture. Sunflower seed butter is great for nut-free diets. Each option brings its own taste. Feel free to mix and match!
Adding Extra Flavor with Mix-Ins
Want to boost the flavor? You can add more ingredients. Try shredded coconut for a tropical twist. Chopped nuts add crunch and protein. Dried fruits like raisins or cranberries give a sweet touch. You can even mix in protein powder for a health kick.
Healthier Alternatives for Ingredients
If you want a healthier treat, consider some swaps. Use almond flour instead of graham cracker crumbs. This keeps the bars gluten-free. Replace honey with agave syrup for a lower glycemic index. You can also use natural sweeteners like mashed bananas or applesauce. These changes still keep the bars tasty!
Storage Info
Best Practices for Storing Bars
To keep your no-bake peanut butter bars fresh, use an airtight container. This will help prevent them from drying out. Place a piece of parchment paper between layers if you stack them. It stops sticking and keeps your bars intact.
Freezing No-Bake Peanut Butter Bars
You can freeze these bars for later. Wrap each bar tightly in plastic wrap. Then, place them in a freezer-safe bag. This way, you can enjoy a sweet treat anytime. When ready to eat, let them thaw in the fridge for a few hours.
How Long Do They Last?
These bars stay fresh in the fridge for up to one week. If stored properly in the freezer, they can last up to three months. Just remember to check for any signs of freezer burn before you enjoy them.
FAQs
Can I use crunchy peanut butter instead of creamy?
Yes, you can use crunchy peanut butter. It adds a fun texture. The bars will have a nice crunch, which many people enjoy. Just keep in mind that it may change the smoothness of the bars a little.
What can I use in place of honey or maple syrup?
If you don’t have honey or maple syrup, try agave syrup or brown rice syrup. Both options will work well and keep the bars sweet. You could also use date syrup for a natural touch.
How do I know when the bars are set properly?
Bars are set when they feel firm to the touch. After one hour in the fridge, they should hold their shape. If they feel soft, leave them in for a bit longer. They should not be sticky.
Can I make these bars vegan-friendly?
Yes, you can easily make these bars vegan. Just use maple syrup instead of honey. Make sure your peanut butter is vegan too. This way, everyone can enjoy these tasty treats! For the chocolate chips, pick a dairy-free option to keep it vegan.
You learned how to make no-bake peanut butter bars using simple ingredients. I shared tips for preparing, mixing, and storing the bars. You can customize flavors and textures by trying different nut butters and mix-ins. Keep these bars fresh and enjoy them often. With this knowledge, you can create delicious treats that fit your taste. Make these bars your own, and share them with friends and family for all to enjoy.