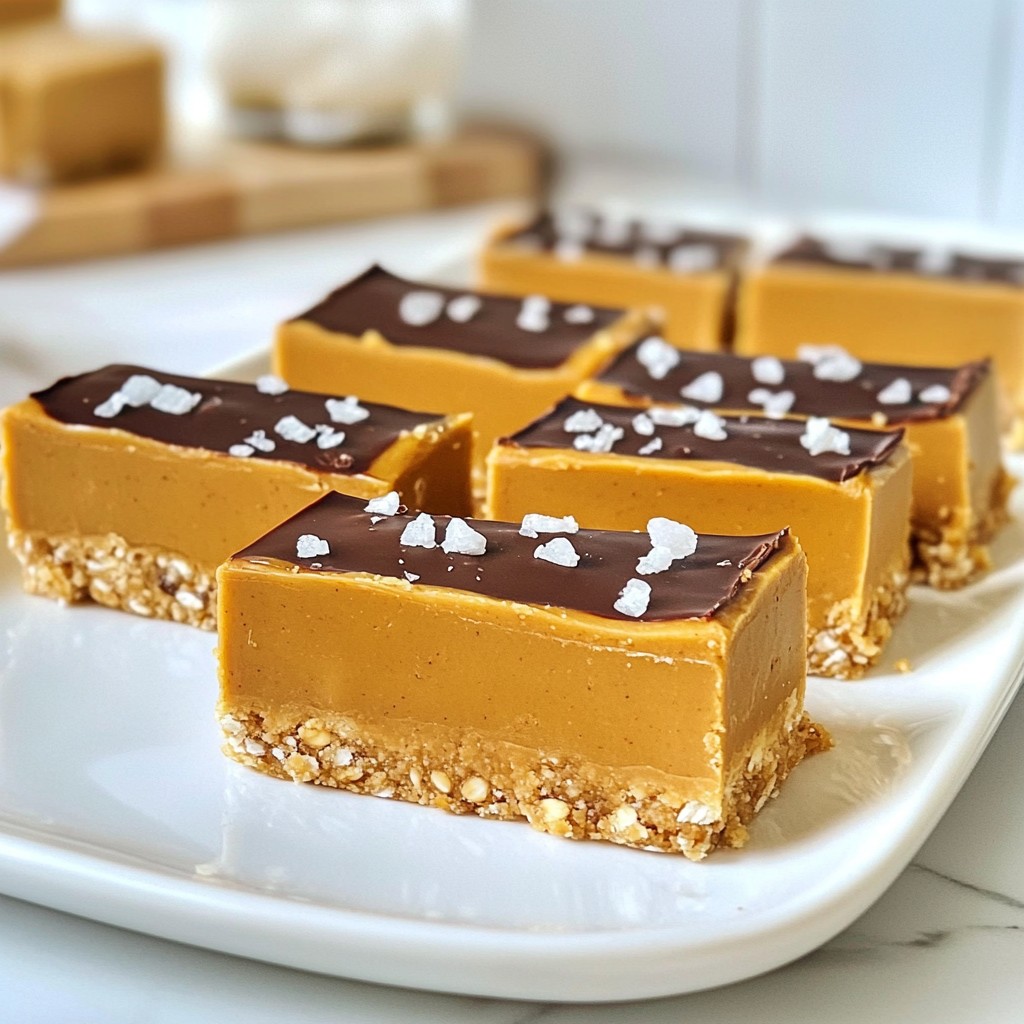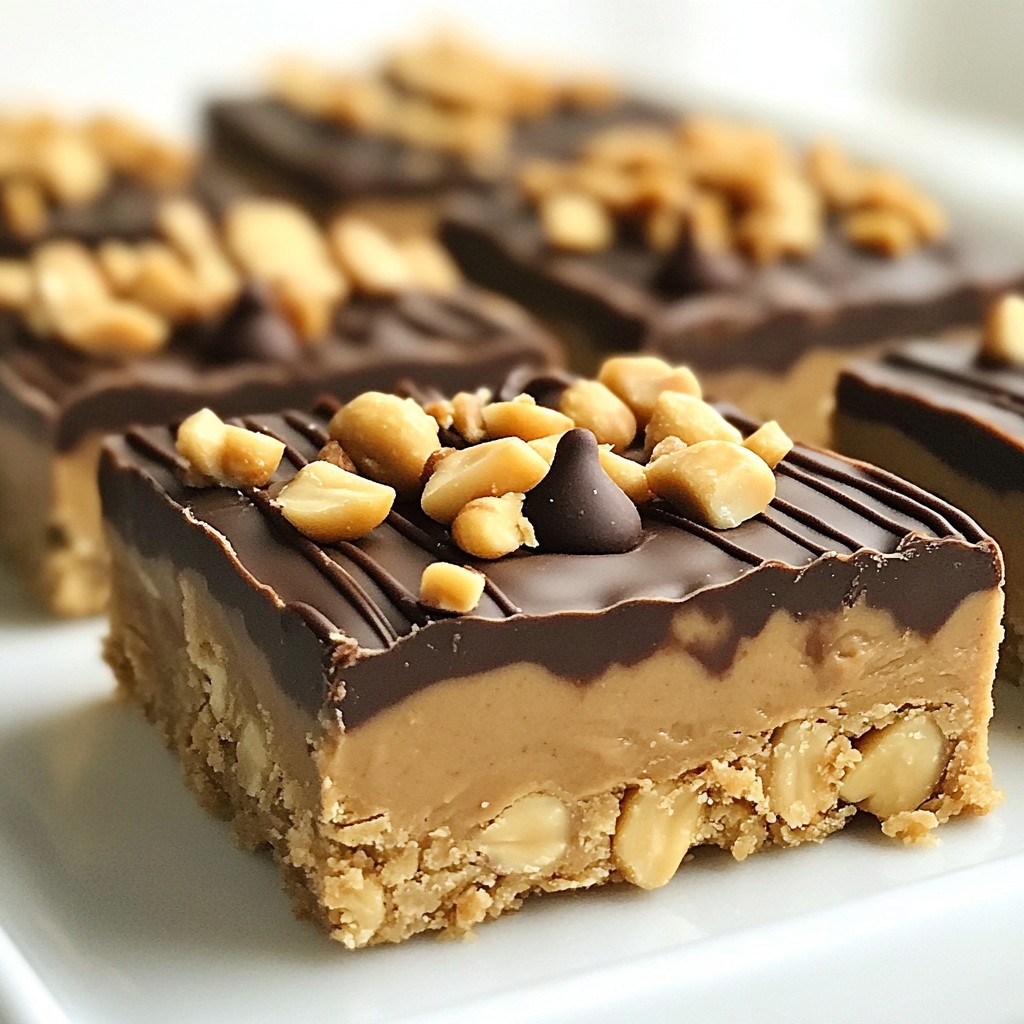
Are you ready for a quick and easy treat? My No-Bake Peanut Butter Bars are the perfect solution for any snack craving. Made with just a few simple ingredients like creamy peanut butter and dark chocolate chips, these bars come together fast. Plus, you don't need to turn on the oven! Let’s dive into this fun recipe that’s sure to satisfy your sweet tooth without the hassle.
Why I Love This Recipe
- Easy to Make: This recipe requires minimal ingredients and just a few simple steps, making it perfect for busy days.
- Healthy Ingredients: Packed with wholesome ingredients like oats and peanut butter, these bars are a nutritious snack option.
- Customizable: You can easily modify the recipe by adding different nuts or using alternative sweeteners to suit your taste.
- Delicious Flavor: The combination of peanut butter and dark chocolate creates a rich and satisfying flavor that everyone loves.
Ingredients
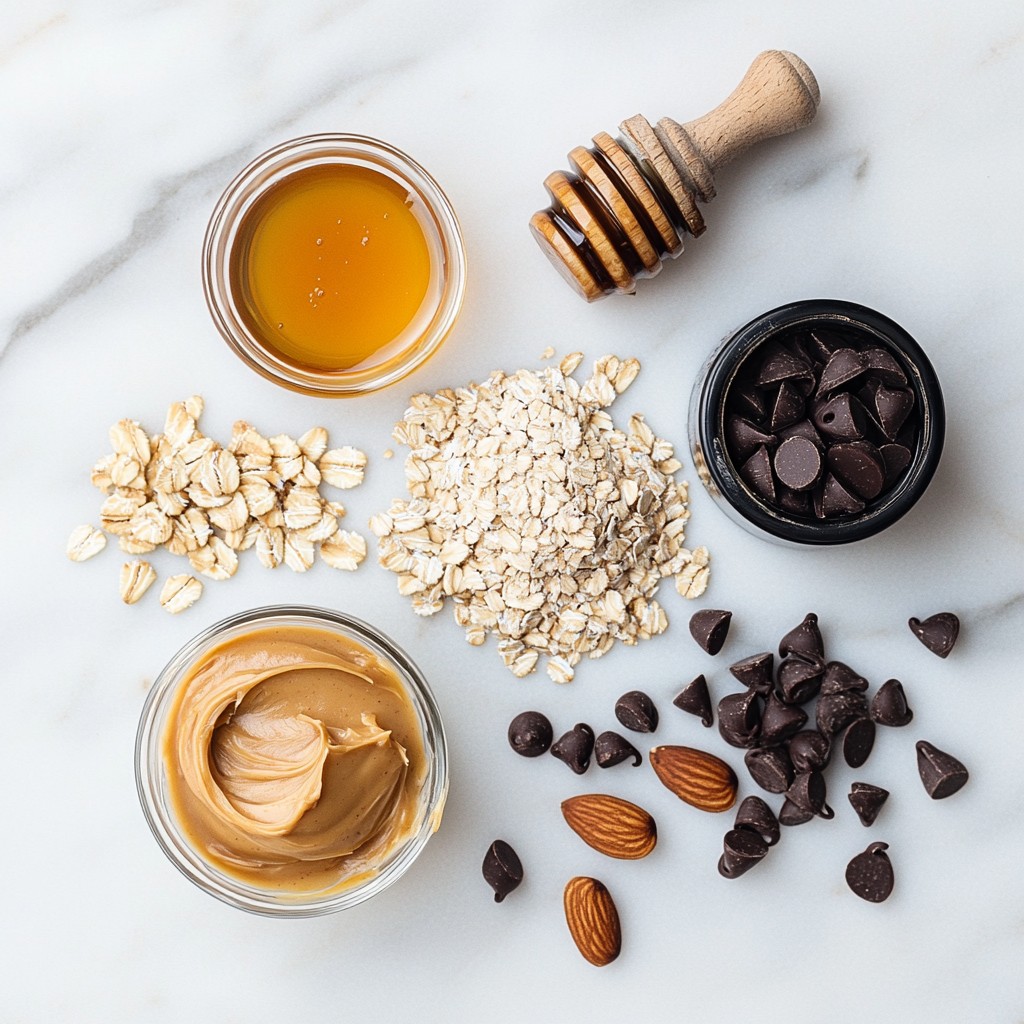
To make No-Bake Peanut Butter Bars, you need a few simple ingredients. Each one adds great taste and texture. Here’s what you will need:
- 1 cup creamy peanut butter
- 1 cup rolled oats
- 1/2 cup honey or maple syrup
- 1/2 cup almond flour
- 1/2 cup dark chocolate chips
- 1/4 teaspoon salt
- 1 teaspoon vanilla extract
- Optional: 1/4 cup chopped nuts (like walnuts or almonds)
These ingredients work together to create a sweet and nutty flavor. The peanut butter gives a rich taste, while honey or maple syrup adds a hint of sweetness. Rolled oats provide a chewy texture. Almond flour makes the bars soft and nutty. Dark chocolate chips add a delicious touch of chocolate. Salt enhances all the flavors, and vanilla extract gives a lovely aroma. If you like nuts, feel free to toss some in!
Step-by-Step Instructions
Preparation Steps
1. In a medium mixing bowl, combine 1 cup of creamy peanut butter, 1/2 cup of honey (or maple syrup), and 1 teaspoon of vanilla extract. Mix until it’s smooth.
2. Add 1 cup of rolled oats, 1/2 cup of almond flour, 1/4 teaspoon of salt, and 1/2 cup of dark chocolate chips. If you want, add 1/4 cup of chopped nuts too.
3. Stir everything together until you get a thick, sticky mixture.
4. Line an 8x8 inch baking dish with parchment paper. Let some paper hang over the sides. This will help you lift the bars out later.
Forming the Bars
1. Transfer the mixture into the lined baking dish. Press down firmly with your hands or a spatula. Make it even across the dish.
2. Place the dish in the fridge for at least 1 hour. This helps the bars set and firm up nicely.
Cutting and Serving
1. Once the bars are set, lift them out using the parchment paper.
2. Place the bars on a cutting board. Cut them into squares or rectangles, based on what you like.
Enjoy your No-Bake Peanut Butter Bars as a tasty snack or dessert!
Tips & Tricks
Perfecting the Recipe
To get the right consistency for your no-bake peanut butter bars, mix the peanut butter, honey, and vanilla well. This step is key. You want it smooth and creamy. When you add the rolled oats and almond flour, the mixture will thicken. It should feel sticky but not too wet. If it’s too loose, add more oats or almond flour.
Letting the bars set is just as important. After pressing the mixture into the dish, refrigerate for at least one hour. This helps the bars firm up. If you skip this step, they may fall apart when you cut them.
Presentation Ideas
A fun way to dress up your bars is to drizzle melted chocolate on top. Just melt dark chocolate chips and pour it over the bars evenly. It adds a nice touch and makes them look fancy.
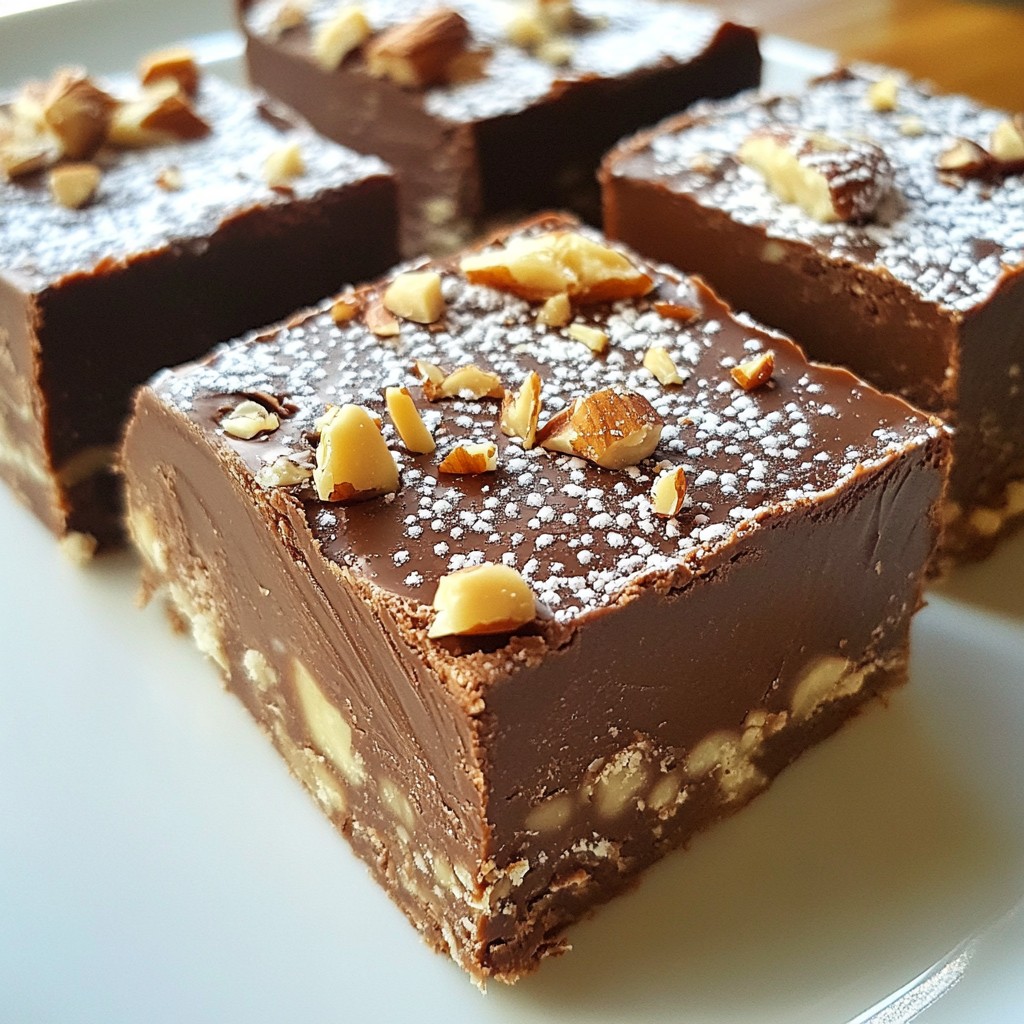
You can also sprinkle chopped nuts on top. This not only adds crunch but also makes the bars more appealing. Nuts like walnuts or almonds work great for this.
Cooking Equipment
For this recipe, you’ll need a few simple tools. A medium mixing bowl is perfect for combining your ingredients. A spatula or your hands will help you press the mixture into the baking dish.
Use an 8x8 inch baking dish lined with parchment paper. This makes it easy to lift the bars out after they set. Parchment paper is a game changer for easy cleanup!
Pro Tips
- Use Natural Peanut Butter: Opt for natural peanut butter without added sugars or oils for a healthier option.
- Chill for Better Texture: Allow the bars to chill in the refrigerator longer than an hour for a firmer, more enjoyable texture.
- Experiment with Mix-ins: Feel free to add dried fruits, seeds, or different types of nuts for added flavor and nutrition.
- Store Properly: Keep the bars in an airtight container to maintain freshness and avoid them becoming too soft.
Variations
Flavor Variations
You can easily change the taste of these bars. Adding protein powder boosts nutrition. Just mix in about a half cup of your favorite protein powder. This makes the bars great for post-workout snacks.
Using crunchy peanut butter adds texture. It gives a nice bite to each bar. Just swap creamy for crunchy in the recipe. The flavor stays rich, but the crunch makes it fun.
Ingredient Swaps
If you need nut-free options, try sun butter or soy nut butter. These alternatives work well with the other ingredients. They keep the same creamy texture and taste.
For sweeteners, you can use agave syrup instead of honey. Maple syrup also works great if you want a different flavor. Just keep the amount the same as in the recipe.
Serving Suggestions
These bars pair well with fresh fruits like bananas or strawberries. You can also serve them with yogurt for a tasty snack.
They fit perfectly for parties or picnics. Cut them into small squares for easy sharing. They are also great for lunchboxes or as after-school treats.
Storage Info
How to Store
To keep your no-bake peanut butter bars fresh, use an airtight container. This will help prevent them from drying out. Store the bars in the refrigerator. They stay good for about one week. If you want to keep them longer, freezing is the way to go.
Freezing Recommendations
You can freeze your bars for even longer storage. Cut them into squares before freezing. Place the bars in a single layer on a tray first. Then, transfer them to a freezer-safe bag or container. When you're ready to enjoy them, take out the bars and let them thaw in the fridge for a few hours. They will taste just as good!
Reusing Leftovers
If you have leftover bars, you can get creative! Crumble the bars and mix them into yogurt for a tasty snack. You can also use them to top your favorite smoothie bowl. Another fun idea is to use the crumbled bars in a dessert, like a pie crust. There are many ways to enjoy your no-bake peanut butter bars!
FAQs
Common Questions
How do I make No-Bake Peanut Butter Bars vegan? To make these bars vegan, swap honey with maple syrup. Choose dark chocolate chips that are dairy-free. All other ingredients, like peanut butter and oats, are vegan-friendly.
Can I use natural peanut butter instead of creamy? Yes, you can use natural peanut butter. Just make sure it's smooth and not too oily. If it’s too runny, the bars may not hold together well.
What can I use instead of almond flour? If you lack almond flour, use oat flour or regular flour. You can also grind rolled oats to make your own flour. Each option will still give the bars a great taste.
Nutritional Information
Caloric breakdown of each ingredient
- Creamy peanut butter: About 94 calories per tablespoon.
- Rolled oats: Around 30 calories per tablespoon.
- Honey or maple syrup: Roughly 64 calories per tablespoon.
- Almond flour: About 25 calories per tablespoon.
- Dark chocolate chips: Approximately 70 calories per tablespoon.
For one bar, expect around 150-200 calories, depending on your ingredient choices.
Health benefits of the bars These bars provide healthy fats from peanut butter. They offer fiber from oats, which helps digestion. The dark chocolate adds antioxidants, making them both tasty and healthy.
Troubleshooting Tips
What to do if bars are too sticky? If your mixture is too sticky, add more almond flour or oats. Mix well until it is less sticky. You can also chill the mixture longer before pressing it into the dish.
Fixing crumbly bars before setting If your bars crumble, try adding a bit of melted peanut butter or honey. Mix it in to help bind the ingredients. Press the mixture firmly into the dish to help hold it together.
These no-bake peanut butter bars are easy and fun to make. You start with simple ingredients and follow just a few steps. Remember to chill them well for the best texture. You can customize by adding flavors or swapping ingredients. Store them properly or freeze extras for later. Enjoy these tasty bars at any time! With these tips, you can make the perfect snack for yourself or friends. Happy baking!