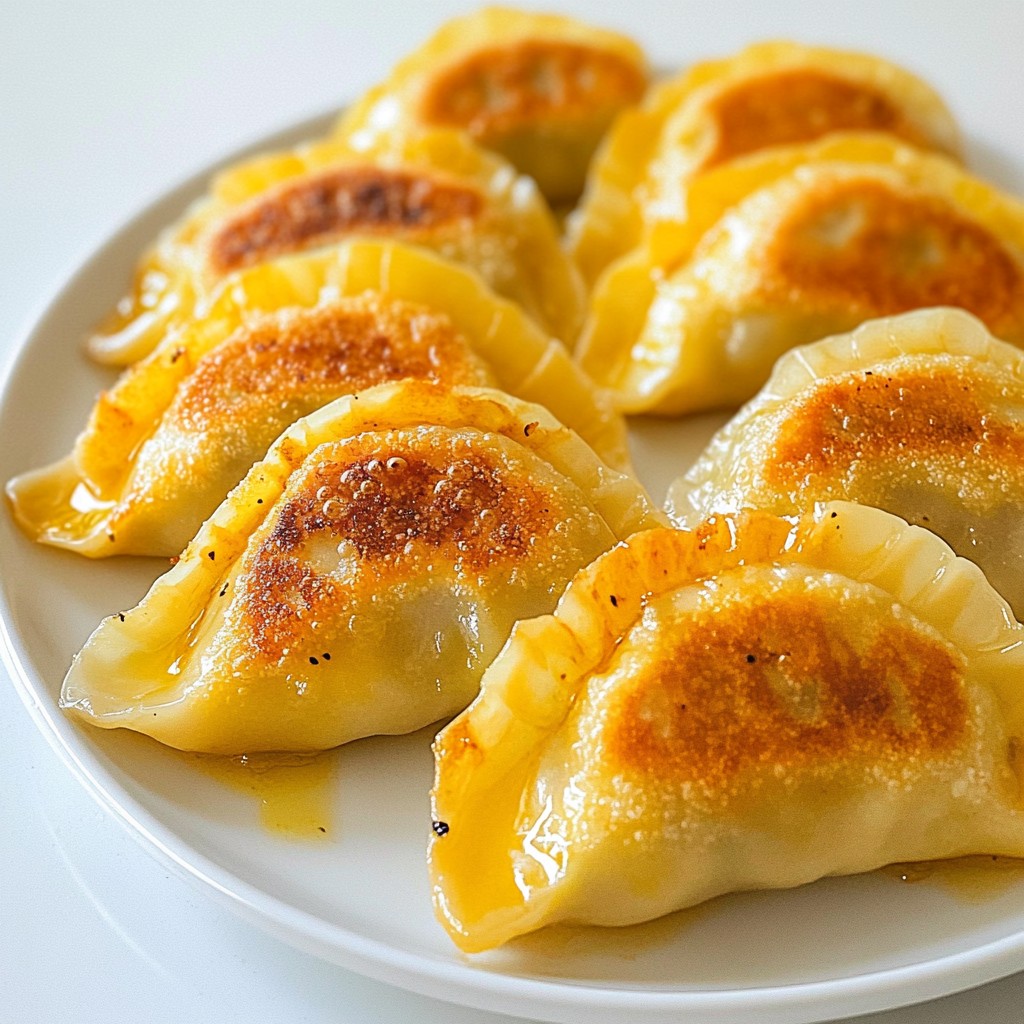
Get ready to bite into pure bliss with Garlic Parmesan Cheeseburger Bombs! These tasty treats are a fun twist on your classic cheeseburger, packed with juicy beef, sharp cheddar, and a crunchy garlic-Parmesan kick. They are easy to make and perfect for parties, game days, or a cozy family meal. Follow me as I share step-by-step instructions, tips, and delicious variations to elevate your cooking game!
Ingredients
Main Ingredients
– 1 pound ground beef
– 4 ounces sharp cheddar cheese, cubed
– 1 package refrigerated biscuit dough (8 biscuits)
Spices and Seasonings
– 1 teaspoon garlic powder
– 1 teaspoon onion powder
– 1/2 teaspoon black pepper
– 1 teaspoon salt
Toppings and Preparation
– 1/4 cup grated Parmesan cheese
– 3 tablespoons unsalted butter, melted
– 2 tablespoons fresh parsley, chopped
– 1 clove garlic, minced
Gathering the right ingredients is key for Garlic Parmesan Cheeseburger Bombs. First, use high-quality ground beef. It brings flavor and juiciness. Sharp cheddar cheese adds a rich taste that melts perfectly in the center. For the dough, I prefer refrigerated biscuit dough. It’s easy to work with and creates a fluffy outer layer.
Now, let’s talk spices. Garlic powder and onion powder mix well, boosting the beef flavor. Don’t forget salt and black pepper. These spices are essential. They bring balance to the dish.
For toppings, grated Parmesan cheese gives a nice crunch. The melted butter, garlic, and parsley blend beautifully, adding richness. This mixture will coat the bombs before baking. It’s what makes them taste amazing.
Keep these ingredients in mind, and you’ll have a delicious treat.Happy cooking!
Step-by-Step Instructions
Preparation Steps
First, preheat your oven to 375°F (190°C). This helps the bombs cook evenly. Next, line a baking sheet with parchment paper. This keeps the bombs from sticking. In a large bowl, combine the ground beef, garlic powder, onion powder, black pepper, and salt. Mix well until all spices blend into the meat. This adds great flavor to your bombs.
Forming the Bombs
Now, take a small portion of the beef mixture, about 1 tablespoon. Flatten it in your hand, then place a cube of cheddar cheese in the center. Carefully fold the beef over the cheese to create a meatball. Make sure it’s sealed tightly. You don’t want the cheese to escape! Repeat this until all your beef and cheese are used.
Open the biscuit dough package and separate the biscuits. Flatten each biscuit into a disc about 4 inches wide. Place one meatball in the center of each biscuit disc. Fold the edges over the meatball to seal it. Pinch the seams well to keep them closed. Place each bomb seam side down on the prepared baking sheet.
Baking Process
In a small bowl, mix the melted butter, minced garlic, grated Parmesan cheese, and chopped parsley. Brush this garlic-Parmesan mixture generously over each cheeseburger bomb. This adds a tasty crust. Bake in the preheated oven for 15-20 minutes or until golden brown. Check that the meat is cooked through, aiming for an internal temperature of 160°F (71°C). Let cool for a few minutes before enjoying these delicious treats.
Tips & Tricks
Perfecting the Recipe
To ensure the cheese doesn’t escape while cooking, seal your bombs tightly. When you shape the meat around the cheese, make sure there are no gaps. I often press the meat firmly to form a tight seal. If you want a flavor boost, try adding spices like smoked paprika or cayenne pepper. They add a nice kick!
Cooking Equipment
For baking, I recommend using a rimmed baking sheet with parchment paper. This setup helps catch any drips and makes cleanup easier. When shaping and sealing your bombs, you can use a small scoop or your hands. A scoop helps keep the meatballs uniform in size.
Serving Suggestions
These bombs pair well with sides like crispy fries or a fresh salad. You can also serve them with dips like ranch or ketchup for extra flavor. To enhance presentation, sprinkle some extra parsley on top just before serving. It adds color and a nice touch!

Variations
Ingredient Substitutions
You can switch out ground beef for ground turkey or chicken. This makes the dish lighter. The flavor will shift, but it can still be tasty. Use the same spices to keep it flavorful.
If you’re on a keto diet, try using cheese dough or almond flour dough instead of biscuit dough. These options will help lower carbs while keeping the bombs delicious.
Flavor Modifications
Feel free to get creative with the cheese. Try mozzarella, pepper jack, or even goat cheese. Each cheese brings a unique taste.
You can also change up the spices. Want more heat? Add cayenne pepper or red pepper flakes. Prefer a milder flavor? Skip the spices or use herbs like oregano or basil.
Seasonal Variations
In summer, why not add BBQ sauce inside? It gives a fun twist and brings a smoky flavor. You can also top with fresh herbs or grilled onions for extra flavor.
In winter, consider adding a touch of cream cheese or a warm sauce. This makes it a cozy dish for cold days. You can serve these with warm soups or stews for comfort.
Storage Info
Storing Leftovers
To keep your Garlic Parmesan Cheeseburger Bombs fresh, store them in the fridge. Place them in an airtight container. This helps lock in flavor and moisture. Make sure your bombs are cool before sealing the container. If you want, you can also wrap them tightly in plastic wrap. This extra layer keeps them safe from drying out.
Freezing Instructions
If you want to save some bombs for later, freezing works great. First, let them cool completely. Then, place each bomb in a single layer on a baking sheet. Put the baking sheet in the freezer for about one hour. This freezes them without sticking together. After one hour, transfer the bombs to a freezer bag. Remove as much air as you can before sealing.
When you’re ready to eat, you can reheat them straight from the freezer. Preheat your oven to 375°F (190°C). Place the frozen bombs on a baking sheet. Bake for about 20-25 minutes or until they’re heated through.
Shelf Life
For the best taste, eat your leftovers within three days. After that, the quality may drop. Look for signs of spoilage. If the bombs smell off or have a strange texture, it’s best to throw them away. Always trust your senses when it comes to food safety.
These storage tips will help you enjoy every last bite of your Garlic Parmesan Cheeseburger Bombs.
FAQs
Can I make Garlic Parmesan Cheeseburger Bombs ahead of time?
Yes, you can prepare these bombs before serving. To do this, follow these steps:
– Mix the filling: Combine the ground beef and spices as per the recipe.
– Form the bombs: Shape the meatballs and wrap them in biscuit dough.
– Chill: Place the uncooked bombs on a baking sheet and cover them. Store in the fridge for up to 24 hours.
When ready to bake, brush with the garlic-Parmesan mixture and bake as directed.
What is the best way to ensure my bombs are cooked thoroughly?
To ensure your bombs cook well, check the internal meat temperature. Use a meat thermometer. The safe temperature for ground beef is 160°F (71°C). You can also look for these signs:
– Visual cues: The bombs should be golden brown on the outside.
– Juices: Clear juices should run from the meat when you cut into it.
These steps will help you avoid undercooked meat.
Can I customize the filling?
Absolutely! You can add your favorite ingredients. Here are some ideas:
– Vegetables: Try adding diced onions, bell peppers, or mushrooms for extra flavor.
– Different meats: Ground turkey or chicken can replace beef.
– Cheese: Use mozzarella or pepper jack for a twist.
Feel free to get creative and make these bombs your own!
You learned how to make Garlic Parmesan Cheeseburger Bombs. We covered ingredients, cooking steps, and helpful tips for success. You can use various meats and cheeses to fit your taste. These bombs make excellent snacks or meals for any occasion. Enjoy trying different flavors and serving ideas. Experiment and have fun with this tasty recipe. Your kitchen will be filled with amazing smells as you bake!