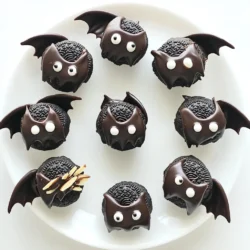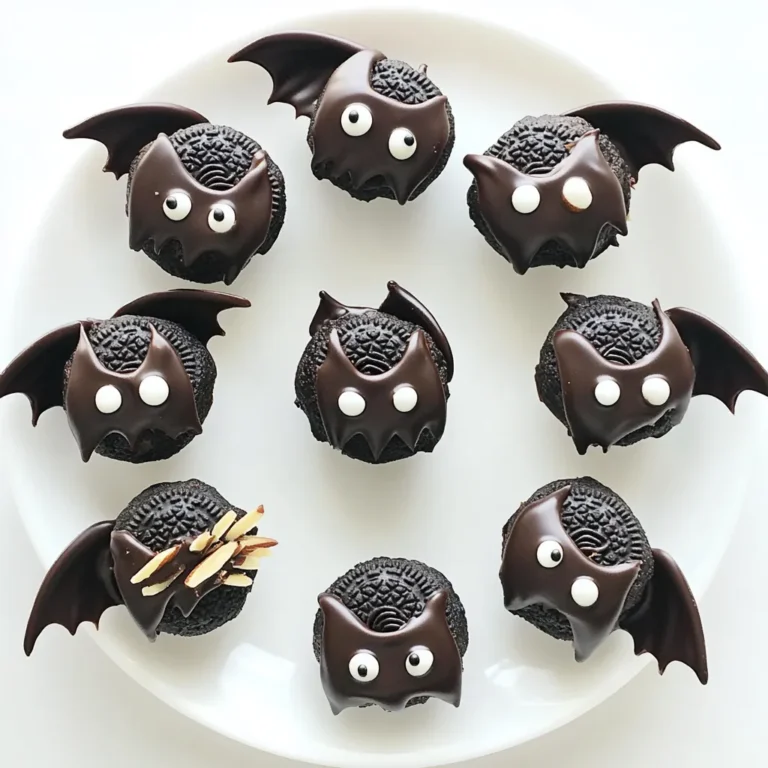
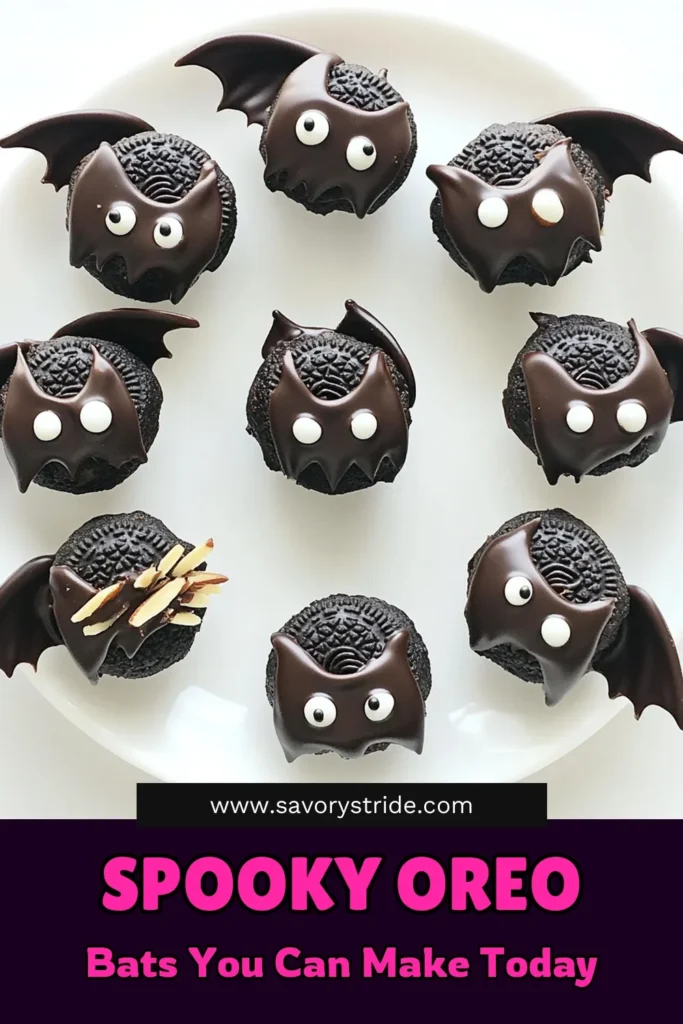
Get ready to create some spooky fun with Halloween Oreo Truffle Bats! These easy treats mix crushed Oreos with cream cheese, then transform into cute bat shapes. Perfect for Halloween parties or family fun, they’re simple to make and a hit with kids. Join me as I guide you through the steps to whip up these delightful batty snacks that are scary good!
Ingredients
To make Halloween Oreo Truffle Bats, you need a few simple ingredients. Here’s the list:
- Oreo cookies
- Cream cheese
- Dark chocolate chips
- Coconut oil
- Candy eyes
- Black decorating icing
- Slivered almonds
- Optional sprinkles
Each ingredient plays a key role. The Oreo cookies give a rich chocolate flavor. Cream cheese adds creaminess and helps bind the mixture. Dark chocolate chips are for coating, adding a sweet crunch. Coconut oil helps the chocolate melt smoothly.
Candy eyes make the truffles look fun and spooky. Black decorating icing adds detail to your bats. Slivered almonds act as wings, making them look like real bats. You can add sprinkles if you want extra color.
With these ingredients ready, you can create a treat that kids and adults will love. Let’s get started and bring some fun to your Halloween!
Step-by-Step Instructions
Preparing the Oreo Mixture
- Crush the Oreos: First, take one package of Oreo cookies. Place them in a food processor. Blend until they turn into fine crumbs. If you don’t have a processor, you can put the cookies in a plastic bag and crush them with a rolling pin.
- Mix with cream cheese: Next, add 8 oz of softened cream cheese to the crumbs. Use a spatula or your hands to mix well. You want it to form a dough-like texture. This will be the base of your truffles.
Shaping and Chilling the Truffles
- Roll into balls: Now, scoop out small portions of the mixture, about 1 tablespoon each. Roll them into neat balls. Place these balls on a baking sheet lined with parchment paper.
- Refrigerate for firming: Put the baking sheet in the fridge for about 30 minutes. This helps the truffles firm up and makes them easier to coat later.
Coating the Truffles
- Melt the chocolate: While the truffles chill, take 1 cup of dark chocolate chips and 2 tablespoons of coconut oil. Combine them in a microwave-safe bowl. Heat in 30-second bursts, stirring in between, until smooth.
- Dip and coat the truffles: Once the chocolate is melted, take the truffles out of the fridge. Dip each one in the melted chocolate, covering it fully. Use a fork to lift them out and let excess chocolate drip off.
Adding Decorations
- Press on candy eyes: While the chocolate is still wet, press two candy eyes onto each truffle. This makes them look like cute little bats.
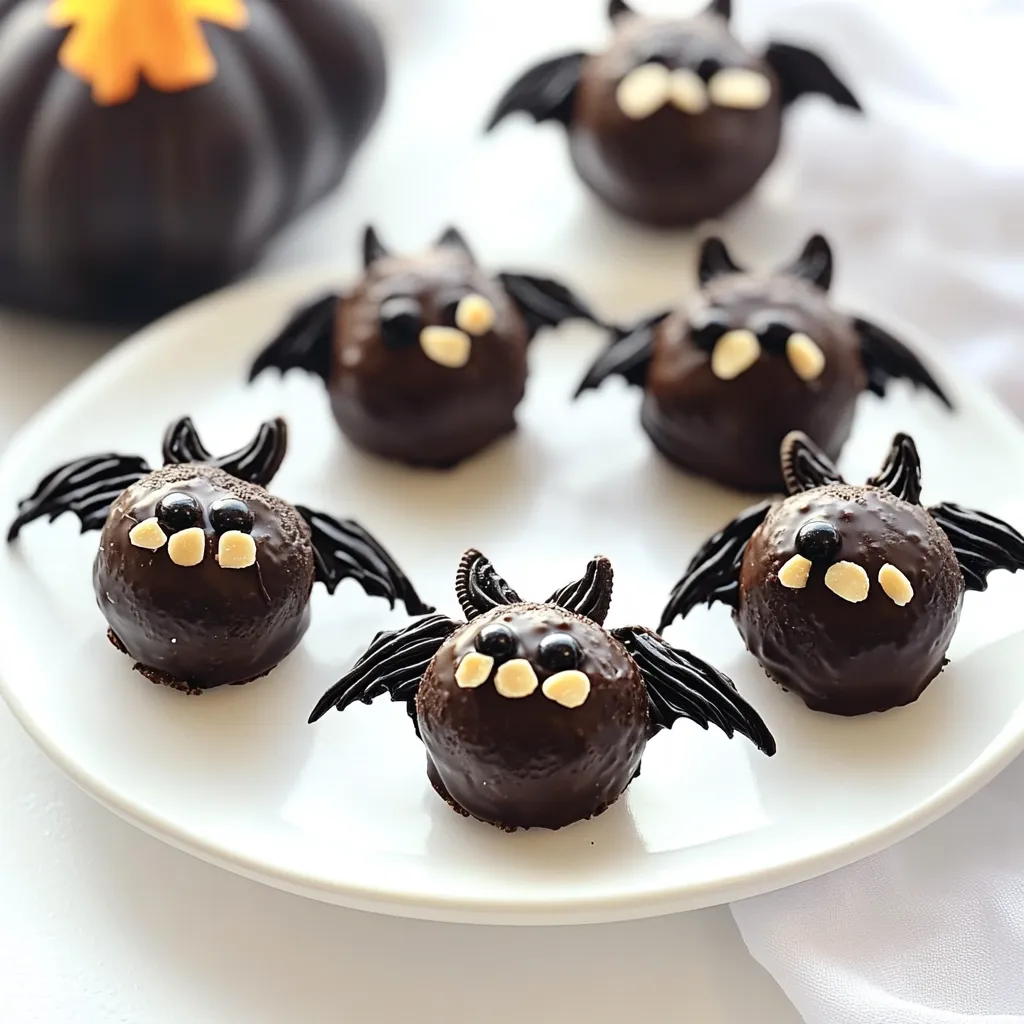
- Insert slivered almonds for wings: Next, take two slivered almonds and gently insert them into each side of the truffle for wings. Do this before the chocolate sets.
Final Detailing
- Use black icing for accents: After all the truffles are coated and decorated, grab some black decorating icing. Use it to add fun details like fangs or outlines.
- Chill to set: Finally, place the decorated truffles in the fridge for another 30 minutes. This allows the chocolate to harden completely. Enjoy your spooky Oreo Truffle Bats!
Tips & Tricks
Best Practices for Rolling Truffles
- Maintaining the right texture: Keep the Oreo and cream cheese mix cool. If it’s warm, the truffles will be too soft. Refrigerate them for 30 minutes before rolling. This helps create a nice, firm shape.
- Using gloves for cleanliness: Wear gloves while rolling the truffles. This keeps your hands clean and helps shape better. Plus, it makes handling the truffles easier and more fun!
Chocolate Melting Tips
- Safely melting in the microwave: Use a microwave-safe bowl. Heat the chocolate in short bursts, about 30 seconds. Stir after each burst until smooth. This prevents burning.
- Avoid seizing the chocolate: Add a bit of coconut oil to the chocolate. This keeps it smooth and easy to dip. If the chocolate hardens, you can reheat it slowly.
Presentation Tips
- Thematic serving ideas: Serve the truffles on a spooky platter. Try a black plate or a tray with Halloween decor. This makes your treat stand out.
- Enhancing visual appeal: Use green shredded coconut as “grass” or a dark cloth for a haunted look. Sprinkle edible glitter or colorful sprinkles to add some fun!
Variations
Flavor Variations
You can switch up the flavor of these truffles. Instead of regular Oreo cookies, try using mint or peanut butter Oreos. They add a fun twist to the classic taste. If you want a lighter option, you can use reduced-fat cream cheese. It will still hold the mixture together without losing flavor.
Decoration Ideas
Get creative with your decorations! Use colorful sprinkles to give your truffles a fun look. Orange and purple sprinkles work great for Halloween. You can also add gummy bats or candy corn on top for extra flair. These little additions will make your truffles even more festive and fun!
Chocolate Coating Alternatives
While dark chocolate is rich and tasty, you can use milk chocolate if you prefer. It gives a sweeter taste. White chocolate is another option that can add a nice contrast. For those who want a vegan treat, use vegan chocolate chips. They melt just as well and taste great, too!
Storage Info
How to Store Oreo Truffle Bats
To keep your Oreo Truffle Bats fresh, follow these tips:
- Refrigeration: Store them in an airtight container. This helps keep them moist and tasty. Place a piece of parchment paper between layers to prevent sticking.
- Freezing: If you want to save some for later, freeze them. Place truffles on a baking sheet and freeze until firm. Then transfer to a freezer bag. They can last for up to three months in the freezer.
How Long They Last
These treats have a decent shelf life:
- In the fridge: They last about one week. After that, their taste and texture may change.
- Signs of spoilage: Check for any off smells, discoloration, or a dry texture. If you notice any of these, it’s best to toss them.
Serving Suggestions
To enjoy your truffles at their best, consider these ideas:
- Ideal serving temperature: Serve them straight from the fridge for a cool treat. If you prefer, let them sit out for 10-15 minutes before serving.
- Pairing with beverages: These truffles go well with milk or hot cocoa. For adults, consider pairing with coffee or a dessert wine for a special touch.
FAQs
Can I make these truffles ahead of time?
Yes, you can make these truffles ahead of time. I recommend preparing them the day before your Halloween party. Once you finish coating and decorating them, chill the truffles in the fridge. They will stay fresh for up to five days. Just make sure to store them in an airtight container. This way, they stay soft and tasty!
Are Oreo Truffle Bats suitable for a gluten-free diet?
Yes, Oreo Truffle Bats can fit into a gluten-free diet. You just need to use gluten-free Oreo cookies. Many stores sell gluten-free versions of Oreos, so look for those. With the right cookies, everyone can enjoy these spooky treats!
What is the best way to melt chocolate?
The best way to melt chocolate is to use a microwave. Start by placing dark chocolate chips and coconut oil in a microwave-safe bowl. Heat it in 30-second bursts. Stir after each burst until smooth. This method helps you avoid burning the chocolate, keeping it creamy and delicious.
How can I make these truffles more festive?
You can make these truffles more festive by adding fun decorations. Try using colorful sprinkles like orange or purple for Halloween. You can also use candy corn or mini pumpkins for a cute touch. Get creative with designs using the black decorating icing. This adds personality to your truffles and makes them extra special for the season!
You can create delicious Oreo Truffle Bats with ease. First, you crush Oreos and mix them with cream cheese. Next, you shape and chill the mixture. Then, coat them in chocolate and add fun decorations.
For added flair, try different flavors and decorations. Remember to store them properly to enjoy later. With these tips, your Halloween treats will amaze everyone. Enjoy making these fun truffles, and watch the smiles they bring!