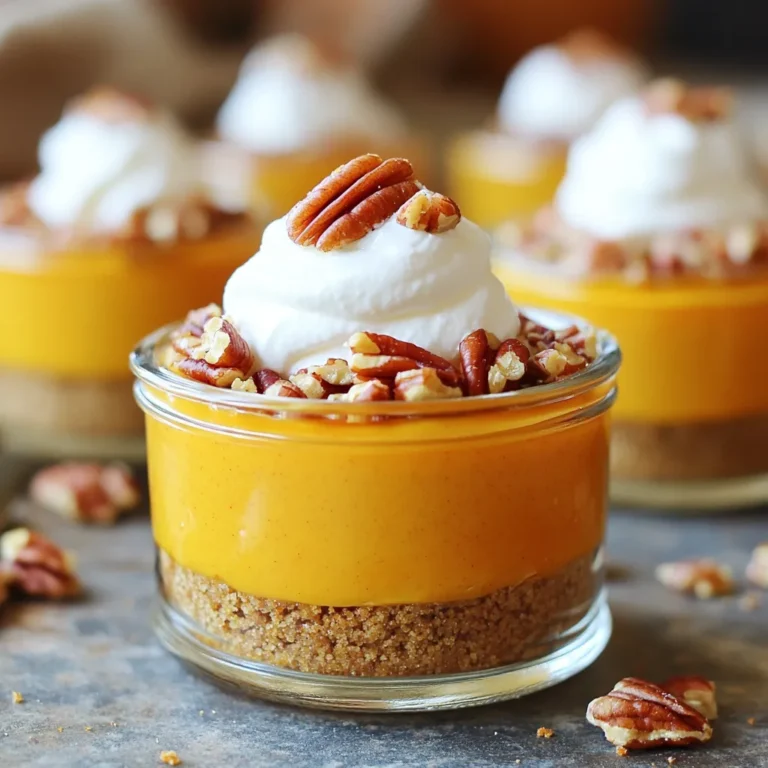
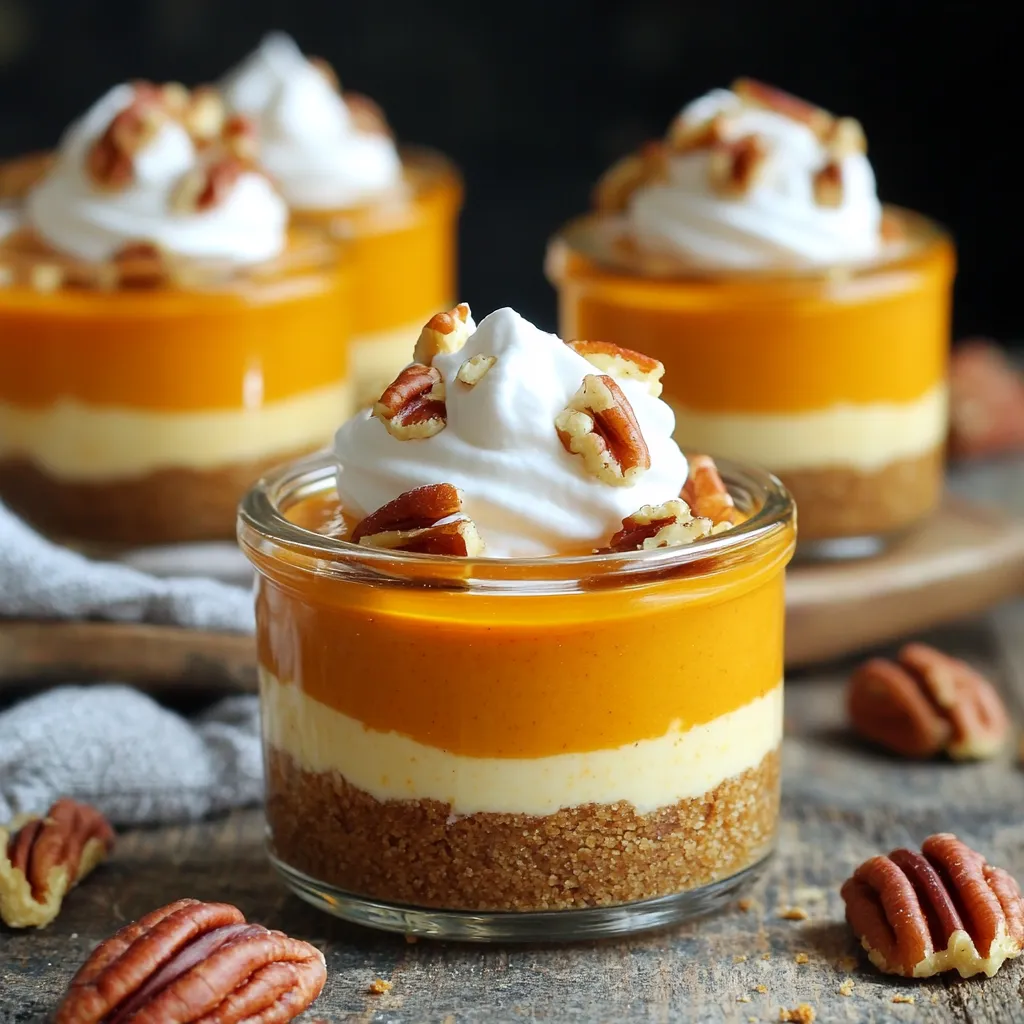
Craving a sweet treat without the oven? These No-Bake Pumpkin Cheesecake Cups are your answer! I’ll show you how to whip up these easy, no-fuss desserts that are creamy, rich, and bursting with fall flavors. Perfect for gatherings or cozy nights in, they require just a handful of ingredients and minimal time. Get ready to impress your friends and family without breaking a sweat! Let’s dive into this simple recipe.
Ingredients
To make the No-Bake Pumpkin Cheesecake Cups, gather these simple ingredients:
- 1 cup graham cracker crumbs
- 4 tablespoons unsalted butter, melted
- 8 oz cream cheese, softened
- 1 cup pumpkin puree
- 1 cup powdered sugar
- 1 teaspoon vanilla extract
- 1 teaspoon pumpkin pie spice
- 1 cup whipped cream (store-bought or homemade)
- Optional toppings: Candied pecans or walnuts
Each ingredient plays an important role. The graham cracker crumbs form a crunchy base, while the melted butter binds them together. Cream cheese gives the cheesecake its rich texture. Pumpkin puree adds a warm flavor, perfect for fall. Powdered sugar sweetens the mix, and vanilla enhances the taste. Pumpkin pie spice brings that classic autumn flavor. Finally, whipped cream makes it light and fluffy. You can add candied pecans or walnuts for extra crunch and sweetness.
These ingredients create a delightful treat that is easy to make. Just a few simple steps turn them into a creamy dessert. You can even customize your cups with your favorite toppings.
Step-by-Step Instructions
Preparing the Crust
First, gather your graham cracker crumbs and melted butter. In a bowl, combine them well. Mix until the crumbs are fully coated in butter. This will help the crust hold together. Next, take small cups or jars. Distribute the crumb mixture into each cup. Press it down firmly to form a solid base. This crust will add a nice crunch to your dessert.
Making the Pumpkin Cheesecake Filling
Now, let’s make the filling. Start with softened cream cheese in a clean bowl. Use an electric mixer to beat it until it’s smooth. This step is key for a creamy texture. Then, add the pumpkin puree, powdered sugar, vanilla extract, and pumpkin pie spice. Mix until everything is well combined and fluffy. The spices will give your cheesecake a warm flavor.
Assembling the Cups
Next, we’ll fold in the whipped cream. This will make the filling light and airy. Be gentle when you fold it in to keep the mixture fluffy. Once mixed, spoon the pumpkin cheesecake filling into each cup. Fill them nearly to the top, but leave a little space. Finally, chill the cups in the fridge for at least 2 hours or until set. This step is important for the best texture.
Tips & Tricks
Perfecting the Cheesecake Texture
Softened cream cheese is key for a smooth filling. Cold cream cheese can lead to lumps. Let it sit out for about 30 minutes before mixing. This makes it easier to blend with other ingredients.
When folding in whipped cream, do it gently. This keeps the mixture light and airy. Use a spatula to lift and fold. Avoid stirring too hard, as this can deflate the cream.
Making Ahead
Chill the cheesecake cups for at least two hours. This gives the flavors time to blend and the texture to set. You can make these cups a day ahead. Just keep them in the fridge until you serve.
Store the cups with plastic wrap on top. This helps keep them fresh. You can also use airtight containers if you have them.
Serving Suggestions
For a fun twist, top with whipped cream and sprinkle candied pecans or walnuts. You can also add a drizzle of caramel sauce for extra sweetness.
Pair these cups with a warm drink, like spiced apple cider or coffee. The flavors work well together and make a cozy dessert experience.
Variations
Flavor Variations
You can have fun with flavors in your pumpkin cheesecake cups. One great option is to make chocolate chip pumpkin cheesecake cups. Just add mini chocolate chips to the pumpkin cheesecake mixture. The sweet chocolate pairs well with the pumpkin.
If you want a twist, swap the pumpkin puree for other fruits. You can use apple or sweet potato puree instead. Both choices bring a new taste to your cups.
Dietary Substitutions
If you need gluten-free options, use gluten-free graham crackers. They work just as well for the crust. You won’t miss the regular kind at all.
For a dairy-free version, try using dairy-free cream cheese. This swap keeps your dessert creamy without any dairy. Many brands offer great alternatives that taste fantastic.
Miniature Dessert Options
You can create bite-sized versions of these cups. Use small shot glasses or mini cups for a fun twist. Layer different flavors in these tiny cups for a unique treat.
Mixing flavors like pumpkin with chocolate or caramel can make them even better. Guests will enjoy the variety, and they look so cute on a dessert table!
Storage Info
Proper Storage Techniques
To store your pumpkin cheesecake cups, first cover them with plastic wrap or a lid. This keeps them fresh in the fridge. Place them on a flat surface to avoid spills. If you have leftovers, they will stay good for up to three days.
If you want to freeze the cheesecake cups, wrap them tightly in plastic wrap. You can also use an airtight container. They can last in the freezer for up to two months. Just remember to let them thaw in the fridge before you eat them.
Shelf Life
In the fridge, expect your cheesecake cups to last about three days. After that, the texture and taste may change. Always check for signs of spoilage.
Look for changes in color or an unusual smell. If the cheesecake feels watery or has mold, toss it out. These signs mean it’s not safe to eat anymore. Enjoy your treats while they’re fresh for the best taste!
FAQs
Can I use store-bought whipped cream?
Yes, you can use store-bought whipped cream. It saves time and still tastes good. If you want a fresh flavor, you can make your own. Just whip heavy cream with a bit of sugar until soft peaks form. Store-bought cream is a great shortcut if you’re in a rush.
How long does it take for the cheesecake cups to set?
The cheesecake cups need at least 2 hours to chill. This time helps them set properly. If you leave them longer, they will taste even better. Just cover them to keep them fresh while they chill.
Can I double the recipe for a larger gathering?
Yes, you can double the recipe easily. Just use twice the ingredients and prepare more cups. This treat is great for parties or holidays. Make sure you have enough space in your fridge to chill them.
This blog post shared simple steps to make tasty pumpkin cheesecake cups. We discussed the key ingredients and the easy process of making the crust, filling, and assembling your dessert. I also included tips for perfect texture and ways to customize your treats. Remember to store leftovers properly to enjoy them later. Whether you stick to the classic flavor or try new variations, you now have the tools to impress your friends and family. Dive in and let your creativity shine in the kitchen!

