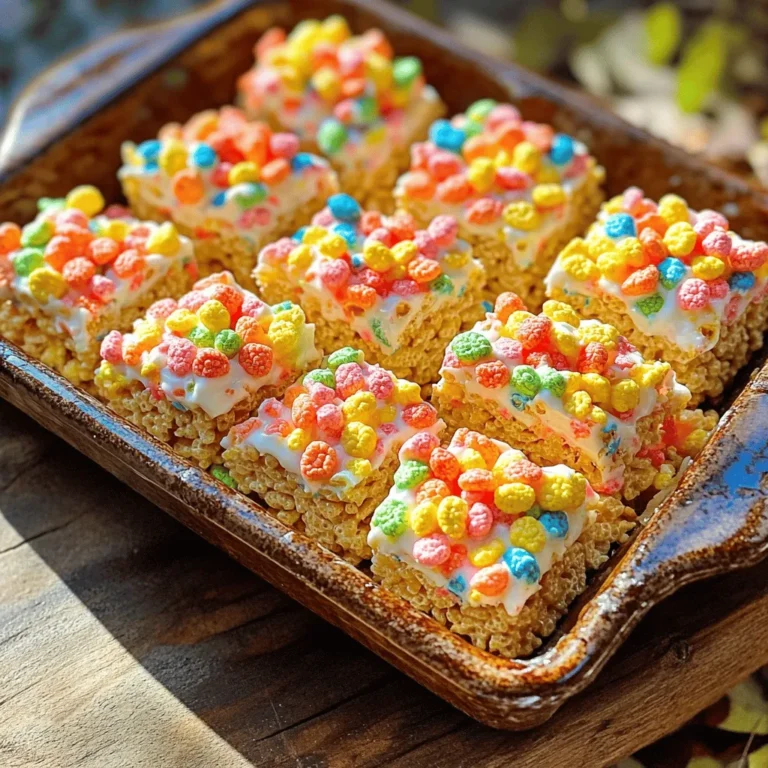
Get ready to make your snack time a blast with Fruity Pebbles Rice Krispie Treats! This fun and easy recipe combines the beloved crunch of Rice Krispies with the bright flavors of Fruity Pebbles. You’ll impress friends, family, or just yourself with this colorful twist on a classic treat. Follow my simple steps, and you’ll have a deliciously sweet treat in no time. Let’s dive in and get started!
Ingredients
List of Ingredients
To make Fruity Pebbles Rice Krispie Treats, gather these simple ingredients:
- 4 cups Fruity Pebbles cereal
- 4 cups Rice Krispies cereal
- 1/2 cup unsalted butter
- 10 oz (1 bag) mini marshmallows
- 1 teaspoon vanilla extract
- 1/4 teaspoon salt
- Extra Fruity Pebbles for topping (optional)
High-Quality Suggestions
Using fresh ingredients makes a big difference. I always choose high-quality marshmallows. They melt better and create a smooth mix. For butter, use unsalted to control the salt flavor. Fresh Fruity Pebbles will give your treats a bright color and fruity taste. Look for the cereal with the longest shelf life for best results.
Ingredient Substitutions
You can swap some ingredients if needed. If you want a dairy-free option, use vegan butter. For the marshmallows, there are plant-based ones available. To add more flavor, try adding a pinch of cinnamon or nutmeg. If you want a gluten-free treat, check that your cereals are labeled as gluten-free. This way, everyone can enjoy these fun, colorful treats!
Step-by-Step Instructions
Preparation of Baking Dish
Start by greasing a 9×13 inch baking dish. You can use butter or cooking spray. This step helps the treats release easily later. Set the dish aside for now.
Melting Butter and Marshmallows
In a large saucepan, melt 1/2 cup of unsalted butter over medium heat. Watch it closely so it doesn’t burn. Once melted, add a 10-ounce bag of mini marshmallows. Stir them continuously until they melt completely. This usually takes about 3 to 5 minutes. The mixture should be smooth and creamy. After that, take the pan off the heat and mix in 1 teaspoon of vanilla extract and 1/4 teaspoon of salt. This adds great flavor to your treats.
Mixing and Pressing the Mixture
In a big bowl, combine 4 cups of Fruity Pebbles cereal and 4 cups of Rice Krispies cereal. Pour the melted marshmallow mix over the cereal. Stir well until every piece is coated. It’s important to mix fast so the marshmallow stays warm. Once mixed, transfer the cereal mixture to your greased baking dish. Use a spatula or your hands, lightly buttered, to press it down evenly. Make sure it’s firm, so the treats hold their shape.
Cooling Tips
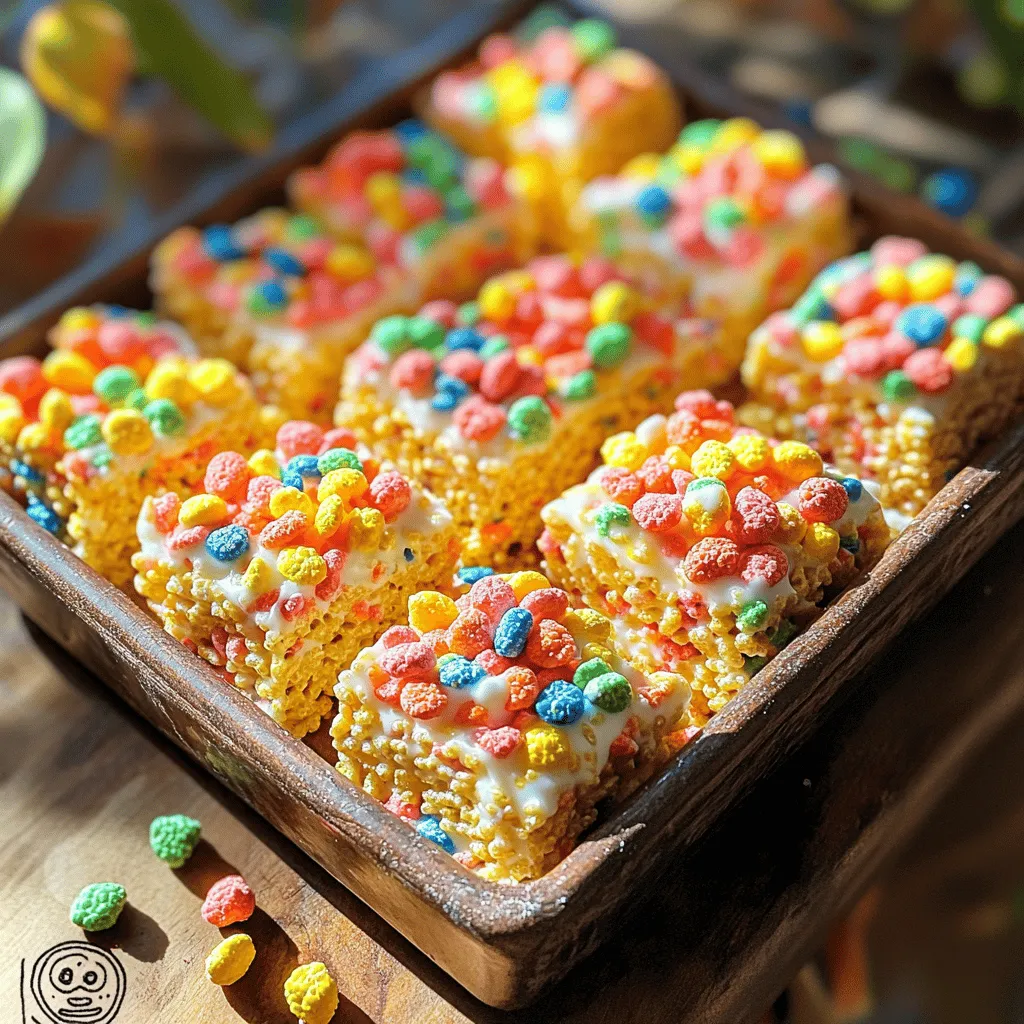
Let the treats cool at room temperature for about 30 minutes. This helps them set properly. If you want, you can place them in the fridge for a quicker cool-down. Once firm, cut them into squares or bars. Enjoy your sweet and colorful Fruity Pebbles Rice Krispie Treats!
Tips & Tricks
Perfect Texture Tips
To get the best texture, use fresh marshmallows. Old marshmallows can harden and won’t melt well. Melt the butter slowly over medium heat. Stir it frequently to avoid burning. When you add the marshmallows, keep stirring until they are smooth and creamy. This step is key for soft treats. After mixing, press the mixture firmly into the pan. This helps hold everything together.
Customization Ideas
You can make this treat your own! Try adding chocolate chips or colorful sprinkles for a fun twist. For a fruity kick, mix in some dried fruit or mini gummy bears. If you want a crunch, toss in some nuts or seeds. You can even swap out the Fruity Pebbles for another cereal you love. Just remember to keep the Rice Krispies for that classic crunch.
Serving Suggestions
These treats are great for any occasion! Cut them into squares for a fun snack at parties or gatherings. You can also wrap them in cellophane for a cute gift. Serve them alongside ice cream for a tasty dessert combo. For a colorful display, stack them on a tiered cake stand. The bright colors will make any table pop!
Variations
Alternative Cereals
You can switch up the cereals for fun! Try using Cocoa Pebbles for a chocolate twist. Corn Pops add a crunchy texture. If you like a mix of flavors, combine Fruity Pebbles with Cheerios. Each option gives a new taste and keeps things exciting!
Adding Mix-ins
Boost your Rice Krispie treats with mix-ins! Adding mini chocolate chips gives a sweet surprise. Chopped nuts add crunch and a nutty flavor. You can also use dried fruits for a fruity kick. Just fold in your mix-ins before pressing the mixture into the pan.
Themed Versions
Get creative with themed versions for holidays! For Halloween, add orange and black sprinkles. For Christmas, use red and green candies. You can even shape them into hearts for Valentine’s Day. These special touches make your treats fun and festive for any occasion.
Storage Info
Best Storage Practices
Store your Fruity Pebbles Rice Krispie Treats in an airtight container. This keeps them fresh and chewy. You can stack them in layers with parchment paper in between. It helps prevent sticking. Find a cool, dry spot in your kitchen for the best results.
Shelf Life Guidelines
When stored properly, these treats last about a week. After a few days, they may become a bit hard. To bring back some softness, just microwave them for a few seconds. Check for any signs of spoilage, like an off smell or weird texture before eating.
Freezing for Later Use
You can freeze these treats for up to three months. Cut them into squares first. Wrap each square tightly in plastic wrap, then place them in a freezer bag. Label the bag with the date. To enjoy, let them thaw at room temperature. You can also warm them up for a fresh taste.
FAQs
Can I use different types of marshmallows?
Yes, you can use different marshmallows. Regular marshmallows work great. You can also try flavored marshmallows for a twist. Just remember, the size should be the same. Mini marshmallows melt faster and blend well.
How to fix sticky Rice Krispie treats?
If your treats are sticky, you can lightly grease your hands. This helps you shape them without the mess. You can also try adding more Rice Krispies. This absorbs some of the stickiness and balances the mix.
Are Fruity Pebbles Rice Krispie Treats gluten-free?
Fruity Pebbles are gluten-free, making this treat safe for many. Check the Rice Krispies brand. Some brands may contain gluten, so look at the label. If you want to be sure, use gluten-free Rice Krispies.
How to make them healthier?
To make these treats healthier, use less butter and marshmallows. You can swap in coconut oil for butter. Add nuts or dried fruits for extra nutrition. Using whole grain Rice Krispies can also boost health benefits.
In this post, we covered the key ingredients for Rice Krispie treats, along with useful substitutions. I detailed step-by-step instructions to ensure your treats come out perfect each time. We also shared tips for texture and customization ideas, plus ways to serve them. You learned about fun variations and how to store your treats for lasting freshness.
Remember, making Rice Krispie treats is simple and fun. Enjoy personalizing them to match your taste and keep experimenting!
- Fruity Pebbles Rice Krispie Treats
