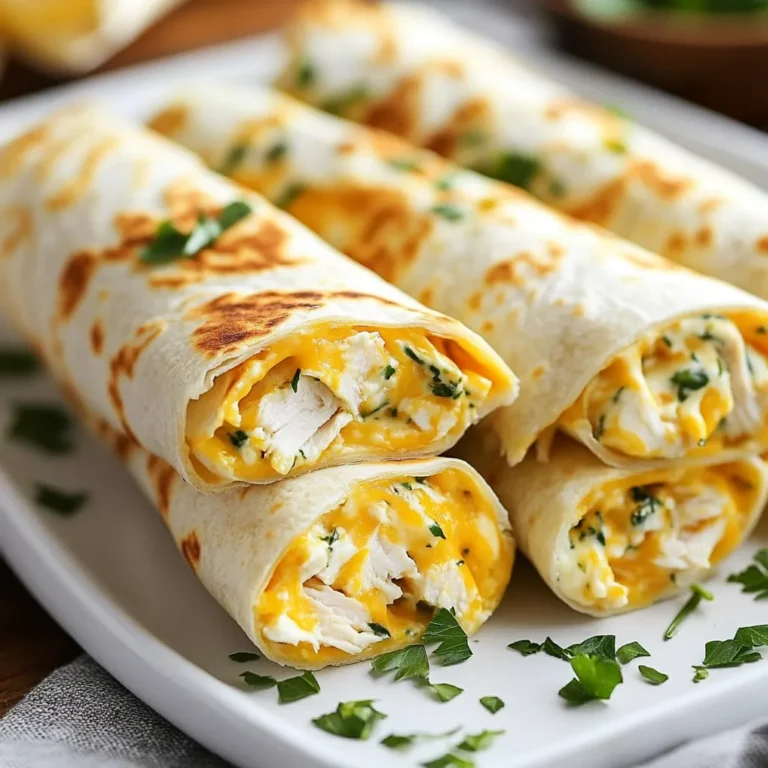
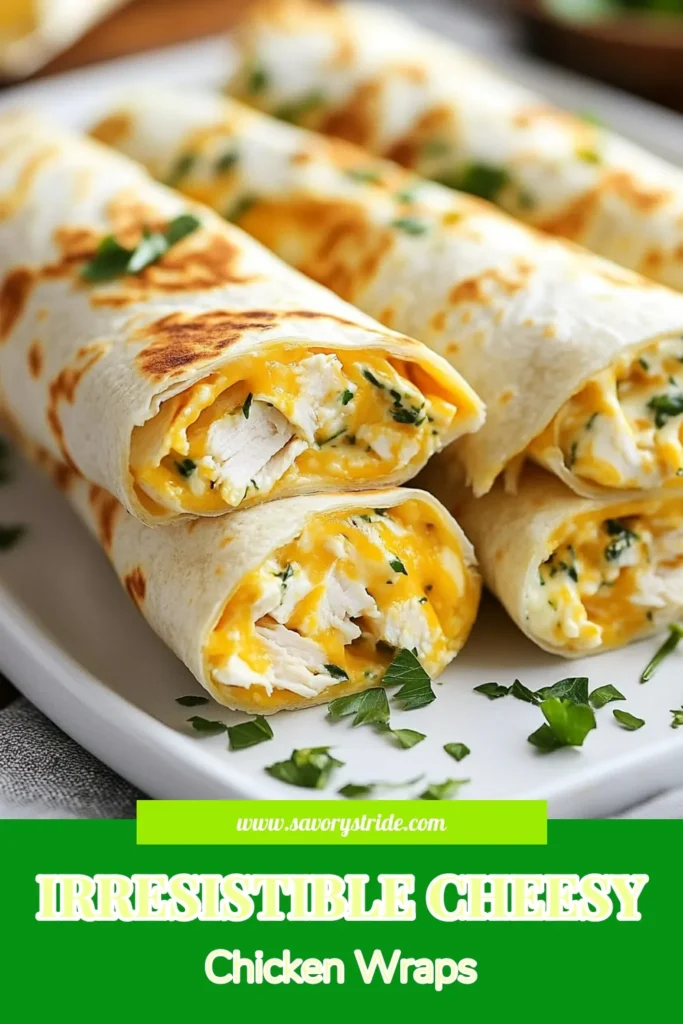
Looking for a quick and tasty meal? These Cheesy Garlic Chicken Wraps are your answer! With tender chicken, rich cream cheese, and a blend of spices, these wraps pack a flavorful punch. They are simple to make and perfect for busy days. Trust me, you will want to savor every bite! Let’s dive into the ingredients and whip up a meal the whole family will love.
Why I Love This Recipe
- Delicious Flavor Combination: The blend of cheesy goodness with garlic and herbs makes every bite irresistible.
- Quick and Easy: This recipe can be whipped up in just 30 minutes, making it perfect for busy weeknights.
- Customizable: You can easily modify the fillings based on what you have at home, adding more veggies or different proteins.
- Great for Meal Prep: These wraps can be made in advance and stored in the fridge, making them a convenient grab-and-go option.
Ingredients
List of Ingredients
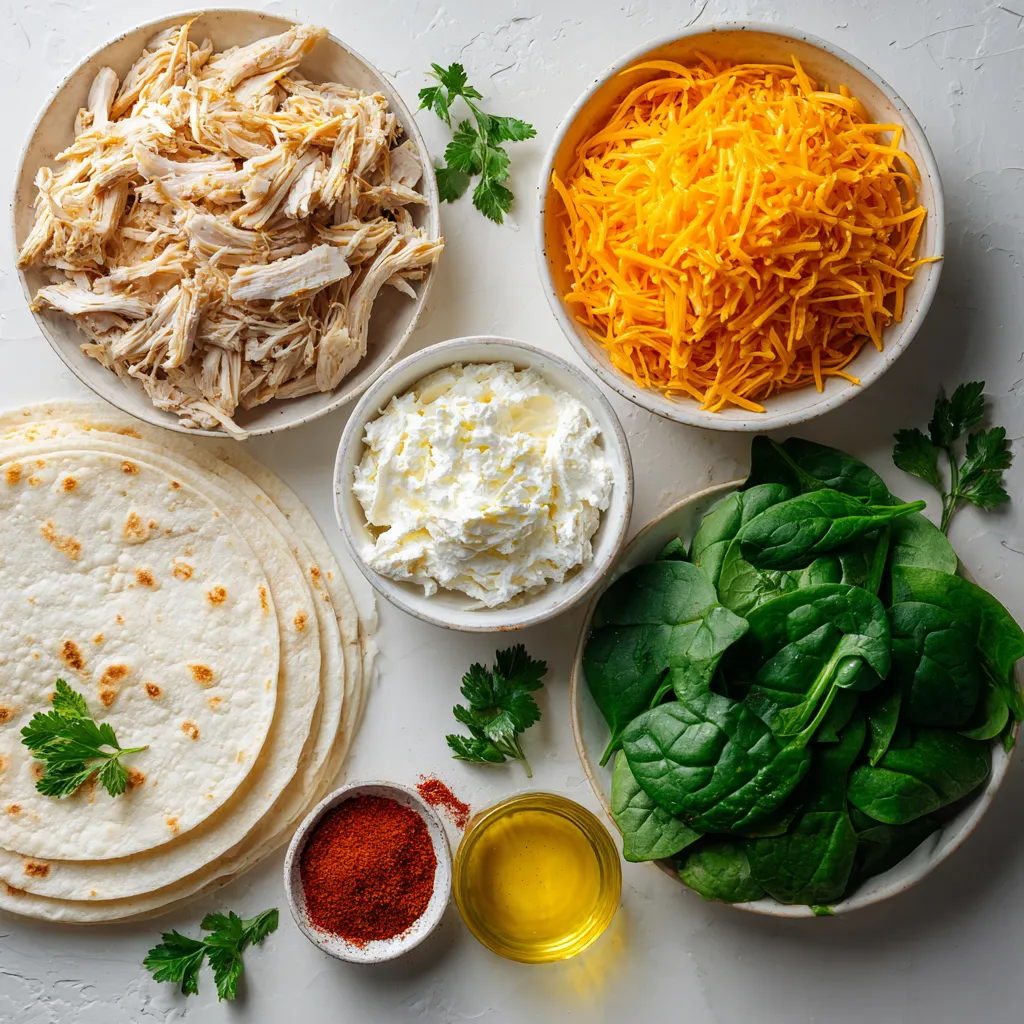
- 2 cups cooked chicken, shredded
- 1 cup shredded cheddar cheese
- 1/2 cup cream cheese, softened
- 2 cloves garlic, minced
- 1/4 cup fresh parsley, chopped
- 4 large flour tortillas
- 1 cup spinach leaves
- 1/2 teaspoon paprika
- Salt and pepper to taste
- Olive oil for cooking
When I make cheesy garlic chicken wraps, I love using fresh and simple ingredients. First, I start with cooked chicken. You can use leftover rotisserie chicken or poach your own. Shredded chicken blends well with the other flavors.
Next, I use shredded cheddar cheese for a rich, gooey texture. Cream cheese adds a creamy base that binds everything together. Minced garlic brings a punch of flavor that makes these wraps shine.
Fresh parsley adds a burst of color and freshness. I always chop it finely to spread its flavor throughout the mix. Large flour tortillas hold everything together. They work great as a wrap and are easy to handle.
I also add a layer of spinach leaves. They give a nice crunch and extra nutrients. A sprinkle of paprika adds warmth, while salt and pepper enhance all the flavors. Finally, a drizzle of olive oil makes cooking easier and adds a bit of richness.
Gather these ingredients, and you’re ready to create a meal that is both tasty and satisfying. These wraps are perfect for lunch or dinner.
Step-by-Step Instructions
Preparation Steps
Mixing the Cheesy Chicken Filling
Start by grabbing a medium bowl. Add the cooked, shredded chicken. Next, toss in the shredded cheddar cheese. Then, add the softened cream cheese and minced garlic. Don’t forget the chopped parsley, paprika, salt, and pepper. Mix it all together until it looks creamy and well-blended. This cheesy chicken filling is the heart of the wraps.
Assembling the Wraps
Now it’s time to assemble. Lay a large flour tortilla flat on a clean surface. Place a handful of fresh spinach leaves in the center. This adds nice color and crunch. Spoon a generous amount of that cheesy chicken mixture right on top of the spinach. Make sure to leave space around the edges. This space helps when you fold the wrap.
Cooking the Wraps to Perfection
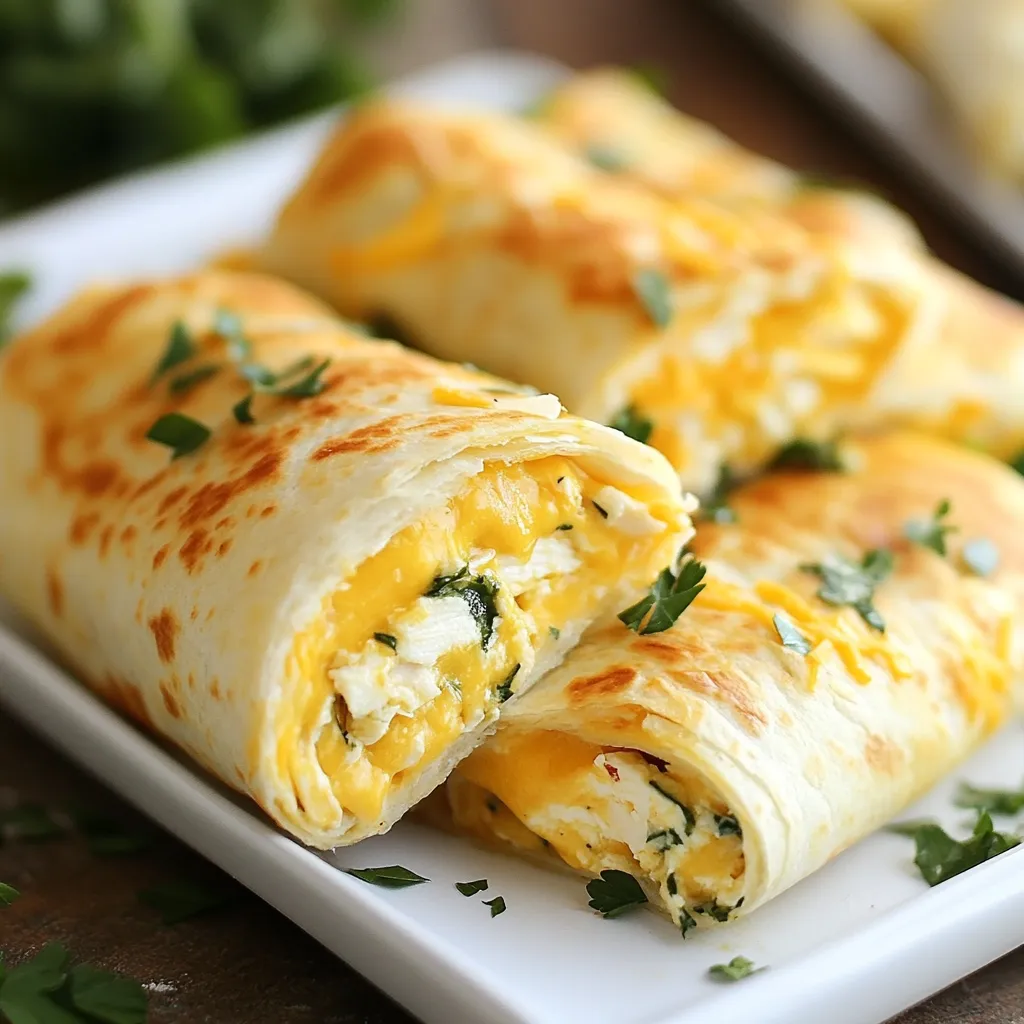
Next, fold in the sides of the tortilla. Roll it up tightly from the bottom. This seals in all that tasty filling. Repeat this process for the rest of the tortillas. After that, heat a drizzle of olive oil in a large skillet on medium heat. Place the wraps seam-side down in the skillet. Cook them for 3-4 minutes until they turn golden brown. Flip them carefully and cook the other side for another 3-4 minutes. Once both sides are crispy and golden, take them out of the skillet. Let them cool for a minute before slicing them in half. Enjoy your cheesy garlic chicken wraps!
Tips & Tricks
Tips for Perfect Wraps
Achieving the Right Texture
To make your wraps crispy, use a bit of olive oil. Heat a skillet on medium heat. Cook each wrap until golden brown on both sides. This adds crunch and keeps the filling warm.
Flavor Enhancements
Add spices to boost flavor. A pinch of chili powder or cayenne can add heat. You can also mix in some chopped bell peppers or onions for extra taste. Fresh herbs like basil or cilantro can brighten the dish.
How to Handle Leftover Ingredients
Don’t waste any extras! Store leftover chicken in the fridge. Use it in salads or soups. You can also keep extra filling in an airtight container. Use it to make quesadillas another day. This way, every bite counts!
Pro Tips
- Use Leftover Chicken: This recipe is perfect for using up leftover cooked chicken, making it a great way to reduce food waste and save time.
- Experiment with Cheeses: While cheddar is delicious, try mixing in other cheeses like mozzarella or pepper jack for extra flavor and creaminess.
- Customize the Fillings: Feel free to add other vegetables, such as bell peppers or onions, to the filling for added crunch and nutrition.
- Make Ahead: You can prepare the wraps in advance and store them in the fridge. Just cook them just before serving for a fresh and crispy texture.
Variations
Customization Ideas
You can easily make these cheesy garlic chicken wraps your own. Here are some fun ideas:
- Adding Vegetables or Different Cheeses: Try adding bell peppers, onions, or mushrooms to the chicken mix. You can also switch the cheddar cheese for mozzarella or pepper jack for a twist.
- Spicy Garlic Chicken Wraps: If you love heat, add red pepper flakes or diced jalapeños to your filling. This gives your wraps a spicy kick that works great with the garlic flavor.
- Substituting Tortillas for Low-Carb Options: If you want a low-carb meal, use lettuce leaves instead of tortillas. This makes a fresh, crunchy wrap without the carbs.
Feel free to mix and match these ideas. Each change can bring a new taste to your wraps. Enjoy creating your perfect cheesy garlic chicken wrap!
Storage Info
Storing Leftover Wraps
How should you store leftover wraps?
To keep your cheesy garlic chicken wraps fresh, place them in an airtight container. This keeps the wraps from drying out. You can store them in the fridge for up to three days.
What about freezing?
You can freeze these wraps too! Wrap each one tightly in plastic wrap. Then, place them in a freezer bag. They will last up to three months in the freezer.
How do you reheat them?
To reheat, take the wraps out of the fridge or freezer. If frozen, let them thaw in the fridge for a few hours. Heat a skillet over medium heat. Place the wraps seam-side down and cook for 3-4 minutes on each side. This method keeps them crispy. You can also use a microwave for quick reheating. However, it may make the wraps soft.
With these steps, your cheesy garlic chicken wraps will stay delicious and ready to enjoy!
FAQs
Can I use rotisserie chicken for this recipe?
Yes, you can use rotisserie chicken. It saves time and adds flavor. Just shred it into bite-sized pieces. This option is quick and perfect for busy days. You can still mix it with the creamy filling for a tasty wrap.
What can I serve with cheesy garlic chicken wraps?
You can serve these wraps with salsa, guacamole, or a creamy dip. A fresh salad or some crunchy veggies make great sides too. These add color and texture to your meal. You can even pair them with some tortilla chips for a fun crunch.
How long do these wraps last in the fridge?
These wraps last about 3-4 days in the fridge. Store them in an airtight container to keep them fresh. The flavors will meld together, making them even more tasty. Just make sure to check for any signs of spoilage before eating.
Can I make these wraps ahead of time?
Yes, you can make these wraps ahead of time. Prepare and store them in the fridge for up to a day. Just reheat them in a skillet or microwave when you’re ready to eat. This makes meal prep easy and stress-free for busy days.
This blog post covered how to make cheesy garlic chicken wraps. We explored the main ingredients, including chicken and cheese. We also detailed step-by-step instructions for mixing, assembling, and cooking your wraps. Tips for perfect texture and flavor were shared, along with ideas for customization. Lastly, we provided storage guidance for your wraps and answered frequently asked questions.
These wraps are easy to make and fun to enjoy. Try your own twist on the

Cheesy Garlic Chicken Wraps
Ingredients
- 2 cups cooked chicken, shredded
- 1 cup shredded cheddar cheese
- 0.5 cup cream cheese, softened
- 2 cloves garlic, minced
- 0.25 cup fresh parsley, chopped
- 4 large flour tortillas
- 1 cup spinach leaves
- 0.5 teaspoon paprika
- to taste salt and pepper
- as needed olive oil for cooking
Instructions
- In a medium bowl, combine the shredded chicken, cheddar cheese, softened cream cheese, minced garlic, chopped parsley, paprika, salt, and pepper. Mix until well combined.
- Lay a tortilla flat on a clean surface. Place a handful of spinach leaves in the center.
- Spoon a generous amount of the cheesy chicken mixture on top of the spinach. Make sure to leave some space around the edges for folding.
- Fold in the sides of the tortilla, then roll it up tightly from the bottom to enclose the filling completely.
- Repeat this process with the remaining tortillas and filling.
- Heat a drizzle of olive oil in a large skillet over medium heat.
- Place the wraps seam-side down in the skillet and cook for 3-4 minutes until golden brown. Carefully flip and cook for an additional 3-4 minutes on the other side.
- Once both sides are crispy and golden, remove the wraps from the skillet and let cool for a minute before slicing in half.
