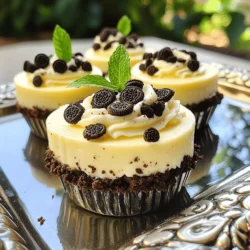
No Bake Oreo Cheesecake Cups
Indulge in the ultimate dessert experience with these Decadent No-Bake Oreo Cheesecake Cups! Easy to make and irresistibly delicious, this recipe combines creamy cheesecake with a crunchy Oreo crust. Perfect for any occasion, these delightful cups are sure to impress your guests. Ready in just 20 minutes (plus chill time), head over to explore the full recipe and treat yourself to a sweet delight that everyone's been raving about!