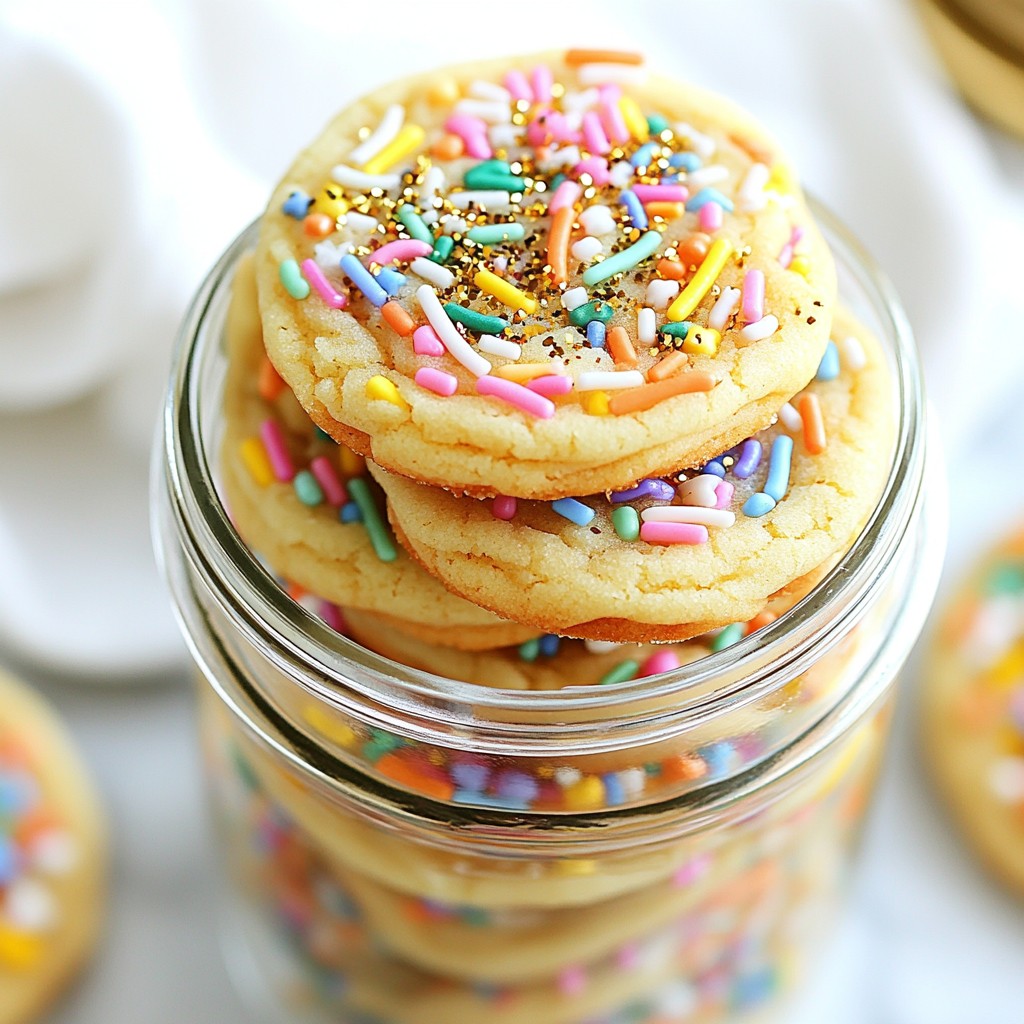
Looking for a fun way to celebrate? These Pot of Gold Sugar Cookies are a perfect treat! I’ll guide you through each step to create these colorful, tasty cookies. With shiny gold glitter and a delightful flavor, they’re great for any occasion. Let’s dive into the ingredients and tools you need to whip up this magical dessert. You won’t want to miss the sweet details!
Why I Love This Recipe
- Delicious Flavor: The combination of vanilla and almond extracts gives these cookies a rich and delightful flavor that is hard to resist.
- Colorful Appearance: The vibrant rainbow sprinkles make these cookies visually appealing, perfect for any festive occasion.
- Easy to Make: This recipe is straightforward and quick, making it a great choice for both novice and experienced bakers.
- Magical Touch: The edible gold glitter adds a whimsical, enchanting finish that elevates the cookies to a whole new level.
Ingredients
List of Required Ingredients
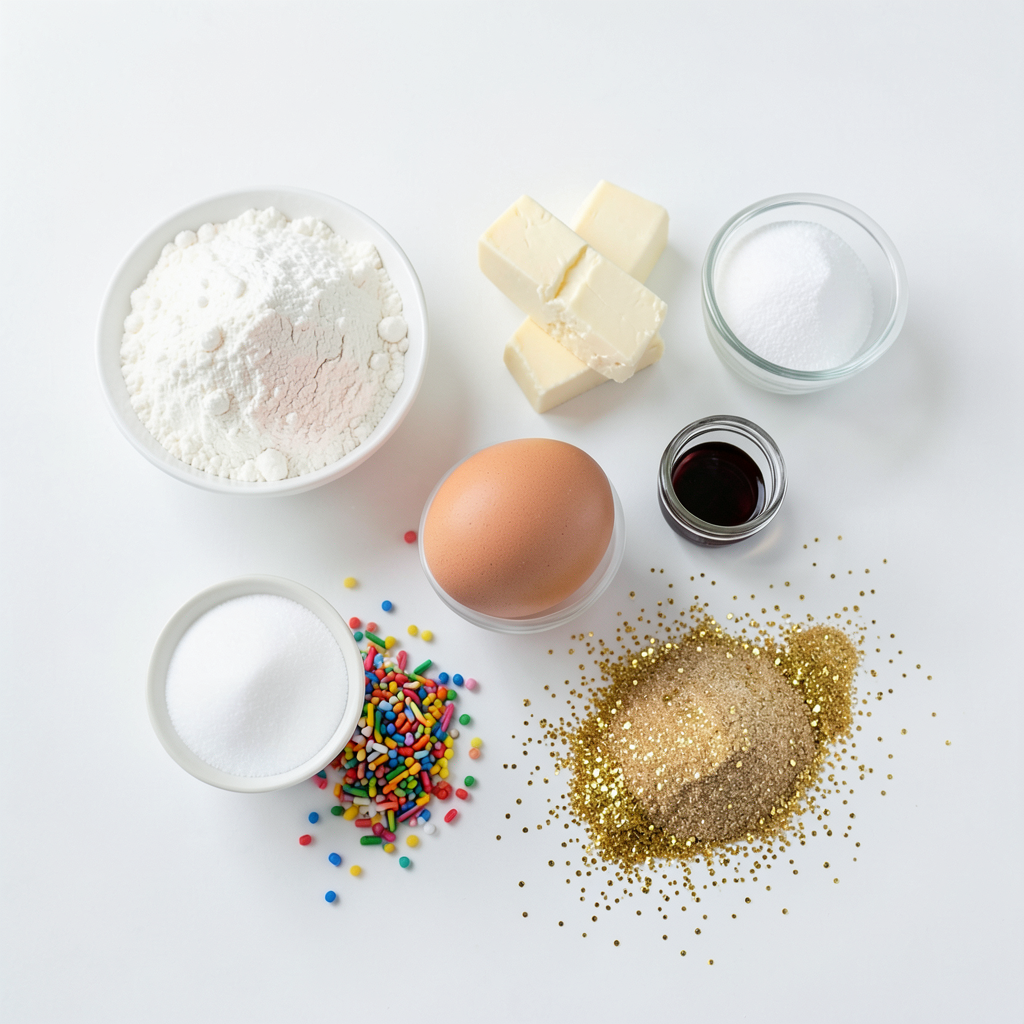
To make Pot of Gold Sugar Cookies, you'll need:
- 2 ¾ cups all-purpose flour
- 1 teaspoon baking powder
- ½ teaspoon baking soda
- ¼ teaspoon salt
- 1 cup unsalted butter, softened
- 1 ½ cups granulated sugar
- 1 large egg
- 2 teaspoons vanilla extract
- 1 teaspoon almond extract
- ½ cup rainbow sprinkles
These ingredients give the cookies their soft texture and sweet flavor.
Optional Decorative Ingredients
For a fun touch, consider these optional ingredients:
- Edible gold glitter
- Colored sugar
These add sparkle and color, making your cookies stand out.
Recommended Tools for Baking
Having the right tools is key for success. Here's what you need:
- Mixing bowls
- Whisk
- Cookie scoop or tablespoon
- Baking sheets
- Parchment paper
- Wire rack
Using these tools makes the baking process easier and more enjoyable. Happy baking!
Step-by-Step Instructions
Prepping Your Oven and Baking Sheets
First, preheat your oven to 350°F (175°C). This step is key for even baking. While the oven heats, line two baking sheets with parchment paper. This will help keep the cookies from sticking.
Mixing Dry Ingredients
Next, grab a medium bowl. In it, whisk together 2 ¾ cups of all-purpose flour, 1 teaspoon of baking powder, ½ teaspoon of baking soda, and ¼ teaspoon of salt. This mix brings structure to your cookies. Set this bowl aside for now.
Preparing the Cookie Dough
Now, take a large bowl and cream together 1 cup of softened unsalted butter and 1 ½ cups of granulated sugar. Mix them until light and fluffy, which takes about 3-5 minutes. Then, beat in 1 large egg, 2 teaspoons of vanilla extract, and 1 teaspoon of almond extract. Mix well until everything is blended together. Gradually add in your dry mixture. Mix until just combined. Be careful not to overmix! Finally, fold in ½ cup of rainbow sprinkles. This step adds color and joy to your dough!
Baking and Cooling the Cookies
Use a cookie scoop or a tablespoon to drop dough balls onto your prepared baking sheets. Leave space between each ball, as they will spread. Gently press each cookie down with a fork or your fingers. This helps them bake evenly. Place them in the oven and bake for 10-12 minutes. Look for golden edges. The centers may look undercooked, but they will firm up as they cool. After baking, let them cool on the sheet for 5 minutes, then transfer to a wire rack.
Adding the Gold Glitter Decoration
Once your cookies are cool, it’s time for the magic! Sprinkle edible gold glitter on top of each cookie. This adds a fun and festive touch. Enjoy the delight of your sparkling treats!
Tips & Tricks
How to Achieve the Perfect Cookie Texture
To get the best texture for your Pot of Gold Sugar Cookies, start with softened butter. This makes the dough fluffy and light. Cream the butter and sugar well, about 3-5 minutes. Mixing too little can lead to a dense cookie. Always measure your flour correctly. Too much flour can make cookies dry. Use a spoon to scoop flour into a measuring cup, then level it off with a knife. Bake cookies until the edges are golden. The centers may look soft, but they firm up when cooling.
Best Practices for Using Edible Glitter
Edible glitter adds sparkle and fun! To use it right, wait until cookies cool. Sprinkle the glitter on top for a shiny finish. Avoid using too much or it may look messy. Just a light dusting will do. Choose high-quality edible glitter to ensure safety. Not all glitter is safe to eat, so check the label. For a great effect, pair the glitter with colorful sprinkles. This makes your cookies pop with color and shine!
Storage Tips for Freshness
To keep your cookies fresh, store them in an airtight container. This keeps moisture out and helps them stay soft. If you want them to last longer, freeze them. Place cookies in a single layer in a freezer-safe bag. Make sure to remove as much air as possible. You can also freeze dough. Scoop dough balls onto a tray and freeze until firm. Then, transfer them to a bag for later baking. When ready to bake, just add a minute or two to the baking time.
Pro Tips
- Chill the Dough: Refrigerating the dough for at least 30 minutes before baking helps prevent the cookies from spreading too much, ensuring a thicker, chewier texture.
- Use Fresh Ingredients: Ensure your baking powder and baking soda are fresh for the best rise and texture. Old leavening agents can lead to flat cookies.
- Experiment with Sprinkles: If you want to switch things up, try using different types of sprinkles or colored sugars to create unique variations of these cookies.
- Store Properly: Keep your cookies in an airtight container at room temperature to maintain their softness and freshness for up to a week.
Variations
Alternative Cookie Shapes and Themes
You can make these cookies in many shapes. Instead of round cookies, use cookie cutters. Try stars, hearts, or even rainbows! Each shape adds fun to your baking. For holidays, shape them like pumpkins or Christmas trees. You can also use themed sprinkles to match. Kids love to help with this part, making it a fun family activity.
Flavor Variations and Add-Ins
Try different flavors to change up the taste. You can swap out the almond extract for other extracts like coconut or lemon. If you like chocolate, add mini chocolate chips for a sweet surprise. You can also mix in nuts like walnuts or pecans for crunch. For a fruity twist, try adding dried fruits like cranberries or cherries.
Dietary Modifications (Gluten-Free, Vegan)
You can easily make gluten-free cookies. Use a gluten-free flour blend instead of all-purpose flour. This change keeps the texture light and tasty. For a vegan version, replace the egg with a flax egg. Mix one tablespoon of ground flaxseed with three tablespoons of water. Let it sit for five minutes to thicken. Use vegan butter instead of regular butter. These swaps let everyone enjoy the cookies!
Storage Info
Storing Baked Cookies
To keep your Pot of Gold Sugar Cookies fresh, store them in an airtight container. This helps prevent them from getting hard. Layer parchment paper between cookies to stop them from sticking together. You can keep them at room temperature for about one week. If you want to enjoy them longer, consider freezing.
Freezing Dough for Later Use
Freezing cookie dough is a great way to save time. After mixing your dough, scoop it into balls. Place the balls on a baking sheet and freeze them for about an hour. Once frozen, transfer the dough balls to a zip-top bag. You can store them in the freezer for up to three months. When you're ready to bake, just take them out and bake as directed. There's no need to thaw!
Shelf Life and Best Storage Practices
Baked cookies last up to a week at room temperature when stored properly. For the best taste, eat them fresh. If you freeze baked cookies, they can last up to three months. To keep them at their best, wrap them tightly. Use wax paper or plastic wrap before placing them in an airtight container. This extra layer helps keep moisture out and flavor in.
FAQs
What occasions are Pot of Gold Sugar Cookies suitable for?
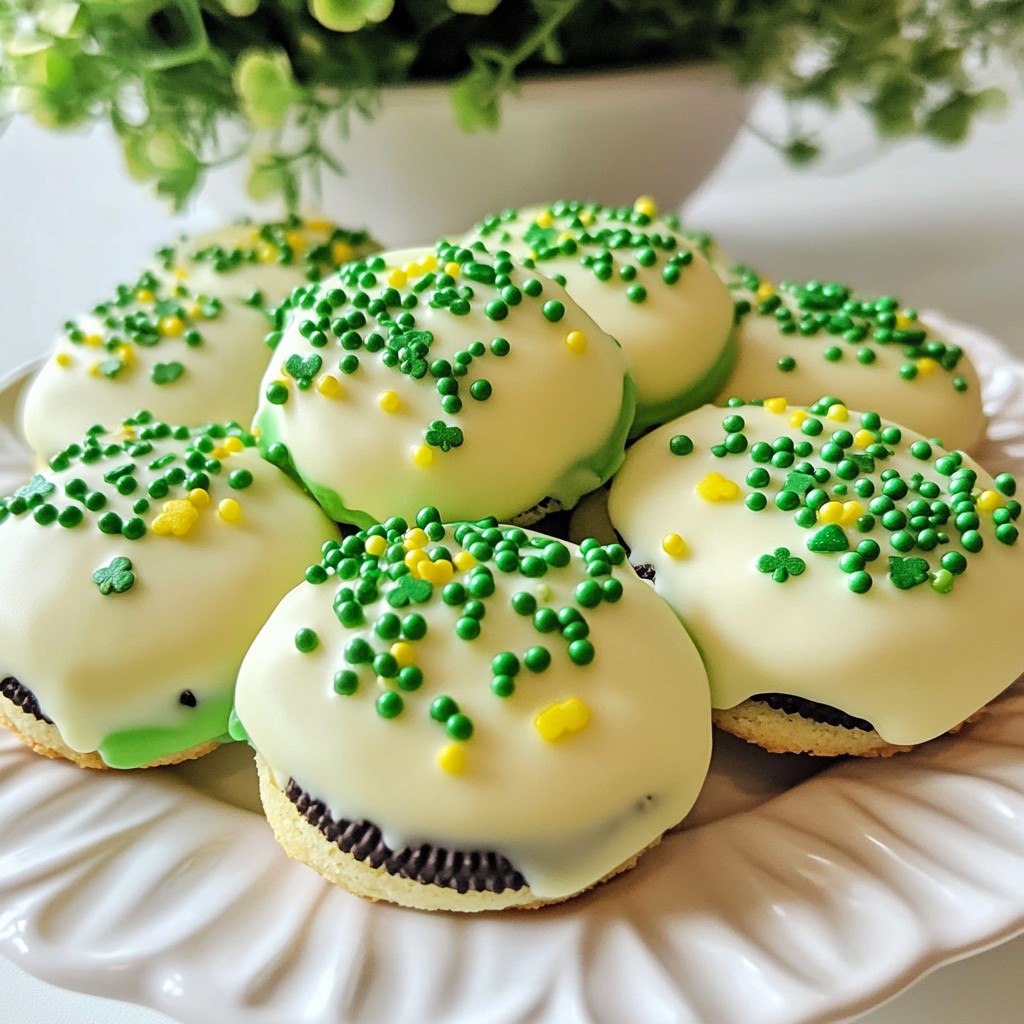
Pot of Gold Sugar Cookies are perfect for many fun events. You can bake them for birthdays, holidays, and school parties. They also make a great treat for St. Patrick's Day or any cheerful gathering. Their bright colors and gold sparkle add joy to any table. Kids love them, and adults can't resist either!
Can I make these cookies ahead of time?
Yes, you can make these cookies ahead of time. You can bake them a day or two in advance. Just keep them in an airtight container to stay fresh. If you want to save time, you can also freeze the dough. Just scoop the dough balls and freeze them. When you're ready, bake them straight from the freezer!
How can I adjust the sweetness of the cookies?
To make the cookies less sweet, reduce the sugar. You can cut the sugar by a quarter cup. If you want them sweeter, add an extra tablespoon of sugar. Always taste the dough before it goes in the oven. This will help you find the right balance for your taste.
What if I don’t have almond extract? Can I substitute it?
If you don’t have almond extract, you can use vanilla extract instead. The cookies will still taste great! You can also try using a little coconut extract for a fun twist. Just keep the amount the same for a good flavor.
You now have a complete guide to baking Pot of Gold Sugar Cookies. We covered the best ingredients, tools, and step-by-step instructions. Don't forget the tips for texture and using edible glitter. You can even explore flavor variations and dietary modifications.
With these insights, you can create delicious cookies for any event. Enjoy the fun of baking and share your sweet treats with others. Happy baking!