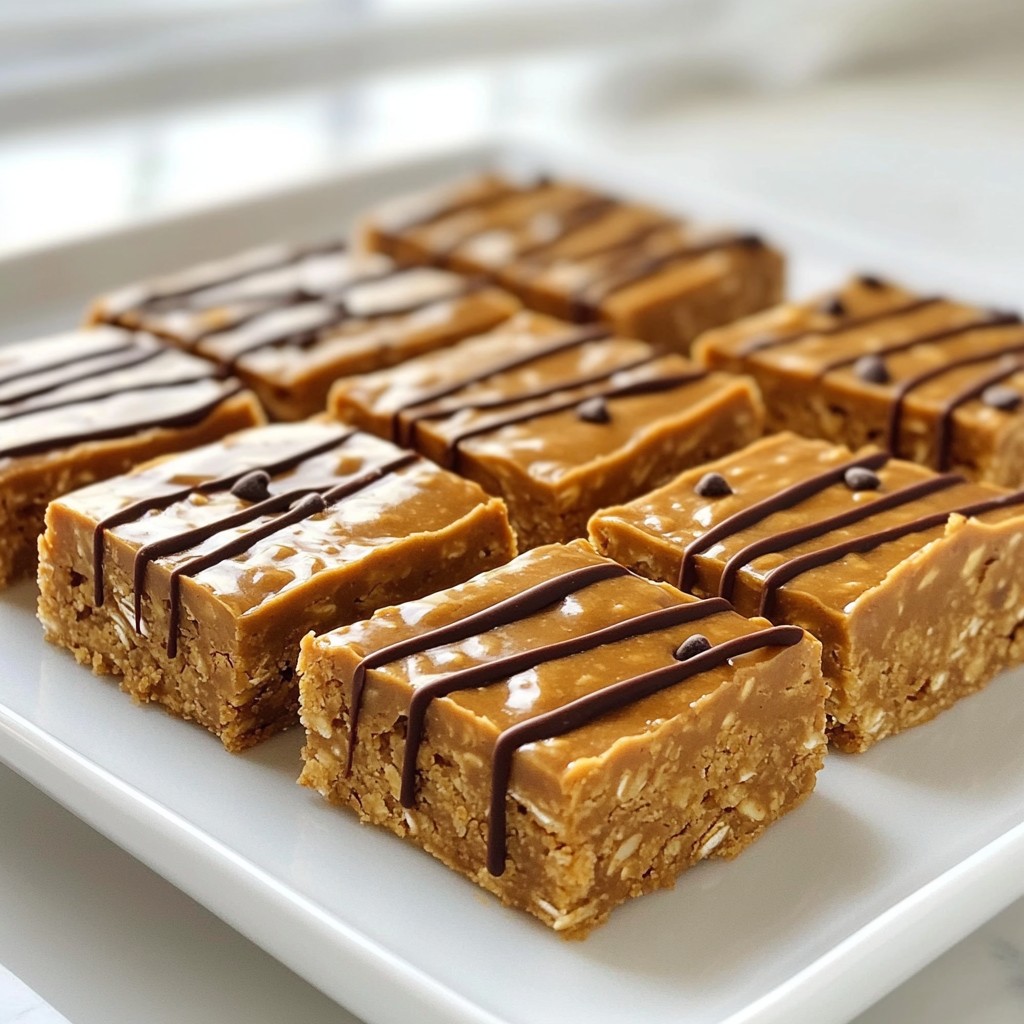
Looking for a simple, tasty treat? Let’s make no-bake peanut butter bars! With just a few ingredients like natural peanut butter and honey, you can whip these up in no time. They’re perfect for snacks or dessert. Plus, you can customize them to fit your taste. Ready to dive in? Let’s explore how to create these delicious bars that will satisfy your cravings without the oven.
Why I Love This Recipe
- Quick and Easy: This recipe comes together in just 10 minutes, making it perfect for a last-minute treat.
- No Baking Required: There's no need to turn on the oven, allowing you to enjoy these bars without any hassle.
- Healthy Ingredients: With natural peanut butter, oats, and chia seeds, these bars are a nutritious snack option.
- Customizable: You can easily modify the toppings and flavors to suit your preferences, making each batch unique!
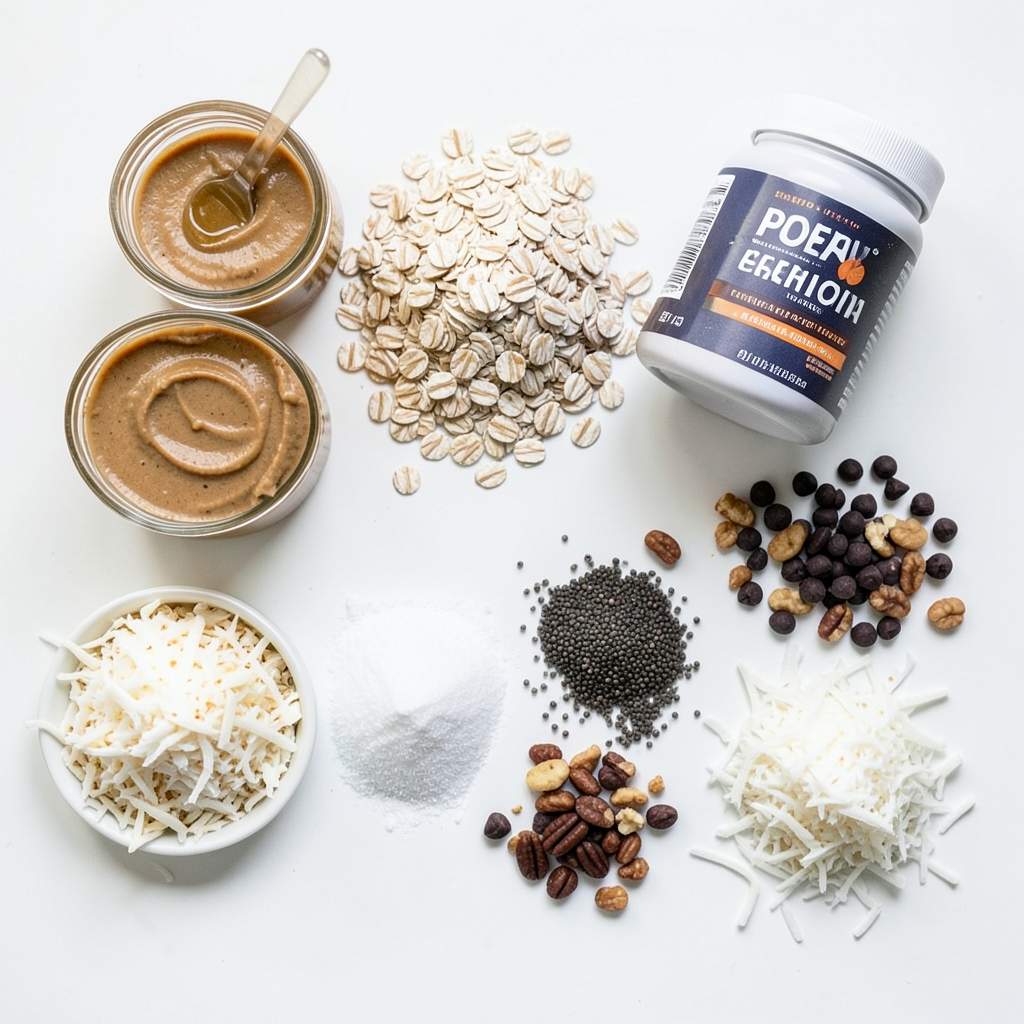
Ingredients
Main Ingredients
- 1 cup natural peanut butter
- 1/2 cup honey or maple syrup
- 1 cup rolled oats
The base of these bars is simple and healthy. Natural peanut butter brings rich flavor. Honey or maple syrup adds sweetness and helps bind the bars. Rolled oats give texture and fiber.
Additional Ingredients
- 1/2 cup protein powder (vanilla or chocolate)
- 1/2 cup dark chocolate chips
- 1/4 cup chia seeds
- 1/4 teaspoon salt
Protein powder boosts nutrition and flavor. Dark chocolate chips add a sweet burst. Chia seeds provide extra fiber and omega-3s. A pinch of salt enhances all the tastes.
Optional Toppings
- Crushed nuts
- Shredded coconut
- Additional chocolate chips
Toppings can add fun and crunch. Crushed nuts bring more protein and texture. Shredded coconut adds a tropical twist. Extra chocolate chips offer a sweeter finish.
Step-by-Step Instructions
Preparation Steps
1. In a large mixing bowl, combine 1 cup of natural peanut butter and 1/2 cup of honey (or maple syrup). Stir until the mixture is thick and smooth.
2. Next, add 1 cup of rolled oats, 1/2 cup of protein powder, 1/4 cup of chia seeds, and 1/4 teaspoon of salt. Mix well until everything is combined into a thick, sticky mixture.
Assembling the Bars
1. Line an 8x8 inch baking dish with parchment paper. Leave some paper over the edges for easy lifting later.
2. Transfer the peanut butter mixture into the baking dish. Use a spatula or your hands to press it down firmly. Ensure it forms an even layer.
3. If you want, sprinkle crushed nuts, shredded coconut, or extra chocolate chips on top. Gently press these toppings into the mixture.
Chilling and Serving
1. Cover the dish with plastic wrap and put it in the fridge. Let it chill for at least 2 hours to firm up.
2. Once chilled, lift the bars out using the parchment paper. Cut them into squares or rectangles to serve.
Tips & Tricks
Perfecting the Texture
To make great no-bake peanut butter bars, you need to mix your ingredients well. This ensures every bite is full of flavor. When you combine the peanut butter and honey, stir until it’s smooth. Then, add the oats, protein powder, chia seeds, and salt. Mix until everything sticks together.
Pressing the mixture down is key. Use a spatula or your hands to create a flat layer. This helps the bars hold their shape. If you skip this step, the bars may crumble when you cut them.
Flavor Enhancements
You can add some fun flavors to your bars! Try tossing in some chopped nuts or dried fruit for extra crunch. If you want a little spice, consider adding a dash of cinnamon. This brings warmth to the taste.
You can also change up the sweetener. Honey gives a lighter flavor, while maple syrup adds depth. Experiment with both to find your favorite!
Serving Suggestions
Presentation makes a big difference! Serve the bars on a wooden platter for a rustic feel. Drizzle some melted chocolate on top for a treat that looks as good as it tastes. A sprinkle of chia seeds adds a nice touch too.
Pair these bars with a glass of plant-based milk or a hot cup of tea. They make a perfect snack anytime!
Pro Tips
- Chill for Firmness: Make sure to refrigerate the bars for at least 2 hours. This helps them firm up, making them easier to cut into neat squares.
- Customize Protein Powder: Feel free to experiment with different flavors of protein powder. Vanilla works great, but chocolate adds an extra richness.
- Make It Nut-Free: Substitute the peanut butter with sunflower seed butter or almond butter for a nut-free version that still tastes delicious.
- Storage Tips: Store the bars in an airtight container in the refrigerator for up to a week, or freeze for longer shelf life.
Variations
Dietary Adjustments
For those with gluten concerns, you can make these bars gluten-free. Use certified gluten-free oats in your recipe. This simple switch keeps the bars safe and tasty for everyone.
If you're vegan, there are easy swaps. Replace honey with pure maple syrup. This keeps the sweetness without using animal products. The bars will still taste wonderful!
Flavor Variations
Want to change up the taste? You can switch nut butters. Try almond or cashew butter for something new. Each nut butter brings its own unique flavor.
You can also use different types of chocolate. Dark chocolate adds a rich taste, but you could use milk chocolate or dairy-free options. Each choice will change the flavor profile of your bars.
Customization Ideas
Adding spices can make your bars even better. A pinch of cinnamon can add warmth. A splash of vanilla extract boosts the sweetness too.
You can also mix in various seeds or grains. Chia seeds add crunch and nutrition. Try adding sunflower seeds or puffed quinoa for extra texture. These tiny changes can make your no-bake bars more exciting!
Storage Info
Best Practices for Storage
To keep your no-bake peanut butter bars fresh, store them in an airtight container. This helps prevent them from drying out or absorbing odors. You can stack the bars in layers, placing parchment paper between them. This way, they won’t stick together. You can keep these bars in the fridge for about a week. If you want them to last longer, consider freezing them.
Freezing Tips
Freezing your no-bake peanut butter bars is easy. First, cut the bars into squares or rectangles. Then, wrap each piece in plastic wrap. Place them in a freezer-safe bag or container to prevent freezer burn. When you want to enjoy a bar, take it out and let it thaw at room temperature for about 15 to 30 minutes. This will bring back their soft texture.
Potential Shelf Life
These bars can stay fresh in the fridge for up to a week. If you freeze them, they can last for about three months. Be on the lookout for signs of spoilage. If the bars have an off smell, change in color, or mold, it’s time to toss them. Keeping track of your bars will ensure you enjoy them at their best.
FAQs
How long do no-bake peanut butter bars last?
No-bake peanut butter bars can last up to two weeks when stored in an airtight container. Keep them in the fridge to maintain their freshness. If you want to keep them longer, you can freeze them. They will last for about three months in the freezer. Just wrap them well in plastic wrap before freezing. This way, you can enjoy a tasty treat any time!
Can I substitute ingredients in this recipe?
Yes, you can easily substitute some ingredients. If you don't have natural peanut butter, try almond or cashew butter. Instead of honey, you can use agave syrup or brown rice syrup. If you want to skip the protein powder, you can use more oats or even ground nuts. For the dark chocolate chips, feel free to swap them for white chocolate or dried fruits.
How can I make these bars healthier?
To make these bars healthier, consider using less honey or maple syrup. You can also add more chia seeds for extra fiber and omega-3s. If you'd like a nut-free option, use sunflower seed butter. Adding in some ground flaxseed can boost nutrition too. You can even mix in shredded carrots or zucchini for added vitamins.
You’ve learned how to make delicious no-bake peanut butter bars. We covered the main and additional ingredients, plus some great optional toppings. The steps for preparation, assembly, and chilling are clear. I shared tips for texture and flavor that will help you create the best bars. With variations and storage info, you can customize this treat to fit your needs. Enjoy making and sharing these bars that are tasty and easy to prepare!