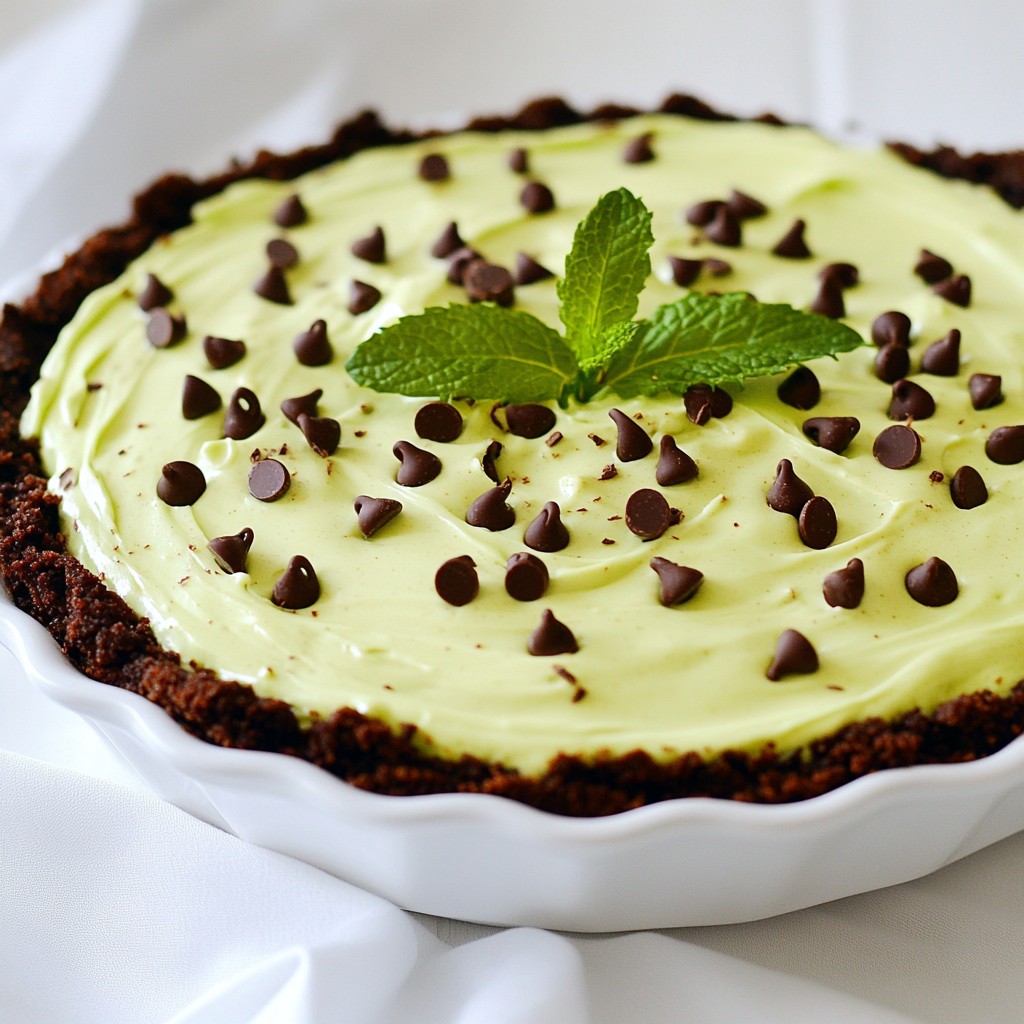
Get ready to treat your taste buds with my No-Bake Mint Chocolate Grasshopper Pie Delight! This pie is rich, creamy, and full of minty goodness. You won’t even need to turn on the oven. I’ll guide you through each simple step, from making a crunchy crust to whipping up a dreamy filling. This pie is perfect for any occasion. Let’s dive into this easy, no-bake recipe and impress everyone with your skills!
Why I Love This Recipe
- Decadent Flavor: This pie combines rich chocolate and refreshing mint for a delightful taste experience.
- No-Bake Convenience: Perfect for warm days, this recipe requires no oven, making it simple and quick to prepare.
- Stunning Presentation: The vibrant colors and chocolate drizzle make this pie a showstopper for any occasion.
- Customizable: Easily adjust the peppermint flavor and color to suit your preferences, making it uniquely yours.
Ingredients
Main Ingredients for the Pie
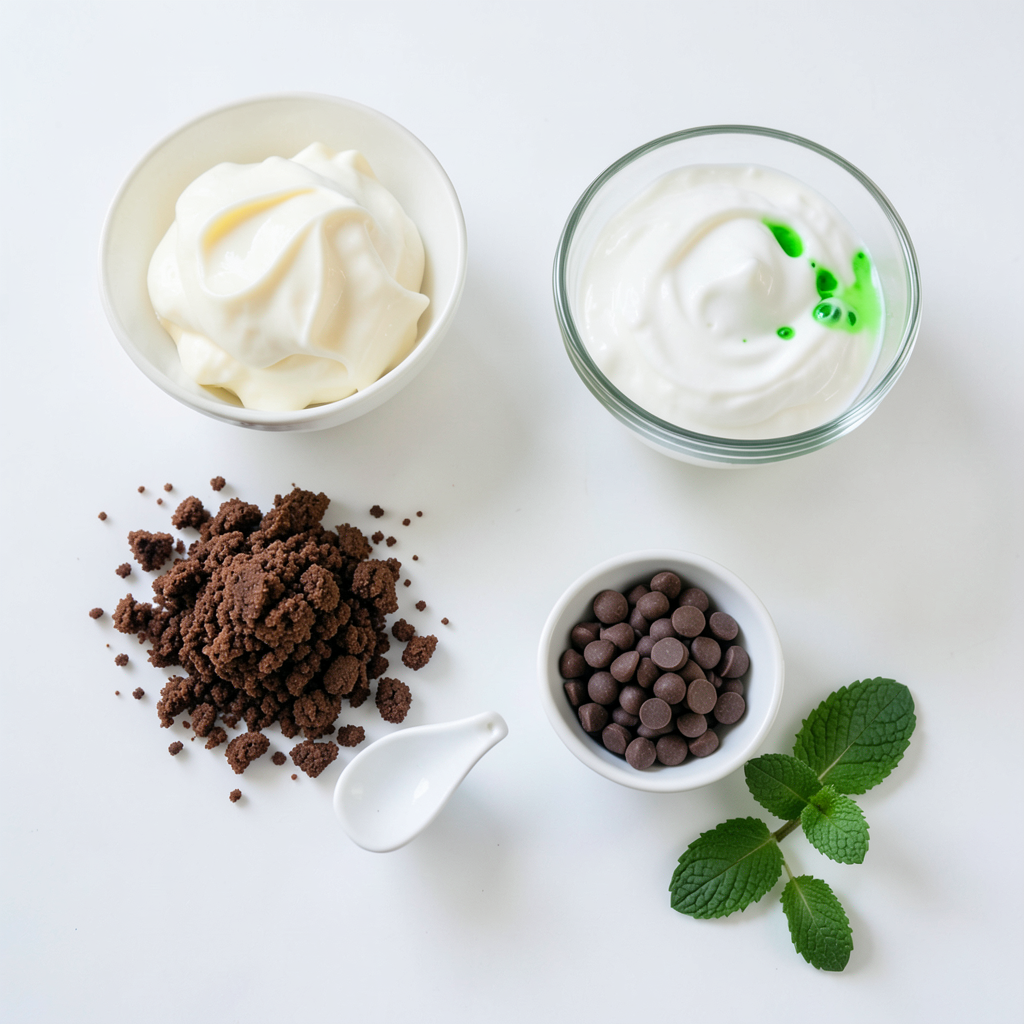
- 1 ½ cups chocolate cookie crumbs
- ⅓ cup unsalted butter, melted
- 1 cup heavy whipping cream
- 1 cup sweetened condensed milk
- ½ cup peppermint cream (or peppermint extract for a stronger flavor)
- 1 teaspoon vanilla extract
- 1 cup mini chocolate chips
- 1 tablespoon green food coloring (optional)
- Fresh mint leaves for garnish
This pie is a treat for your taste buds. The chocolate cookie crumbs form a sweet crust. Mixing these crumbs with melted butter helps bind them. You want to make sure the crust holds together well.
The filling is creamy and rich. Heavy whipping cream gives it a light texture. Sweetened condensed milk adds sweetness and depth. Peppermint cream or extract brings that refreshing mint flavor. If you like a stronger mint taste, use the extract.
A splash of vanilla extract rounds the flavors. The mini chocolate chips add delightful bites of chocolate. Green food coloring makes the pie fun and festive, but it's optional. Don't forget the fresh mint leaves for a beautiful garnish.
With these ingredients, you can create a pie that impresses everyone. It's easy to make and perfect for any occasion.
Step-by-Step Instructions
Preparing the Crust
To start, gather your ingredients. In a medium bowl, mix 1 ½ cups of chocolate cookie crumbs with ⅓ cup of melted unsalted butter. Stir well until the crumbs are coated. This step is quick, and the mixture should feel moist. Next, grab a 9-inch pie pan. Press the mixture firmly into the bottom and sides. Make sure it is even. This helps your pie hold its shape. Place the crust in the fridge to set while you make the filling.
Making the Filling
Now, let’s whip the cream! In a large bowl, use a hand mixer to whip 1 cup of heavy cream. Beat it on medium-high speed for about 3 to 5 minutes until you see stiff peaks. This means the cream is thick and holds its shape well. In another bowl, whisk together 1 cup of sweetened condensed milk, ½ cup of peppermint cream (or extract), and 1 teaspoon of vanilla extract. If you want a fun color, add 1 tablespoon of green food coloring and mix until smooth. Next, gently fold the whipped cream into the condensed milk mixture in three parts. Be careful not to deflate the whipped cream. Finally, fold in 1 cup of mini chocolate chips for that delightful crunch.
Assembling the Pie
Take your chilled crust out of the fridge. Spoon the mint chocolate filling into the crust. Use a spatula to smooth the top. It should look nice and even. This step makes your pie ready for chilling.
Chilling the Pie
Cover the pie with plastic wrap. Place it in the fridge for at least 4 hours. For the best results, leave it overnight. This allows the pie to set properly and makes slicing easier later. When you’re ready to serve, your pie will be a cool minty treat!
Tips & Tricks
Perfecting the Whipped Cream
To make the best whipped cream, start with cold cream. Chill your mixing bowl too. This helps the cream whip faster. When you beat the cream, use medium-high speed. Watch closely as it thickens.
You want to stop when stiff peaks form. This means the cream holds its shape well. If you overbeat, it can turn grainy. That is not what you want!
When you mix the whipped cream with the other ingredients, be gentle. Use a spatula to fold it in. You need to keep the air in the cream. This keeps the pie light and fluffy.
Presentation Tips
To make your pie look special, you can garnish it. Fresh mint leaves on top add color and freshness. They also give a nice aroma.
For a fun touch, drizzle chocolate sauce over the pie. This adds sweetness and a beautiful look. You can also sprinkle extra mini chocolate chips on top. This makes it even more tempting and fun to eat.
Pro Tips
- Use Fresh Ingredients: For the best flavor, use fresh mint leaves and high-quality chocolate. This will enhance the overall taste of your pie.
- Experiment with Flavors: If you love a stronger mint flavor, consider using peppermint extract instead of peppermint cream. Adjust the amount to your taste preference.
- Let it Set Overnight: While you can chill the pie for a minimum of 4 hours, letting it set overnight will help the flavors meld beautifully and improve the texture.
- Garnish Creatively: Add a drizzle of chocolate sauce and extra mini chocolate chips on top before serving for an elegant presentation that will impress your guests.
Variations
Alternative Flavor Options
You can change up the flavor of your No-Bake Mint Chocolate Grasshopper Pie. Using different extracts adds a fun twist.
- Chocolate mint extract gives a deep chocolate flavor with a hint of mint.
- Almond extract can bring a nutty taste that pairs well with chocolate.
You can also experiment with flavored crusts. Try using vanilla wafers or graham crackers instead of chocolate cookie crumbs. Each option changes the pie's base flavor, making it unique.
Healthier Substitutes
If you want a lighter version of the pie, there are easy swaps to make.
- Use low-fat cream instead of heavy whipping cream. This cuts calories but keeps a creamy texture.
- Try sugar alternatives like stevia or monk fruit to reduce sugar.
Adding fruit can enhance flavor and texture too. Consider mixing in fresh raspberries or sliced strawberries into the filling. These fruits add a burst of freshness and color.
Storage Info
Storing Leftovers
To keep your No-Bake Mint Chocolate Grasshopper Pie fresh, place it in the fridge. Use an airtight container or cover it tightly with plastic wrap. The pie stays good for up to 4 days. After that, the texture and taste may change. Remember to check for any signs of spoilage before serving leftovers.
Freezing Options
If you want to store the pie longer, freezing is a great option. First, slice the pie into individual pieces. Wrap each slice in plastic wrap tightly. Then place the slices in a freezer-safe bag or container. This way, you can enjoy a piece anytime! To thaw, take a slice out and leave it in the fridge overnight. This helps keep the texture smooth and creamy. You can also let it sit at room temperature for about 30 minutes before enjoying.
FAQs
Can I make this pie dairy-free?
Yes, you can make this pie dairy-free! Use dairy-free butter instead of unsalted butter. For the filling, swap heavy cream with coconut cream. This gives a rich texture without dairy. Use sweetened condensed coconut milk for the same sweetness.
How can I make the pie gluten-free?
To make the pie gluten-free, choose gluten-free chocolate cookies. Brands like Schar or Kinnikinnick offer great options. Simply crush these cookies to make your crust. Mix them with dairy-free butter as needed.
What can I use instead of peppermint cream?
If you do not have peppermint cream, peppermint extract works well. Use about half the amount of peppermint extract for a strong flavor. You can also try vanilla extract for a sweeter taste. Other options include mint leaves blended into the filling for a fresh twist.
This blog post covered how to make a delicious mint chocolate pie. We explored the key ingredients, like chocolate cookie crumbs and fresh cream. You learned the steps to create the crust, filling, and how to chill the pie for the best taste. We also shared tips for presentation and variations to suit any diet.
In summary, making this pie can be fun and easy. Enjoy creating a treat that everyone will love!