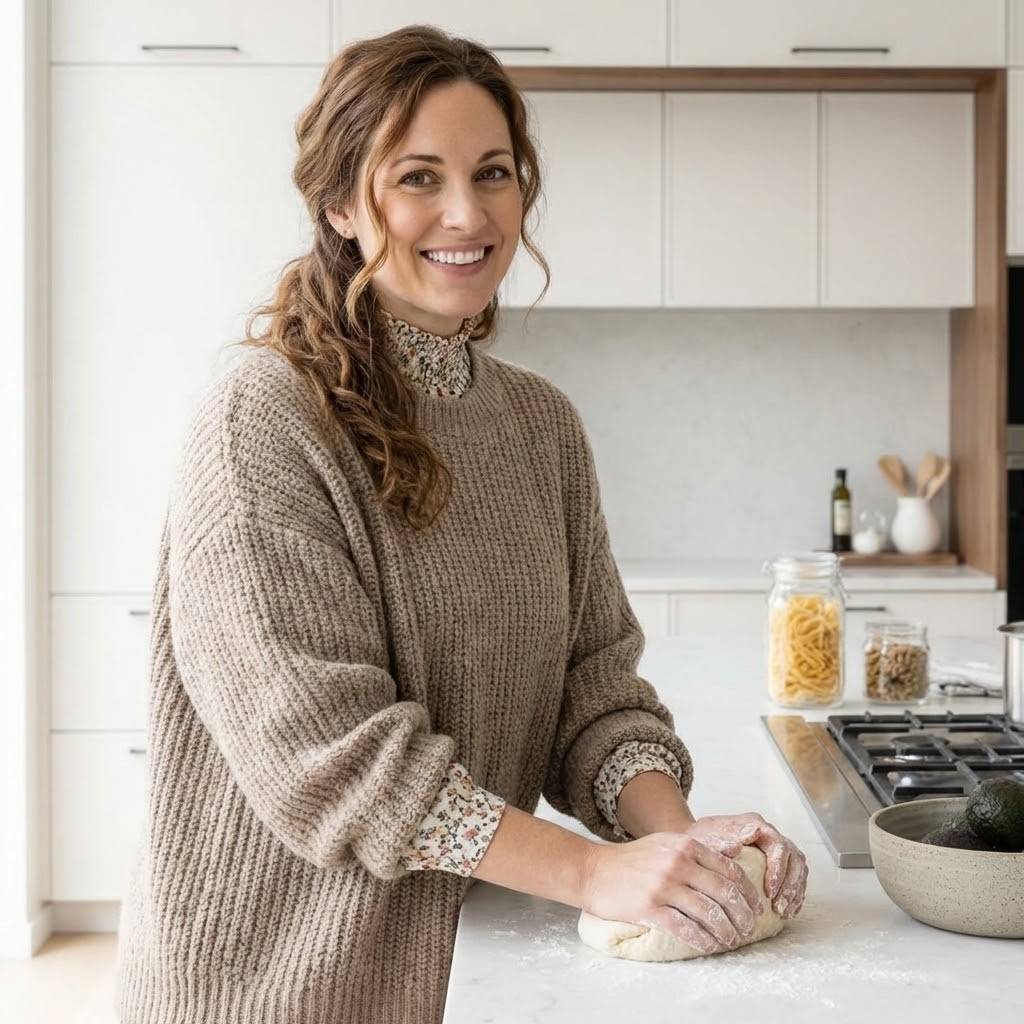
Are you ready to indulge in a rich and creamy treat that’s both delightful and simple? My Brownie Mousse Cake is the perfect dessert for chocolate lovers! This cake combines a fudgy brownie base with a light and airy mousse, creating a delicious fusion that will impress any guest. In this post, I’ll guide you step-by-step to make this easy dessert, including tips and tricks for a perfect result every time!
Why I Love This Recipe
- Decadent Layers: This cake combines the rich, fudgy texture of brownies with the light, airy quality of mousse, creating a delightful contrast in every bite.
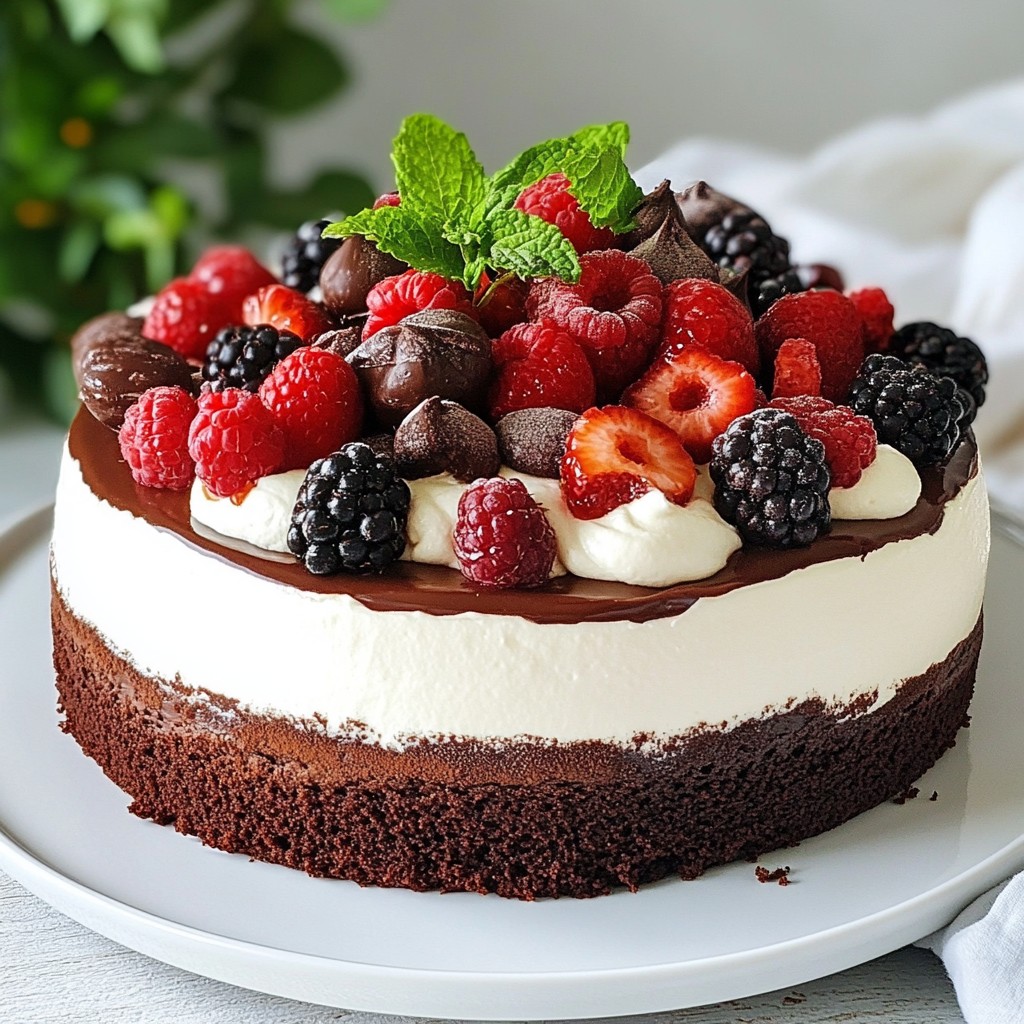
- Impressive Presentation: With its glossy mousse topping and vibrant berry garnish, this cake looks stunning on any dessert table, making it perfect for special occasions.
- Easy to Make: Despite its elegant appearance, this recipe is straightforward and requires minimal ingredients, making it accessible for bakers of all skill levels.
- Customizable: You can easily adapt this recipe by adding your favorite flavors or toppings, such as nuts, different chocolate types, or seasonal fruits.
Ingredients
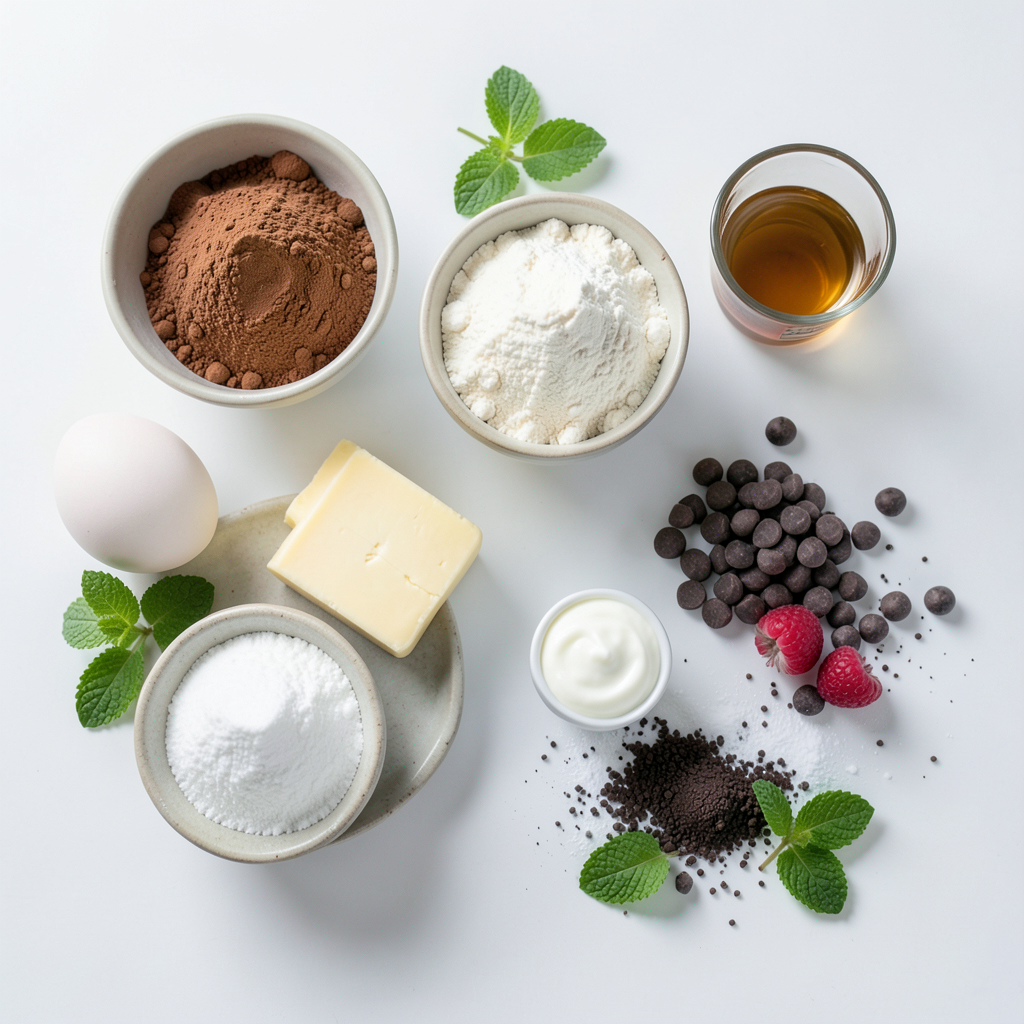
List of Key Ingredients
To make a delightful brownie mousse cake, gather these key ingredients:
- 1 cup unsweetened cocoa powder
- 1/2 cup all-purpose flour
- 1/2 teaspoon baking powder
- 1/4 teaspoon salt
- 1/2 cup unsalted butter, melted
- 1 cup granulated sugar
- 2 large eggs
- 1 teaspoon vanilla extract
- 1/2 cup semi-sweet chocolate chips
- 1 1/2 cups heavy cream
- 1/4 cup powdered sugar
- 1 teaspoon instant coffee granules (optional)
Optional Garnishes
Garnishes can add a lovely touch to your cake. Consider using:
- Fresh berries like strawberries or raspberries
- Mint leaves for a pop of color
- A dusting of cocoa powder or powdered sugar
Ingredient Substitutions
You can easily swap some ingredients if needed:
- Use coconut oil instead of butter for a dairy-free option.
- Replace all-purpose flour with almond flour for a gluten-free cake.
- You can use dark chocolate chips instead of semi-sweet for a richer taste.
- If you want less sugar, try using a sugar substitute suitable for baking.
These ingredients create a rich and creamy treat. Enjoy making your brownie mousse cake!
Step-by-Step Instructions
Preparing the Oven and Cake Pan
First, set your oven to 350°F (175°C). This temperature is key for baking. Next, grab a 9-inch round cake pan. Grease it well, and line the bottom with parchment paper. This helps the cake come out easily.
Making the Brownie Base
In a mixing bowl, combine 1 cup of unsweetened cocoa powder, 1/2 cup of all-purpose flour, 1/2 teaspoon of baking powder, and 1/4 teaspoon of salt. In another bowl, mix 1/2 cup of melted unsalted butter and 1 cup of granulated sugar. Stir until they blend well. Next, add 2 large eggs and 1 teaspoon of vanilla extract. Whisk this until smooth. Gradually mix in the dry ingredients. Once combined, fold in 1/2 cup of semi-sweet chocolate chips.
Baking the Brownie
Pour the brownie batter into the prepared pan. Spread it evenly. Bake for 20-25 minutes. Check with a toothpick; it should come out with a few moist crumbs. Once done, let it cool in the pan for 10 minutes. Carefully transfer it to a wire rack to cool completely.
Preparing the Mousse
In another bowl, whip 1 1/2 cups of heavy cream. Whip it until it starts to thicken. Add 1/4 cup of powdered sugar and 1 teaspoon of instant coffee granules if you like. Continue whipping until you see soft peaks. Gently fold in 1 cup of the whipped cream into the cooled brownie base. Mix until well combined.
Layering and Chilling the Cake
Now it's time to layer! Pour the mousse over the brownie base in the cake pan. Smooth it out with a spatula. Chill in the fridge for at least 4 hours, but overnight is even better. This helps the mousse set well.
Serving Suggestions
When ready to serve, carefully take the mousse cake out of the pan. Slice it into pieces. I love to garnish with fresh berries and mint leaves. This adds a nice touch. Enjoy the rich layers of brownie and creamy mousse!
Tips & Tricks
How to Achieve the Perfect Brownie Texture
To get a great brownie texture, follow these steps:
- Use quality cocoa powder. It makes a big difference.
- Melt the butter gently. Avoid overheating it.
- Mix the wet and dry ingredients just until combined. Overmixing can make them tough.
- Bake until a toothpick shows a few moist crumbs. This keeps brownies fudgy.
Whipping Cream Tips for Fluffy Mousse
Whipping cream adds lightness to your mousse. Here’s how to get those fluffy peaks:
- Start with cold heavy cream. Chill your mixing bowl for best results.
- Whip on medium speed until it thickens. Don’t rush this step.
- Add powdered sugar gradually. This helps achieve soft peaks.
- Be gentle when folding the whipped cream into the brownie base. This keeps it airy.
Common Mistakes to Avoid
Avoid these common pitfalls to ensure success:
- Don’t skip cooling the brownie base. It needs to be cool before adding mousse.
- Watch the baking time closely. Overbaking can lead to dry brownies.
- Use a sharp knife to slice the cake. This keeps the layers neat.
- Don't forget to chill! It’s essential for the mousse to set properly.
Pro Tips
- Tip for a Fudgier Brownie: For a more fudgy texture, reduce the flour to 1/3 cup and add an extra egg to the brownie base.
- Chocolate Chip Variety: Experiment with different types of chocolate chips, such as dark chocolate or white chocolate, for a unique flavor twist.
- Chill Time Matters: Allow the mousse cake to chill overnight for the best set and flavor; this also helps the layers meld beautifully.
- Presentation Tips: Use a hot knife to slice the cake for clean edges, and wipe the blade between cuts for a pristine presentation.
Variations
Gluten-Free Brownie Mousse Cake
You can make a gluten-free version of this cake. Instead of all-purpose flour, use gluten-free flour. It works well in this recipe. Just make sure the flour blend has a good mix of ingredients. This change keeps the cake rich and tasty without gluten. You will still enjoy the same delicious layers.
Adding Flavor Variations (e.g., Mint, Orange)
You can enhance the flavor of your cake. Add a few drops of mint extract to the mousse for a fresh twist. For a zesty kick, add orange zest to the brownie batter. These flavors pair well with chocolate. You can even mix in chocolate mint candies for more fun. Explore different flavors to make the cake your own!
Different Chocolate Options (Dark, White Chocolate)
Try using different types of chocolate in your cake. Dark chocolate gives a rich taste. You can use it in both the brownie and mousse. If you prefer something sweeter, white chocolate works too. It adds a creamy texture and pairs well with the brownie base. Mix and match chocolates to create your perfect dessert!
Storage Info
How to Properly Store Leftovers
To keep your Brownie Mousse Cake fresh, store it in the fridge. Use an airtight container or wrap it well in plastic wrap. This helps keep moisture in and prevents odors from other foods. Leftovers can last up to 5 days in the fridge.
Freezing the Brownie Mousse Cake
You can freeze this cake if you want to save some for later. First, slice the cake into portions. Wrap each slice tightly in plastic wrap. Then, place the wrapped slices in a freezer-safe bag. This way, they can stay fresh for up to 2 months. When you're ready to enjoy, simply thaw it in the fridge overnight.
Best Practices for Reheating
For the best taste and texture, reheat the brownie mousse cake gently. Place a slice on a plate and cover it with a damp paper towel. Microwave it for about 10 to 15 seconds. This keeps the mousse creamy while warming the brownie. Enjoy your delicious treat!
FAQs
What is a Brownie Mousse Cake?
A brownie mousse cake is a rich dessert that combines two amazing layers. The bottom layer is a fudgy brownie. The top layer is a light, airy mousse. Together, they create a perfect mix of textures and flavors. You can taste the deep chocolate in each bite. This cake is great for parties or special occasions.
Can I make this recipe ahead of time?
Yes, you can make this cake ahead of time. It actually tastes better when chilled overnight. Just make sure to cover it well in the fridge. This helps keep it fresh and moist. You can prepare the brownie layer and mousse in advance. Then, chill the cake until you are ready to serve.
Where can I buy a pre-made Brownie Mousse Cake?
You can find a pre-made brownie mousse cake at many bakeries. Some grocery stores also carry them in the dessert section. Check local shops or online stores for delivery options. If you want to try a special flavor, look for gourmet bakeries. They often have unique twists on classic recipes.
Is it possible to substitute ingredients?
Yes, you can substitute some ingredients in this recipe. For example, you can use gluten-free flour instead of all-purpose flour. You can also swap out semi-sweet chocolate chips for dark chocolate chips. If you want a dairy-free option, use coconut cream for the mousse. Just keep in mind that substitutions may change the taste and texture.
How should I serve Brownie Mousse Cake?
Serve the brownie mousse cake chilled. You can slice it into wedges for easy serving. Add fresh berries and mint leaves on top for a pop of color. This adds a nice touch and makes it look fancy. For extra flavor, drizzle chocolate sauce on each plate before serving.
This article covered how to make a rich Brownie Mousse Cake. We discussed the key ingredients and fun garnishes, plus helpful substitutions. I provided step-by-step instructions to ensure your success.
You learned tips for perfect brownies and fluffy mousse. We also explored tasty variations and smart storage methods.
With this guide, you can impress anyone with your baking. Enjoy your time in the kitchen!